
This is the way we did ours, please use the below information for reference only and be safe.
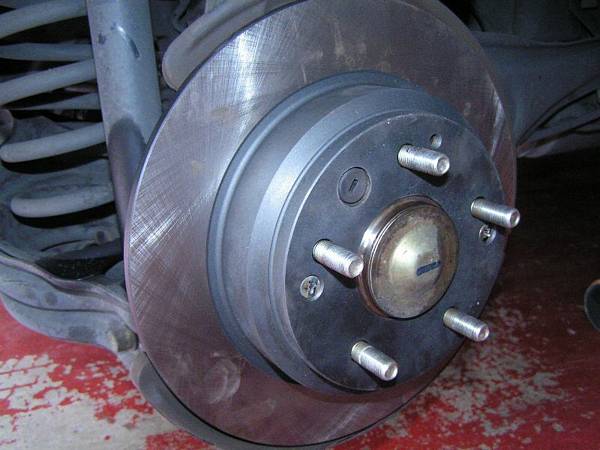
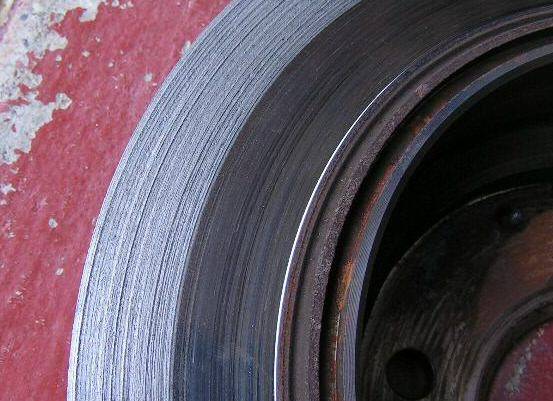
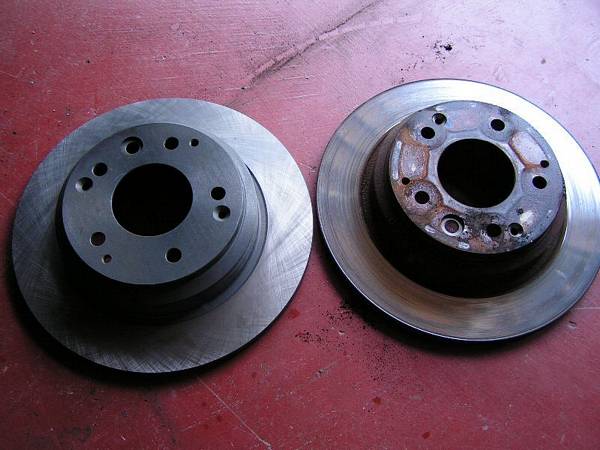
The 97 Odyssey brakes made noise and needed to be replaced. Since the brake discs have grooves and the price of the discs are not expensive, we decided to replace discs and pads. Honda designed 1 type of brake system for all their Accords & Odysseys, it’s exactly the same design as the 2000 accord which I replaced a few months ago, easy and simple.
Discs for $48.00
We got the semi-metallic pads from Autozone for $20.00
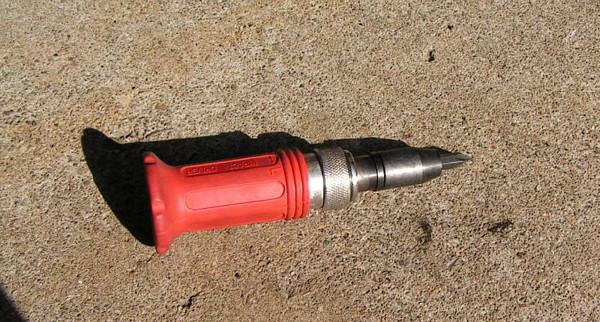
Tools needed are: 17mm & 14mm boxed wrenches. Philip impact driver to remove the 2 retaining screws. Piston compressor.
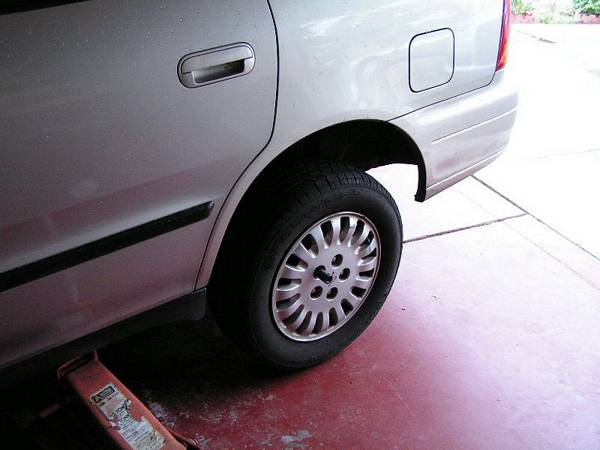
Jack the car up with the rear tires blocked. Remove the wheel.
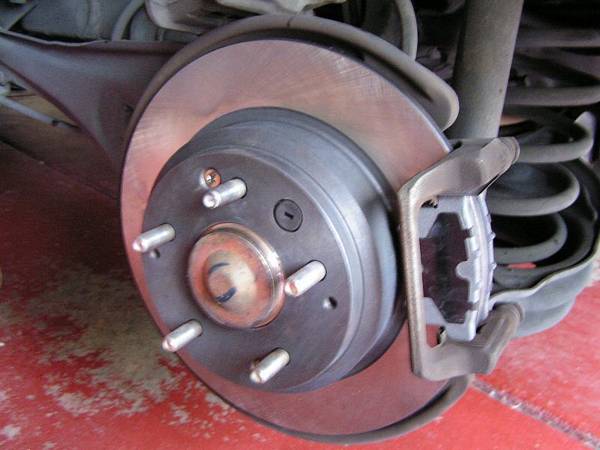

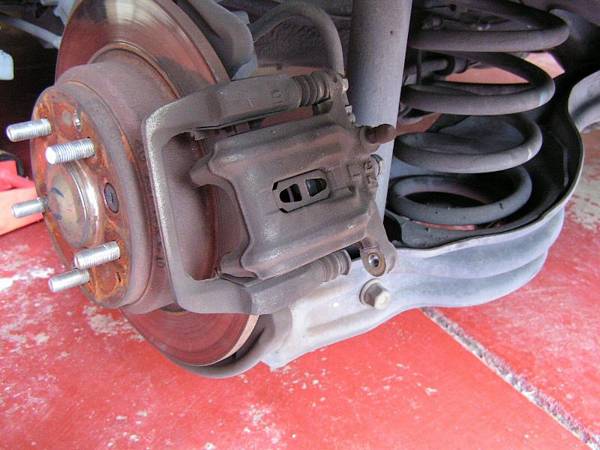


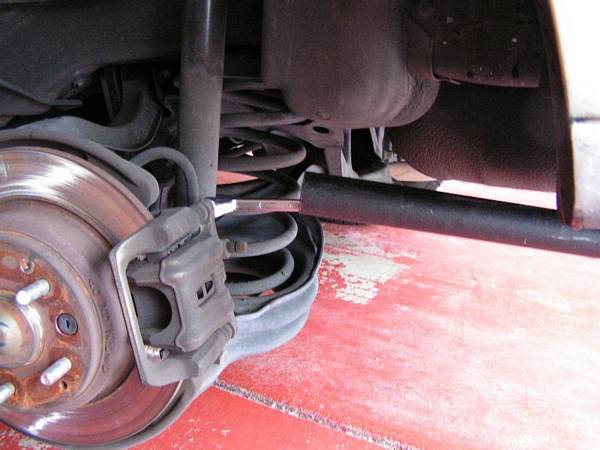

Remove the caliper bolts (2) using 14mm boxed wrench.
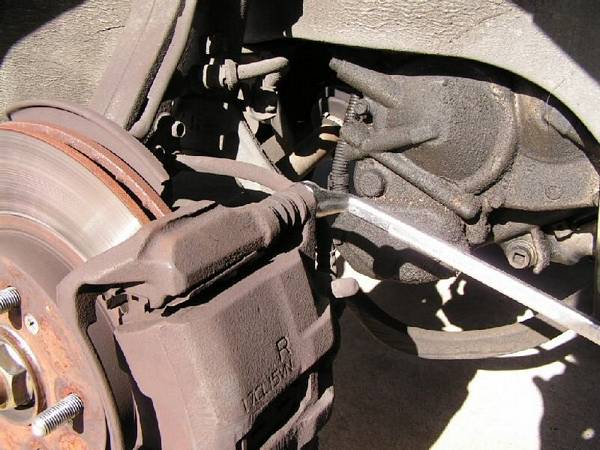
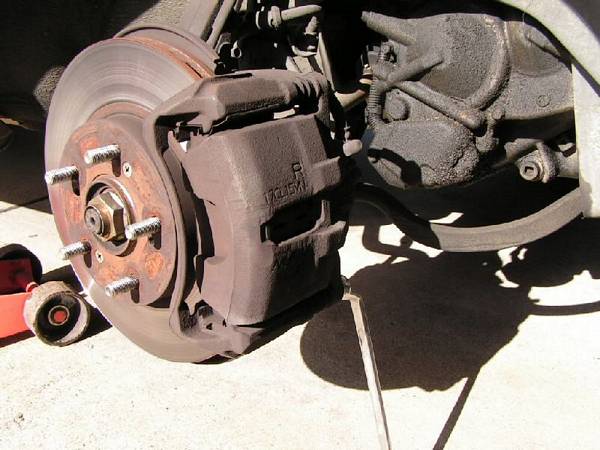
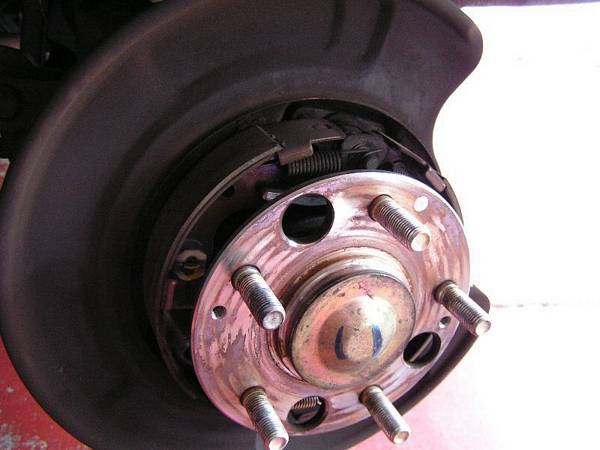
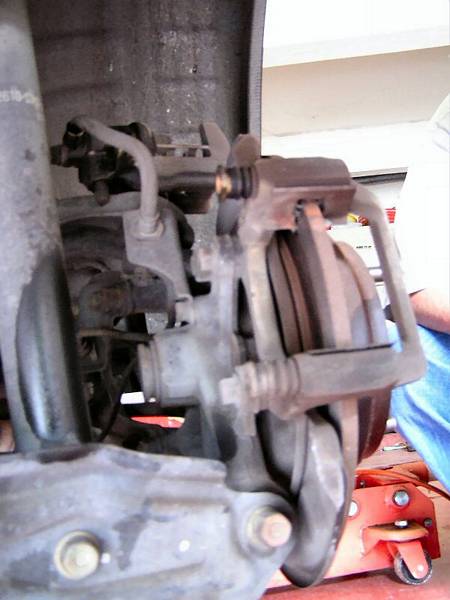
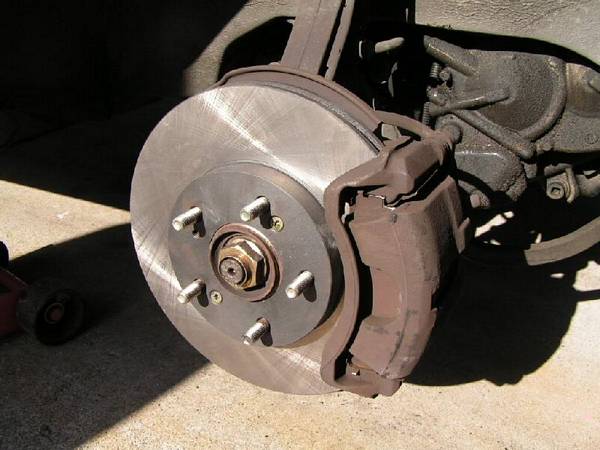
Put or tie the caliper in the back so that it won’t stretch or break the brake hose. Remove the brake pads.
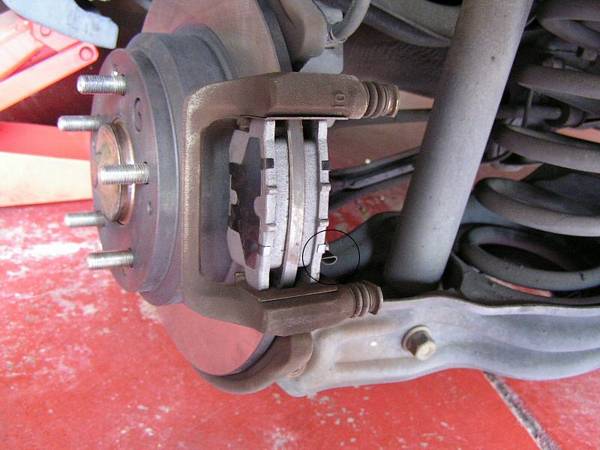
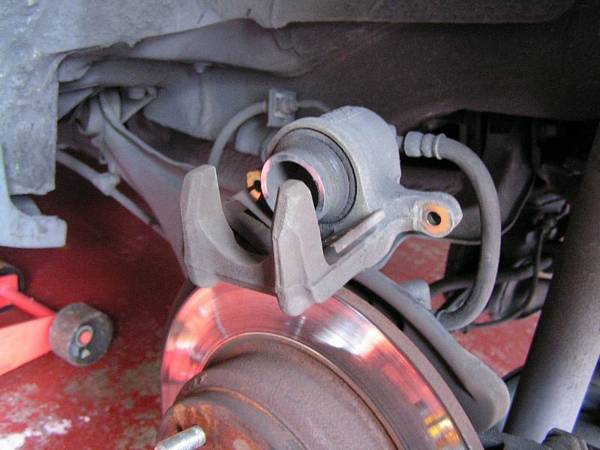
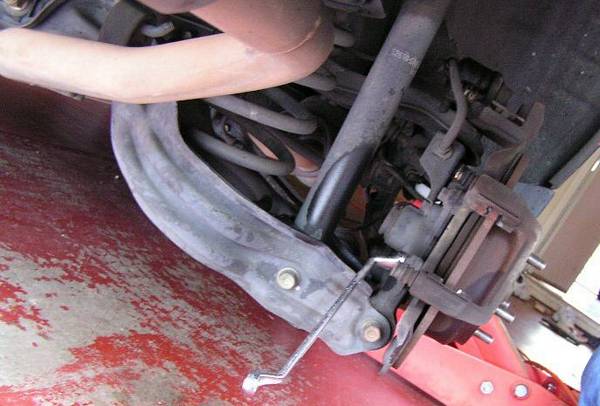
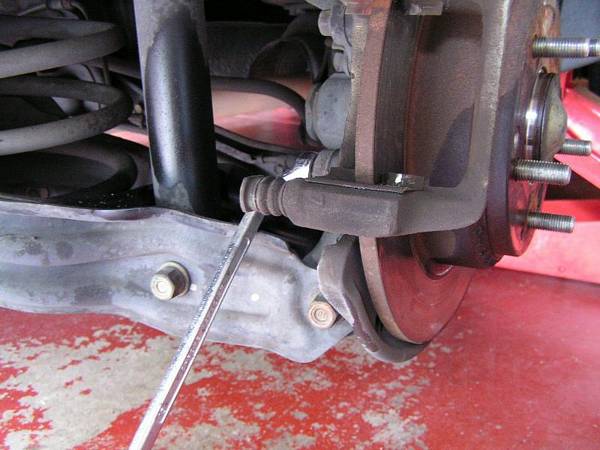
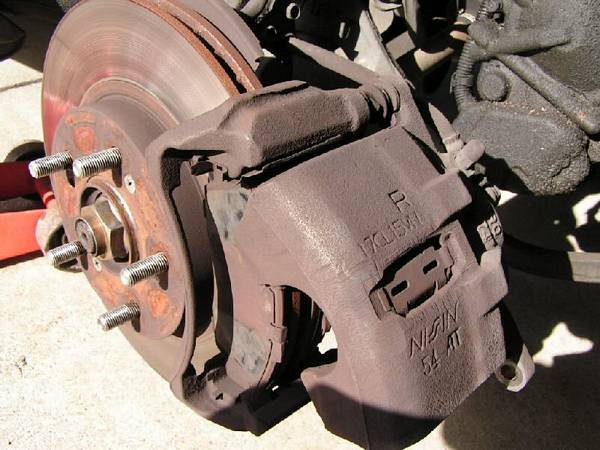
In the back there are 2 bolts 17mm need to be removed to take the caliper bracket out.
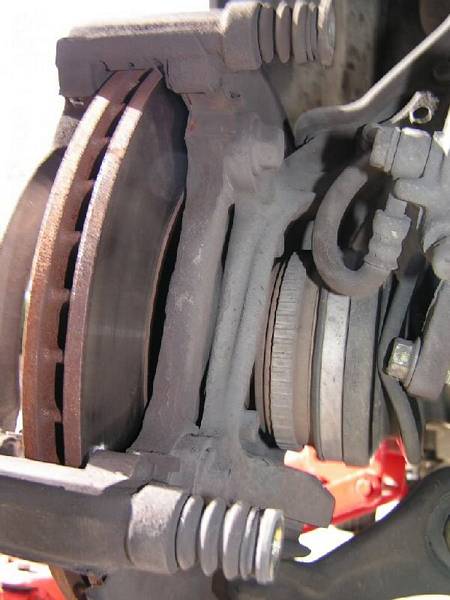
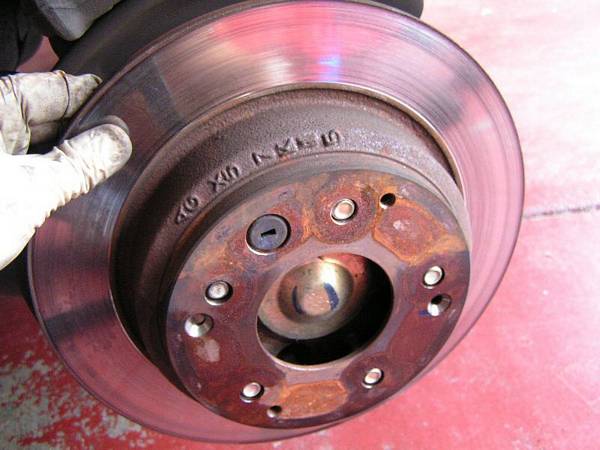
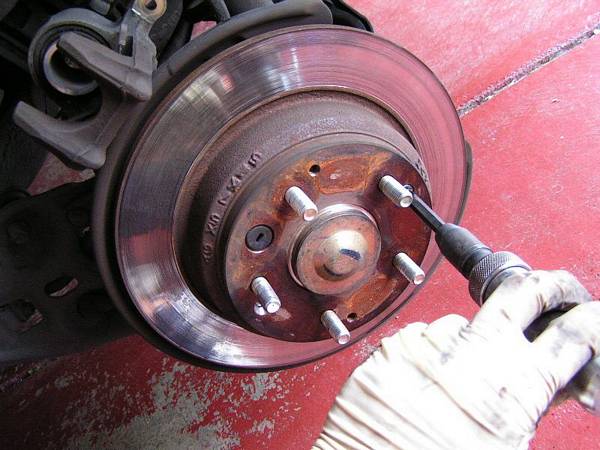
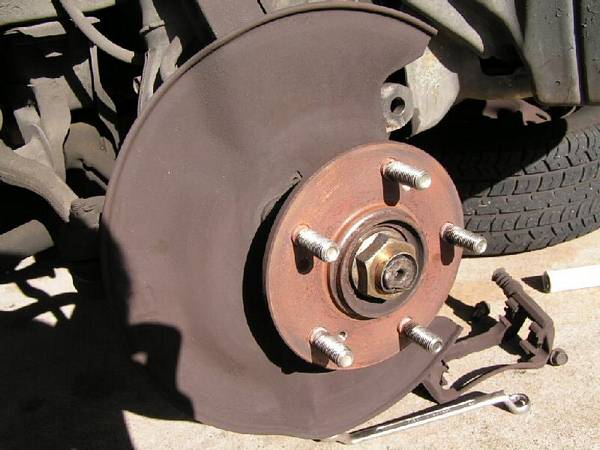
Use the impact driver to remove the 2 philip screws holding the disc in place. Make sure the rotation is counterclockwise (unscrew) before hammering them away. Press the driver firmly and hammer it one at a time until you see the screw turning (loosen) and then use the philip screw driver to remove it. It should be easy when it’s loosen. Remove the Disc.
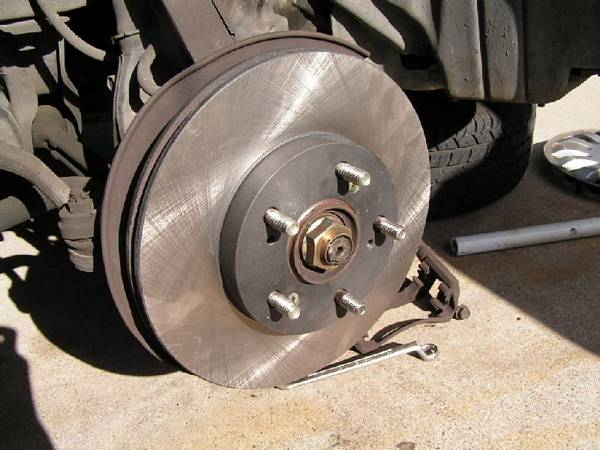
Install the new Disc and make sure the holes for the retaining screws aligned with the hub, then put some locktite on the screws and screw it back in.
Put back the caliper bracket. Clean the bracket with wire brush if the bracket is too dirty.
Tighten the 17mm bolts with torque specs, don’t over tighten it.
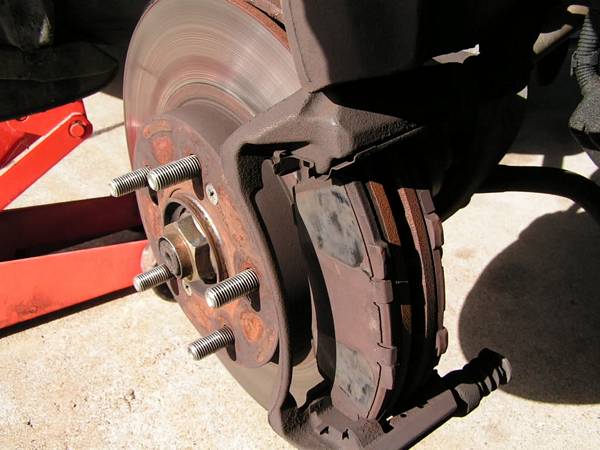
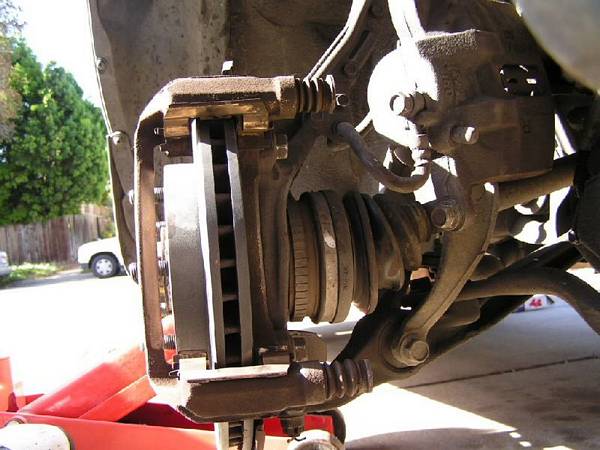
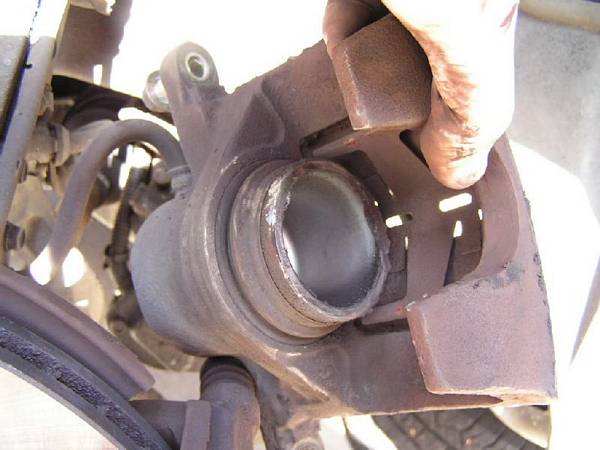
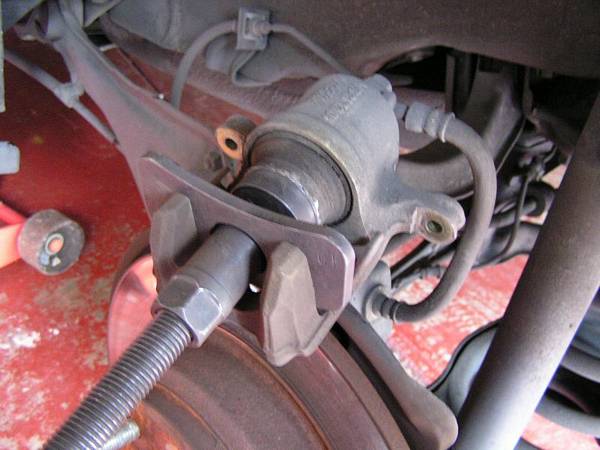
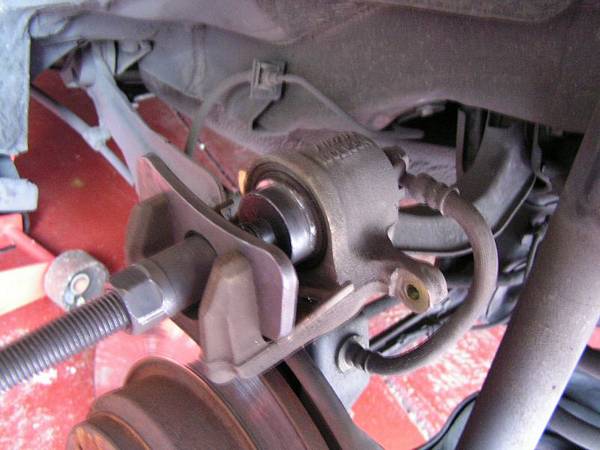
Next is to compress the piston using the tool until it’s flush with the caliper for new thick brake pads to fit.
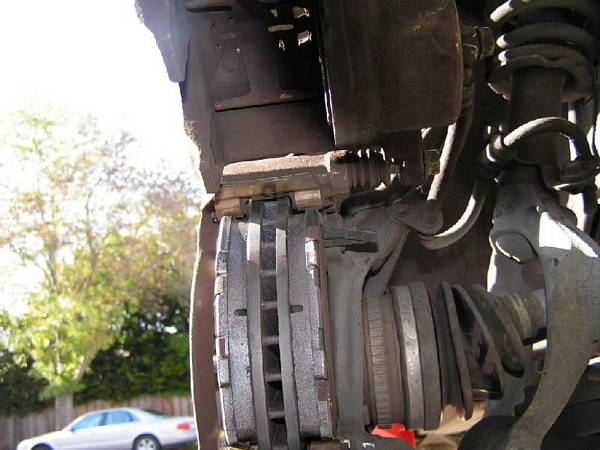
Place the new brake pads in the bracket, we use the backing plates from the old pads to reduce brake noise so we don’t have to use any grease. We don’t like any kind of grease around the brakes. Make sure the pad that has the metal indicator is on the top, not the bottom (it may break when the brake pad is low).
Put back the caliper and tighten the 2 14mm bolts to the torque specs and don’t over tighten them.
NOTES: Since the owner never top up the brake fluid while the brake pads are wearing out, we didn’t have to remove any brake fluid while compressing the pistons. If we had topped up the fluid before, we had to open the reservoir and remove some excess fluids. Since the system was air tight and good, we didn’t have to bleed the brakes. Don’t bleed if you don’t have to.
Put the wheel back on, tighten all the lug nuts BEFORE moving to the other side.
Again, this is the way we did our brakes.
Cheers,
- Replace Q7 Brakes
- Replace Front Brake Pads on Rav4 LE 2WD 2.5L
- Change Battery On 2004 Honda Accord LX Key Fob