
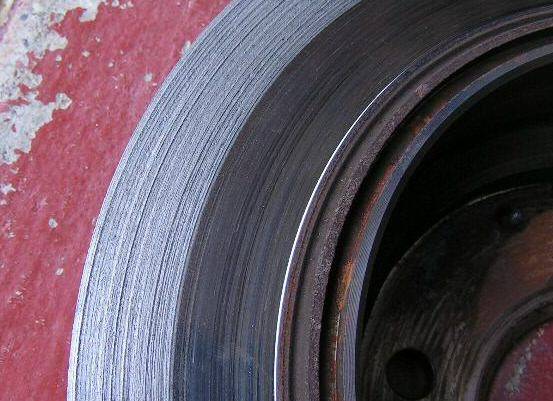
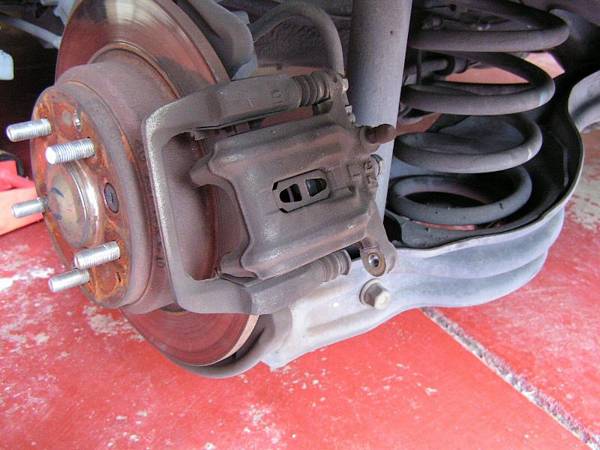
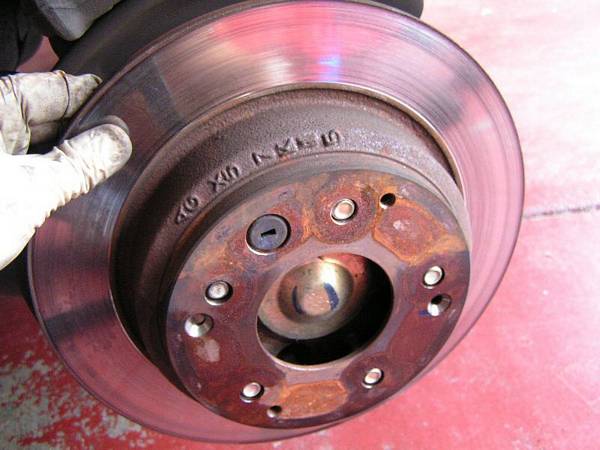
Honda’s brake pads warning system always fails due to the metal tab breaking off the pads, this metal tap is to create screeching sound when the pads are low by scratching the brake discs. When this one broke, the only warning we have left is the metal pads actually scratching the discs themselves and that’s the end of the reusable discs.

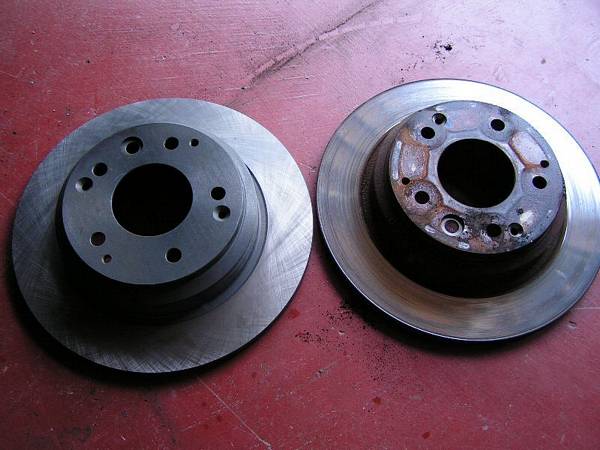
These days, if we shop correctly, we can get brand new discs for $22.00 to $65.00. We get ours @ Amazon, the price is less than the machine shops charge for turning the old discs.
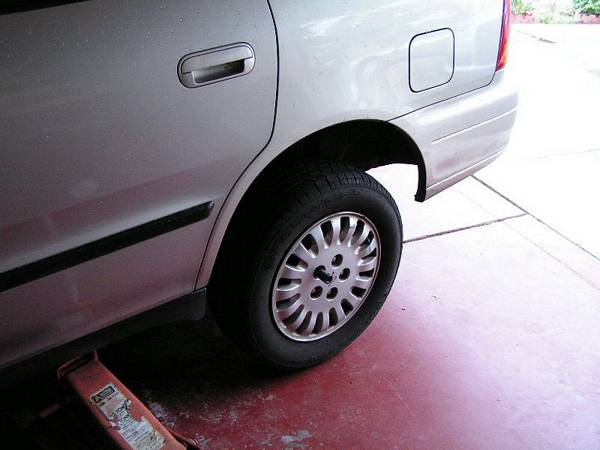
Now, we got the pads and the new rear discs for the installation. Block the opposite side front tire with blocks so the car doesn’t move when we jack up the rear wheel, put the car in gear if it’s manual and our car is automatic, just in park. Loosen the wheel lugs, since we have the electric impact wrench (from Harbor Freight Tools for less than $50. years ago, it’s worth it), we just jack up the car and use the impact wrench to remove the lugs.
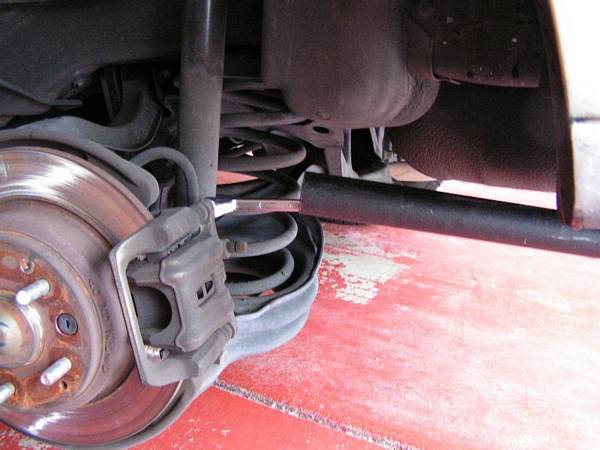
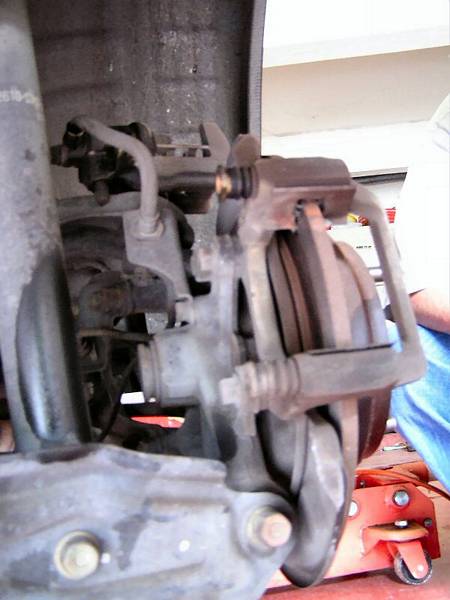
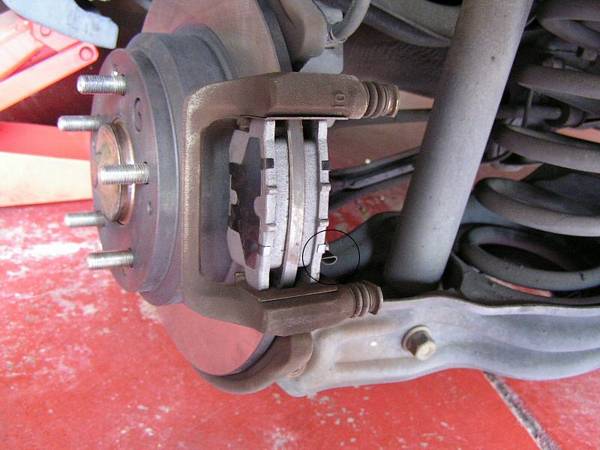
We need to remove the brakes pads, there are two bolts (either 10mm or 12mm we don’t remember, Honda likes even number) in the back of the rear caliper, use an extension to loosen them.
Normally, if we just want to replace the pads, loosen the top bolt, then remove the bottom bolt, lift the caliper up, then we can get the old pads out to replace with the new pads, very easy.
We need to compress the piston in by using the brake tools (again from Harbor Freight Tools, not heavy duty but works)
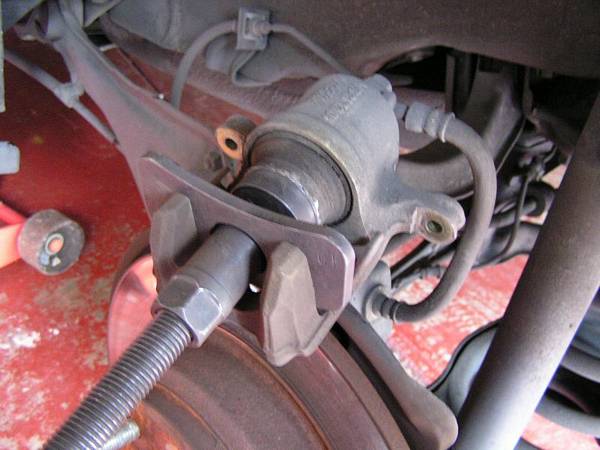
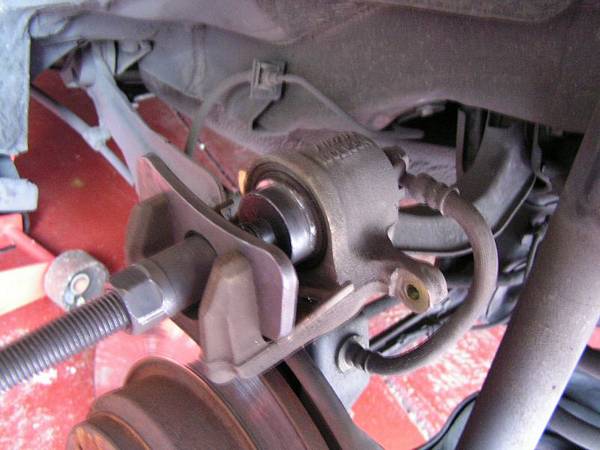
Most of the rear brakes, the piston has to turn clockwise while pushed to go back into original position. Make sure the brake fluid reservoir is not full, if it’s full, then open the cap, remove some with a suction of some kind. We use the meat juice remover.
If we don’t need to replace the rotor, just place new pads, make sure the warning indicator is on the bottom, we think when it’s on top, it would break off when the time comes. Check with the service manual for specification.

Put the piston-compressed caliper back carefully over the pads and screw the two bolts back in, tighten them to manufacturing specs, find your specs (we use ours accordingly, not too tight and not too loose).

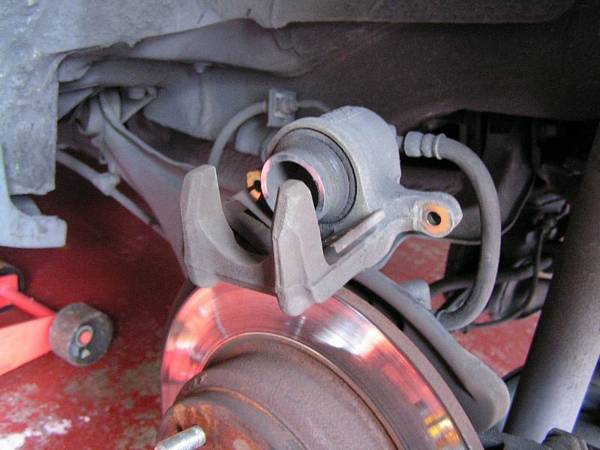
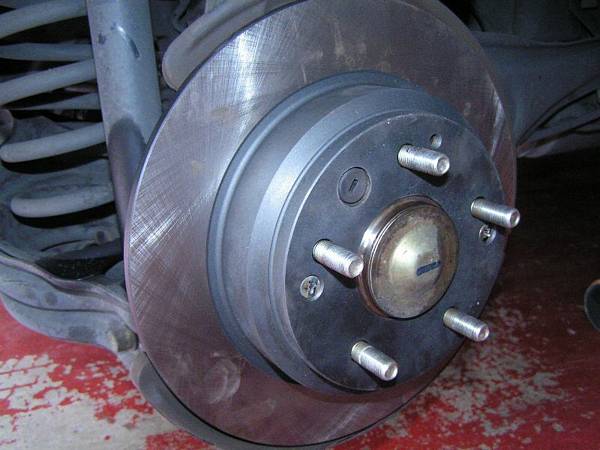
Since our rotors are shot due to broken warning indicators, we need to remove the rotors to replace them.
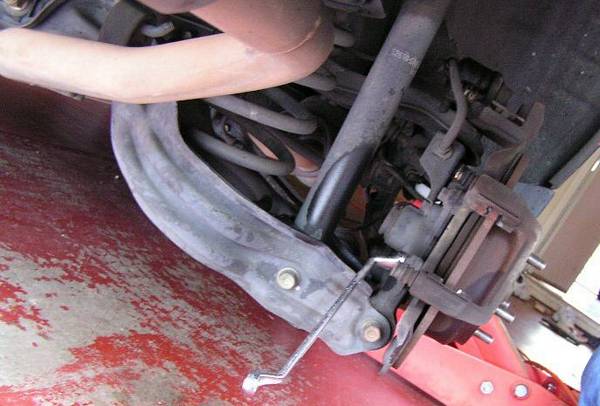
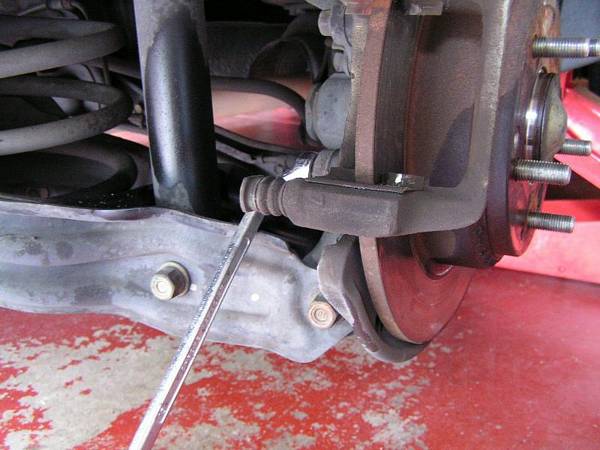
After the rear brake caliper is removed, we need to remove the bracket that holds the caliper in place out, this bracket has two (2) bigger bolts (either 14mm or 16mm, look at the pictures for positions) need to be removed.
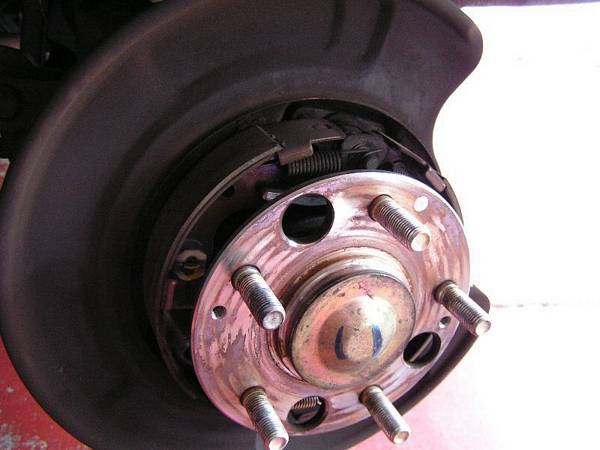
Remove the bracket, then we need to use impact philip head screw driver to remove the 2 screws securing the rotor to the axle. Don’t use hand screw driver, you will ruins the slots and you can’t get the rear rotors out. Just get a cheap impact driver to remove these 2 screws. They will come off with the first 2-3 hammers.
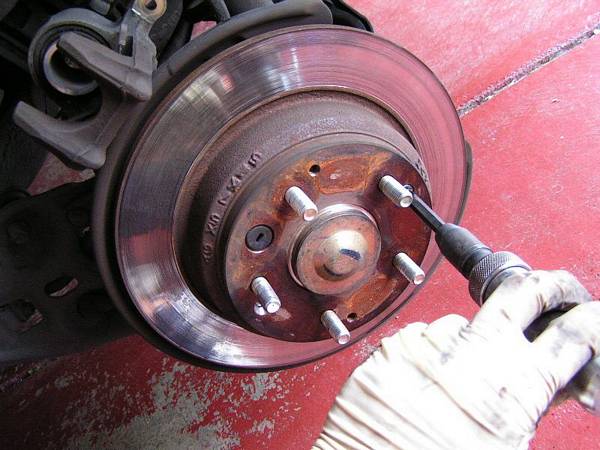
remove the rotor, and don’t forget to knock out the black round rubber cover to put on the new rotor, on the left of the picture. Release the hand brake (if it’s engaged) so we can remove the rotor.
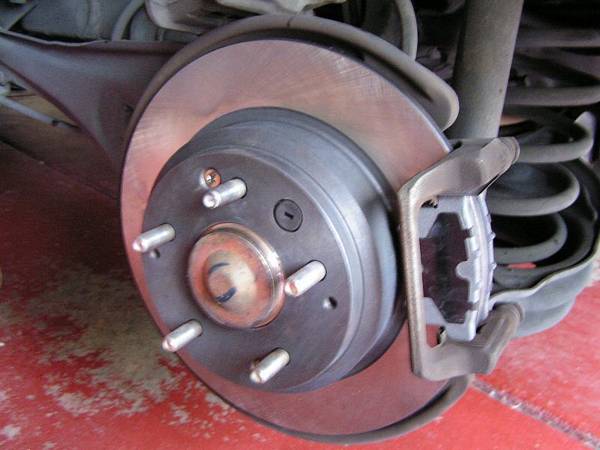
Put the new rotor in place, make sure the alignment is correct so the screws will show up through the new rotor. Put back the 2 philip screws, we don’t use the impact driver to tighten these two, just by hand.
Nice and New. Put back the brake caliper bracket, install new brake pads, install the brake caliper, tighten everything and we should have another 60k miles before we have to replace these again since they’re the rear.
Again, this is the way we did ours, you can use this for reference only, please do everything with your own specifications and procedures and be safe.
Cheers,
Louis