The faucets are leaking and the vanities look old, it’s time to give them new faces since we do spend lots of time in the bathroom. We want to replace the Formica with granite top and rectangular sinks. We can buy pre-fab ones for very good price, but the stones we want they don’t make. We have to get a slab, cut them ourselves to accommodate the rectangular sinks or have them customized for about an arm or a leg. We want to keep our body intact so we decide to do it ourselves.
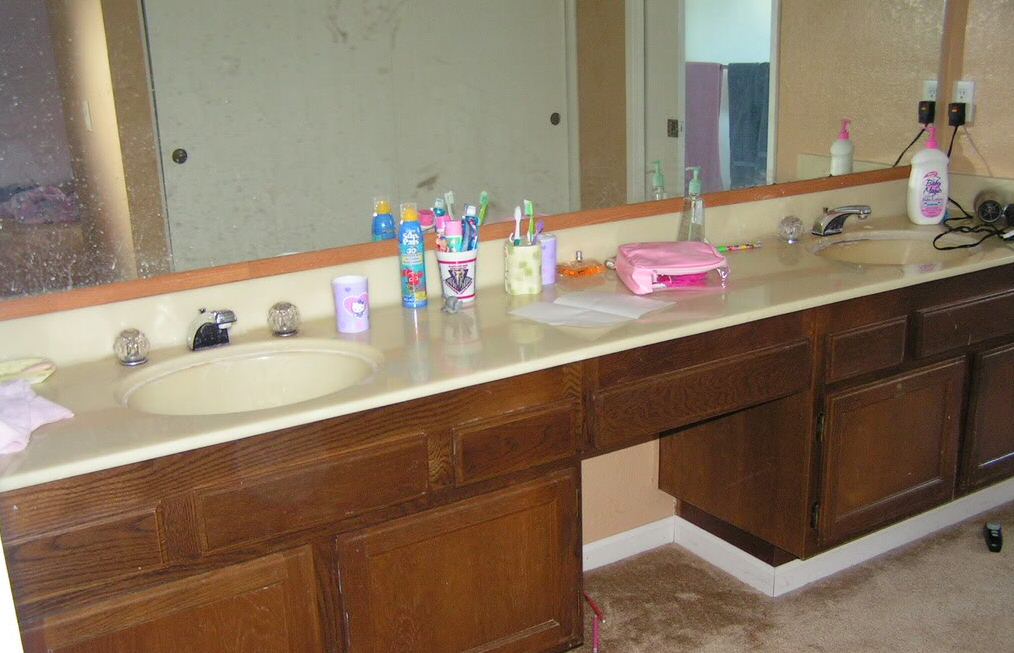
Old Master Bathroom
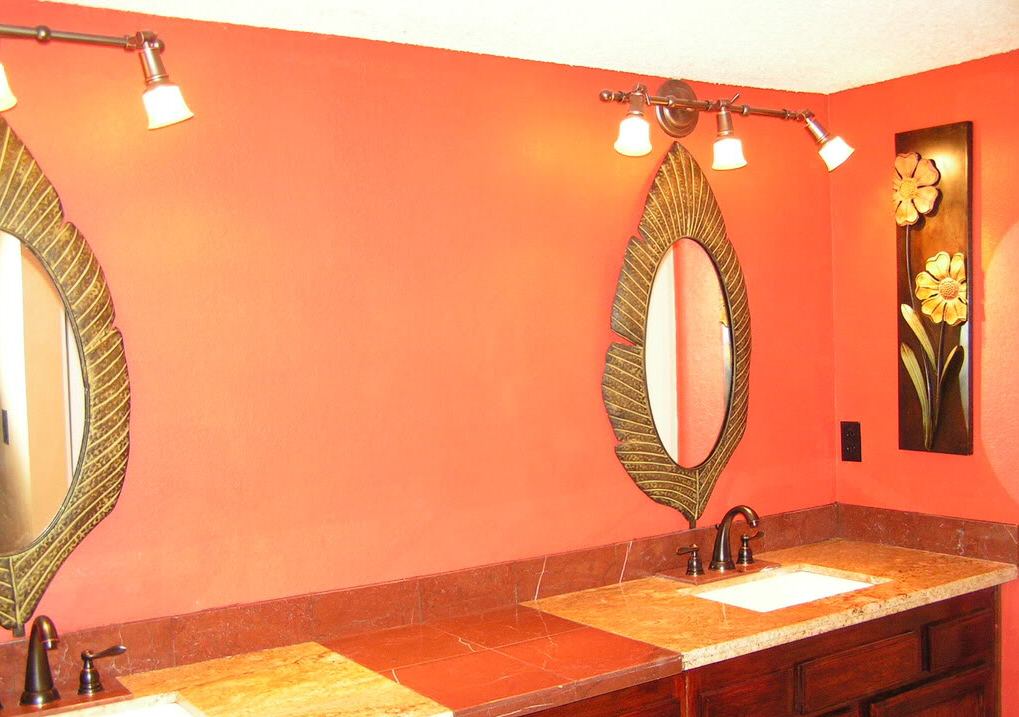
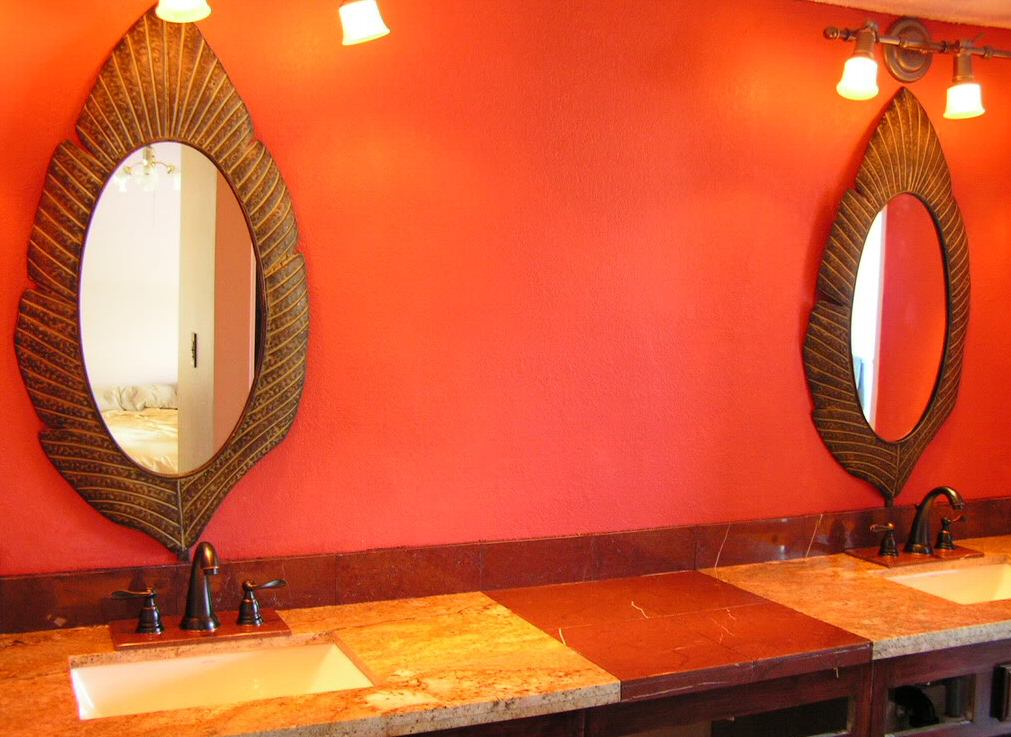
We would like to turn this into this
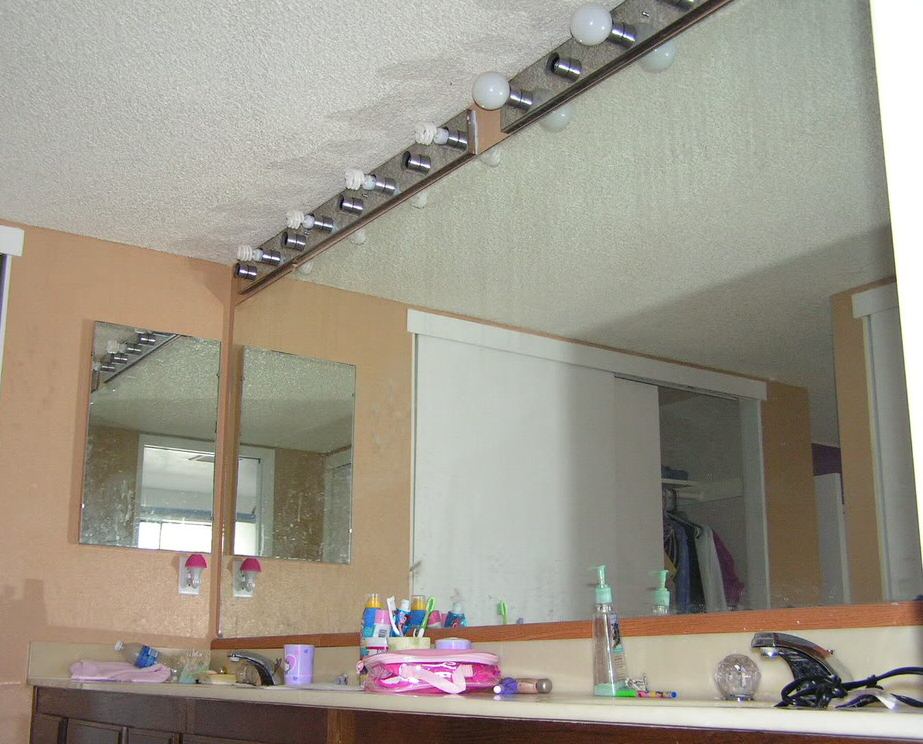
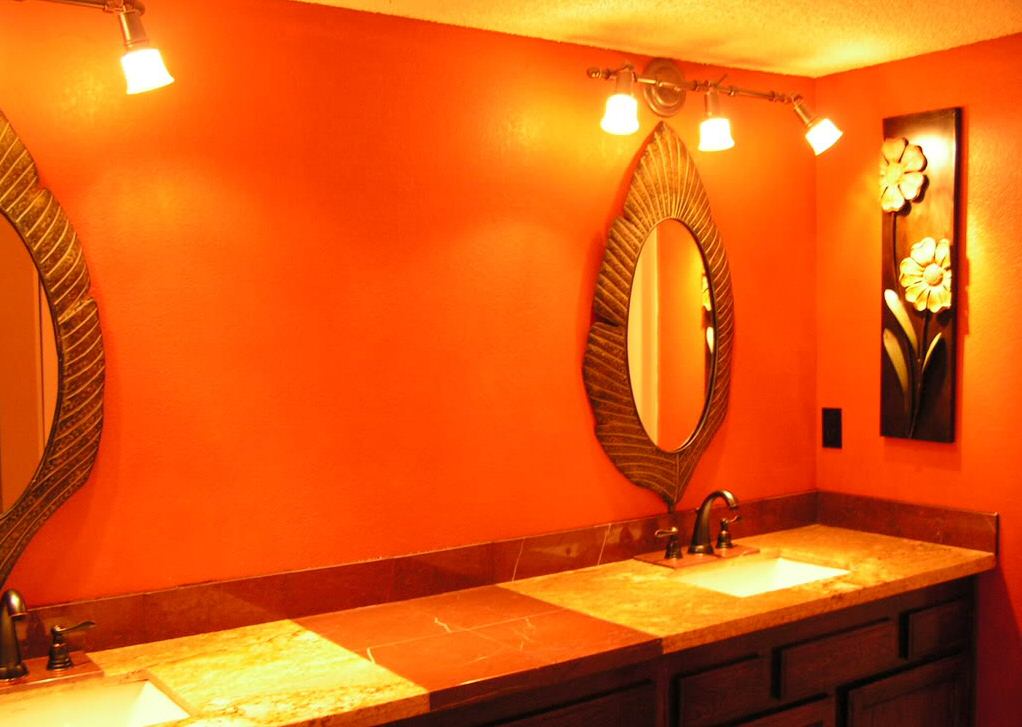
other angle
Well, without any experience in any of the these work, we read and took a chance to do it ourselves without hurting ourselves and do a good job… Since I’m a person who likes to try new things and passionate about my stuff, what can go wrong? 🙂 Never hurt to try if you do your homework and believe in yourself.
Working With Granite
First we need to go shopping for a great granite pattern, the more patterns and colors it has, the higher the price. Since out vanity top is extremely long 9′, we could get 9′ slab, but it’s will be extremely heavy to carry and we also like to have some designs with the middle of the vanity instead of a long boring vanity. We got an 8′ long, have them cut in half to carry them home.
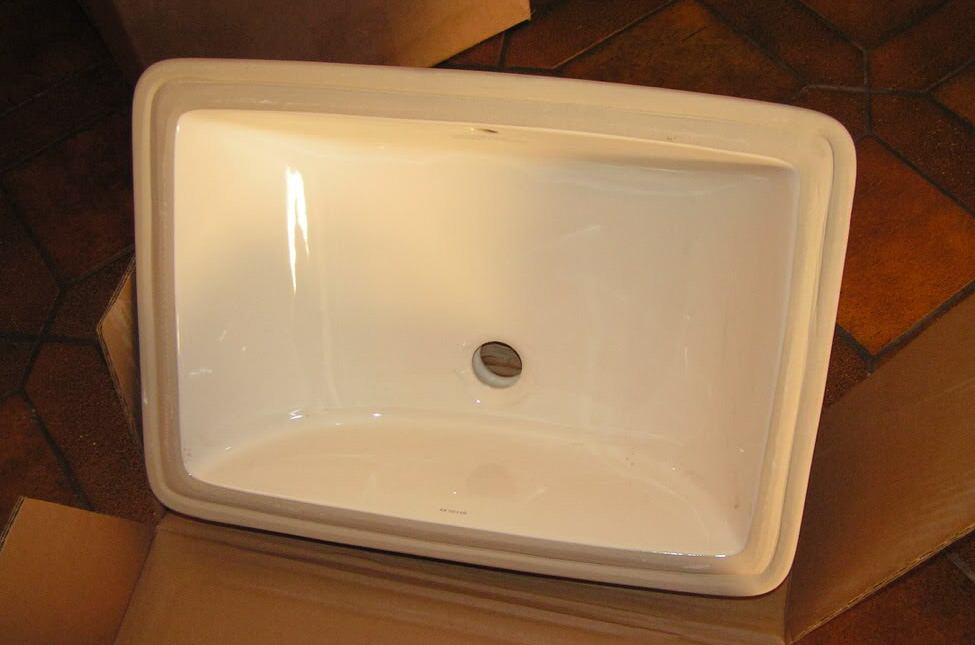
The wife doesn’t like top mount sinks like most of the new houses built with, she likes the rectangular, under-mount to make it harder for me. Any who, wife is queen, so we ordered some nice rectangular sinks.
The faucets must be the new oil rubbed bronze 8″ apart.
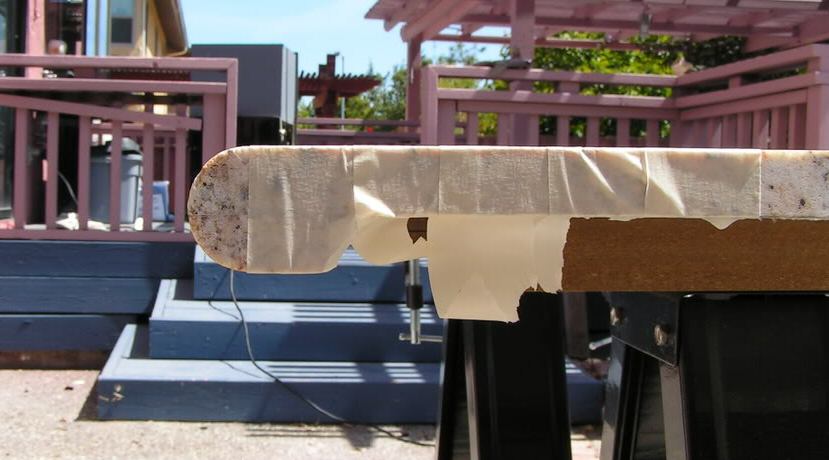
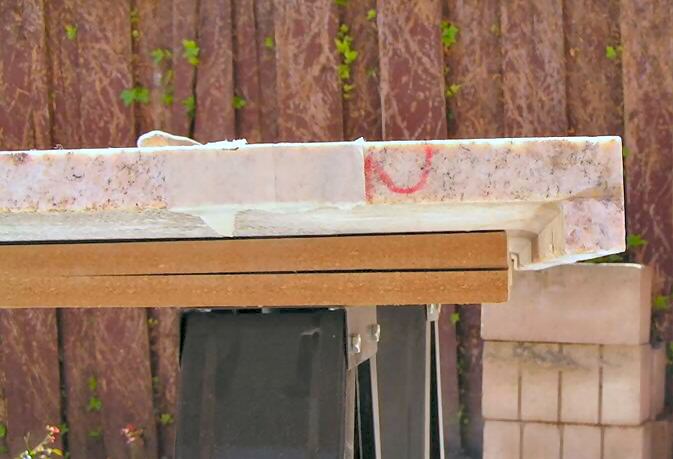
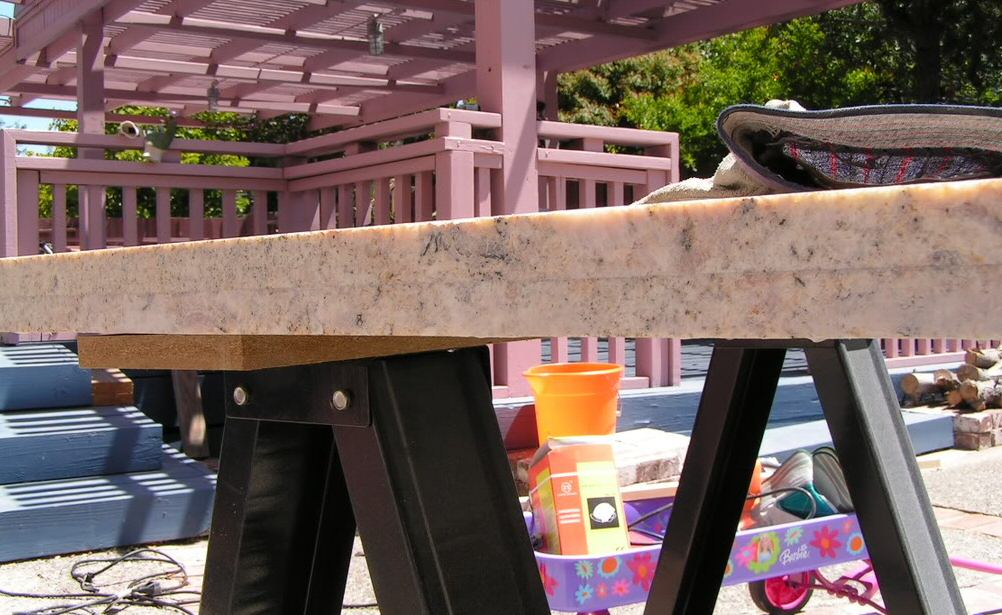
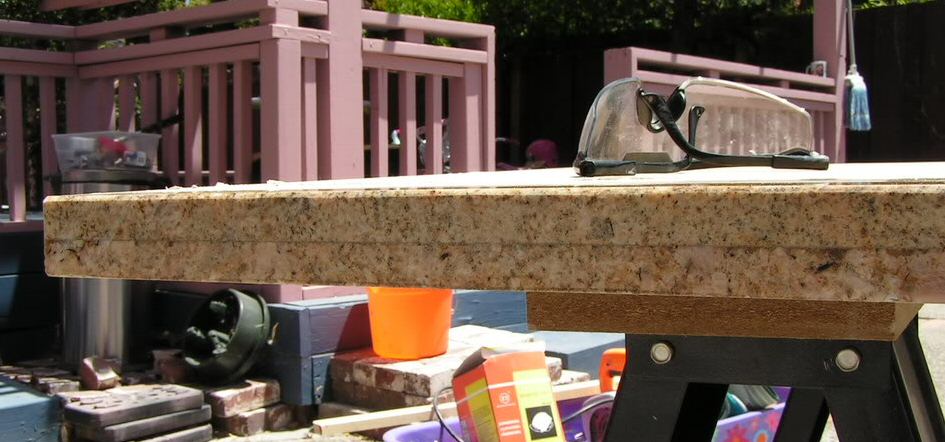
The standard already made slab already has rounded bull-nose buffed and ready to go, but the wife believe the rectangular sinks must go with the square nose instead, well, we need to cut the round bull nose then.
You can watch the videos for cutting this round nose to this square nose
Well, to make it look nice, we need to rounded the edges and buff the square surfaces also.
after 10 minutes buffing from small grades to largest grades pads.
At this time, we were so amazed with what we had done. We knew we could do this. Cutting out the sink holes will be the toughest one. It needs precision and patient and correct tools. Although we bought all the cheap tools from either the Internet or Harbor Freight Tools because we believe we only do this once for our house (I believe in doing it right the first time).
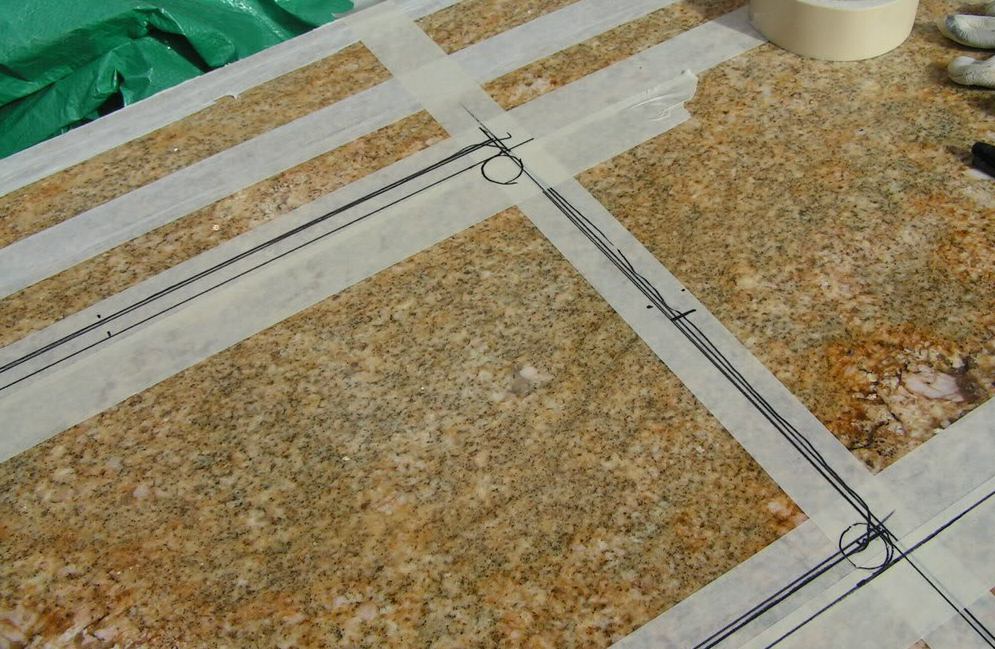
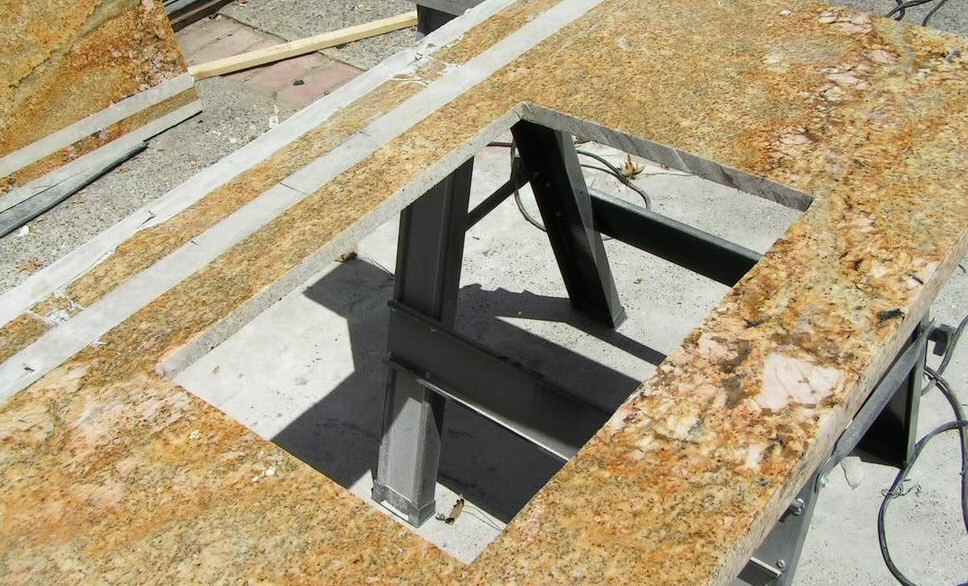
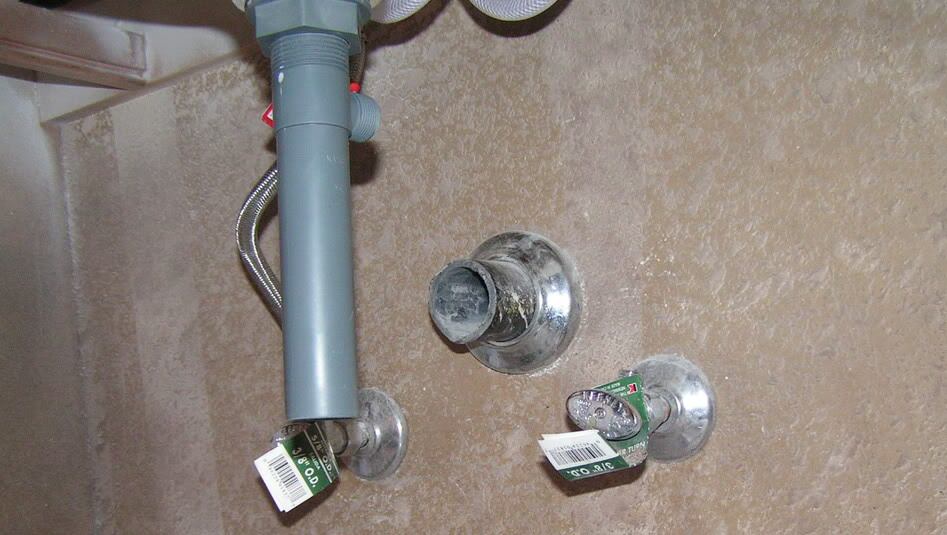
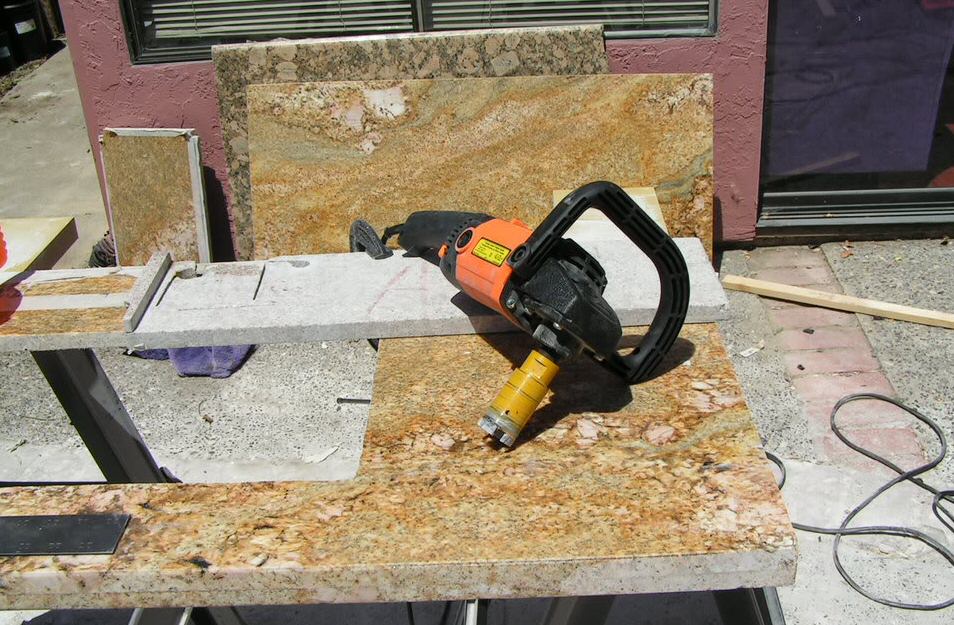
Well, the main part is here, cutting the holes in the granite without chipping and cracking it. First we need to measure the sink position relative to the side walls. We know the new positions will not fit the old plumbing pipes under the sink. The important thing is these 2 sinks must fit to the side wall evenly and leave the center part “centered”. So we cut and trimmed the 2 pieces of granite to the exact size of design. Then we start to draw out the guideline from the wall to the sink and use the sink template to mark all necessary lines to be cut. The clearance for the faucets plays a very critical part of these cuts. The left side will be different from the right side because the sinks actually are not in the center of each piece because of the plumbing drainage pipes.
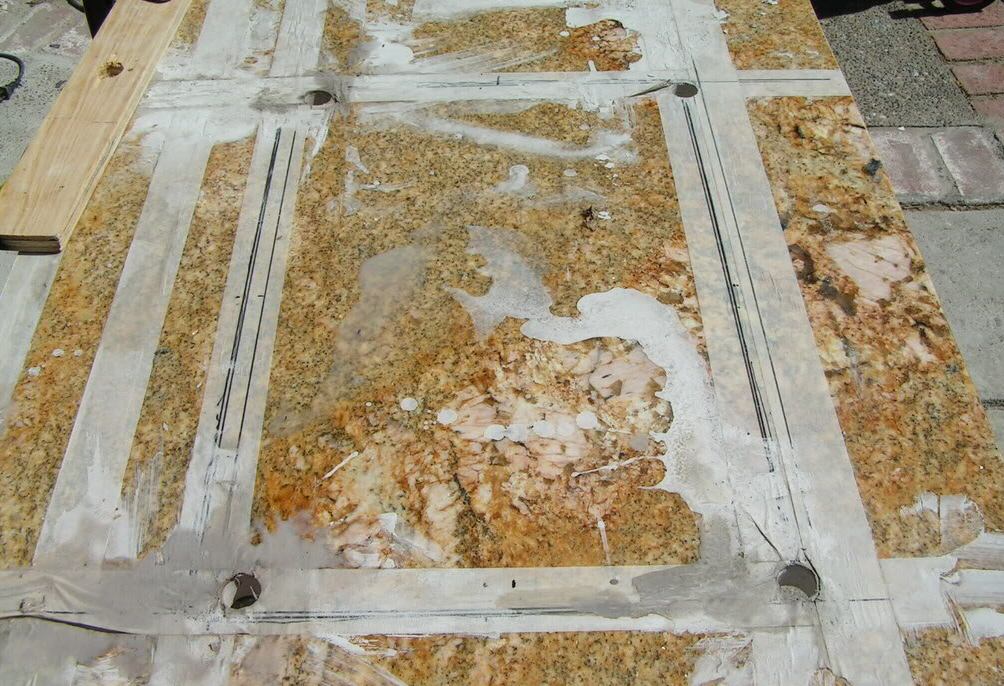
Since cutting the square, each corner actually can’t be a sharp corner due to the rounded blade constraint, we can’t over-cut at the corners, therefore, the best is to drill 4 rounded holes in the corners and then cut to these holes for the inner slab to fall down when cut at 4 corners. We found the best is 1″ holes instead of our 3/4″ holes. The circle is inside the sink hole, just the edge is overlapping the sink line a little.
It’s very hard to drill a straight line through granite with a small cheapy drill without a solid guide. We use a drilled piece of granite as a guide for our holes which works extremely well. The only thing is we have to clamp down the guide piece to the granite.
Well, it came out pretty nice although it’s not really straight because of the holes weren’t exact, but with grinding and buffing, it will come out nice.
VANITY & MIRRORS
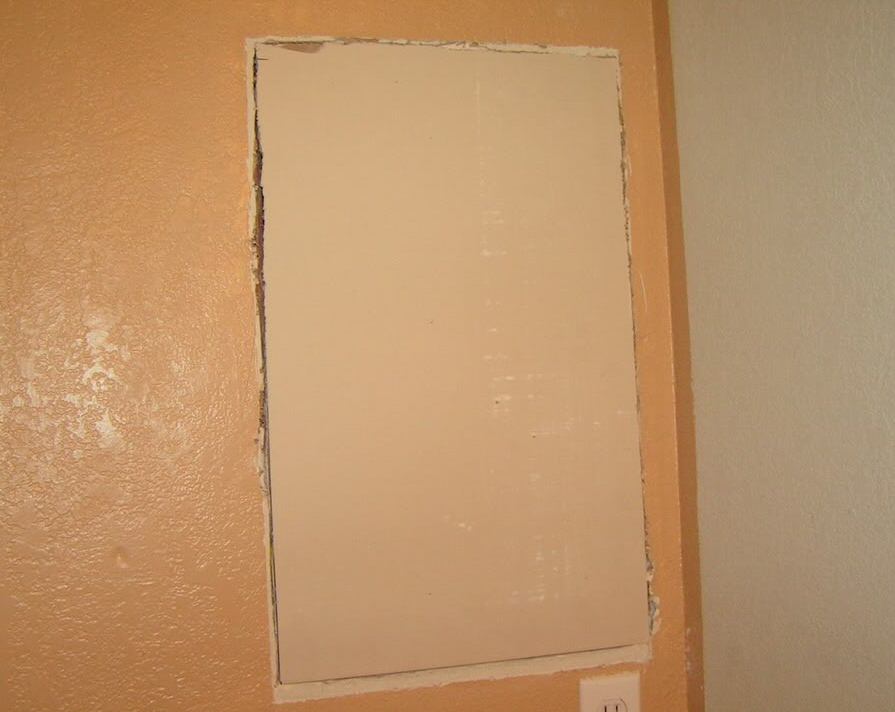
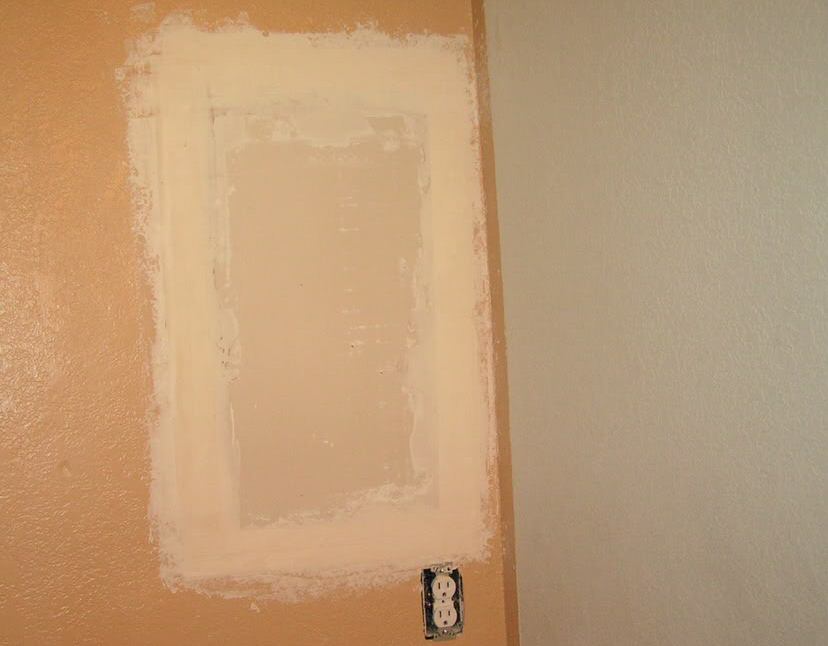
This also is a big job removing the big mirror on the wall… Slowly and carefully with heavy duty gloves. We should remove the whole Formica top and place a wooden board under the new granite tops, but since it’s so smooth and well placed, we decided to use it as the base instead of wooden board. Again, we have to measure and make sure to cut the sink hole correctly to the size of the new granite top. While mirror is out, patched the holes and paint the wall before we putting back the granite top. The wife didn’t want the medicine cabinet, so we have to take it out and fill the hole. Check the thickness of the wall and get the right board thickness, they come in 1/2″ & 5/8″.
They sell the paper tape to patch these gaps between the new board and the wall. Sand it down smoothly when it’s dried and use the rough surface plaster can to spray the smooth surface to make it as close to the wall as possible. It’s ready to be painted when it’s dried. When the sink holes are prepared, wall holes were patched dried and sanded, the walls are ready to be painted.
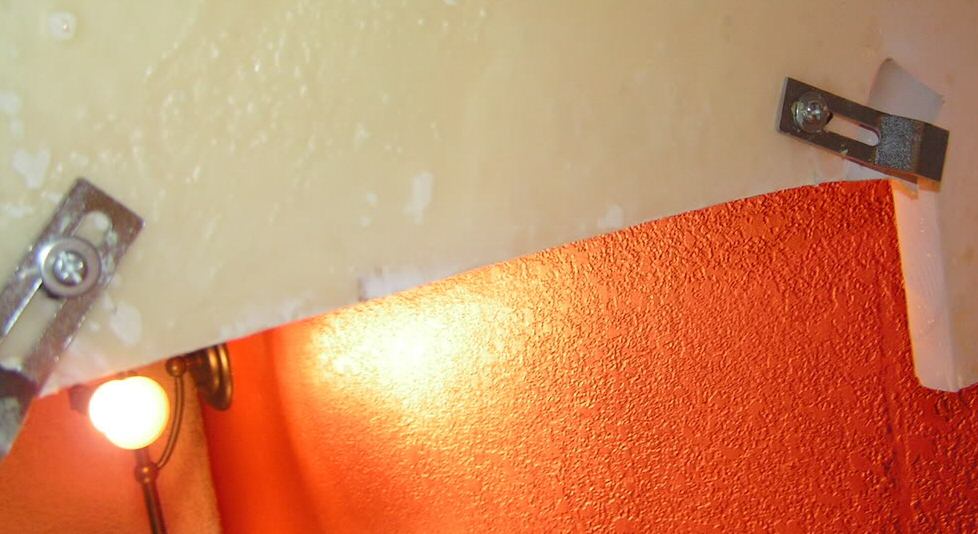
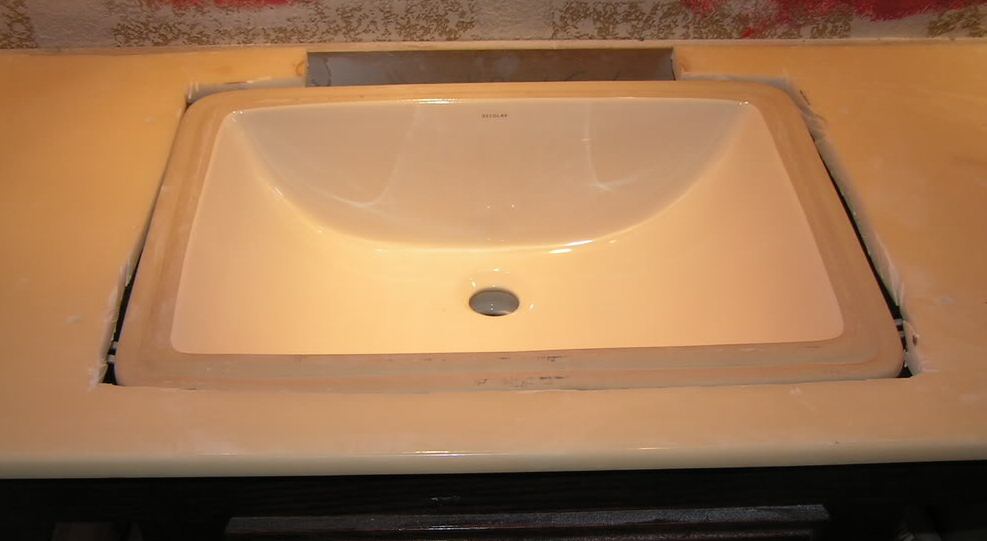
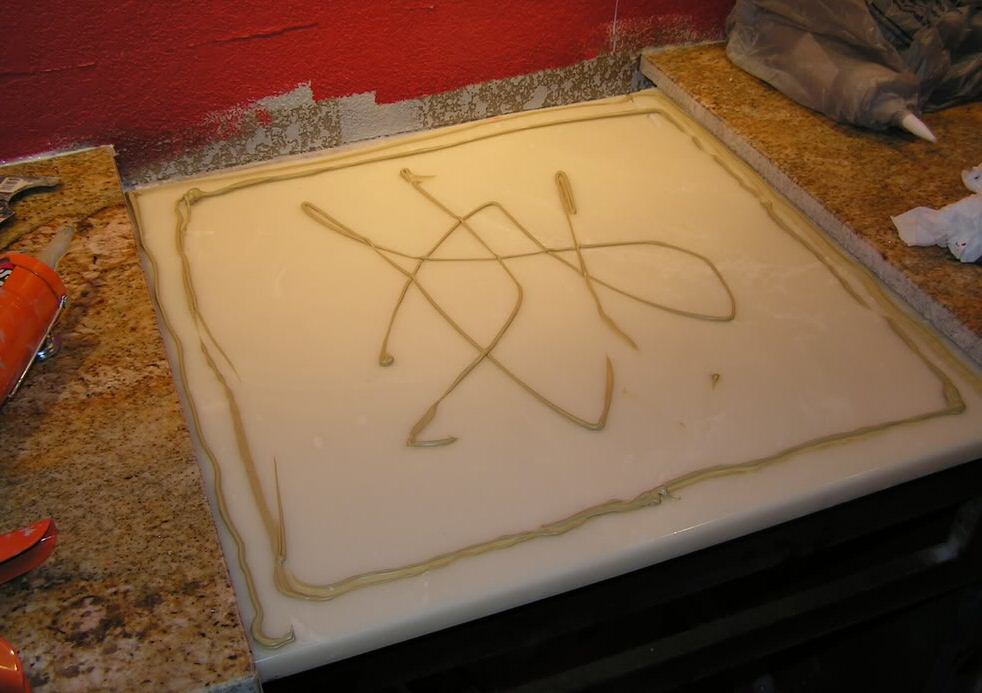
Now we’re ready for carrying up the granite tops and place it on the vanity surface. We trial a few times, sanding and cutting a little off the edge of the granite tops to make sure they fit correctly due to the imperfection of the walls themselves. Well, adhesive must be used to ensure the stability of the top onto the formica surface. Since the sinks are under-mount, we need to put 4 anchors under the support plate for each sink. Drill holes according to the size of the sink anchor specification and tapped them in slowly and straight.
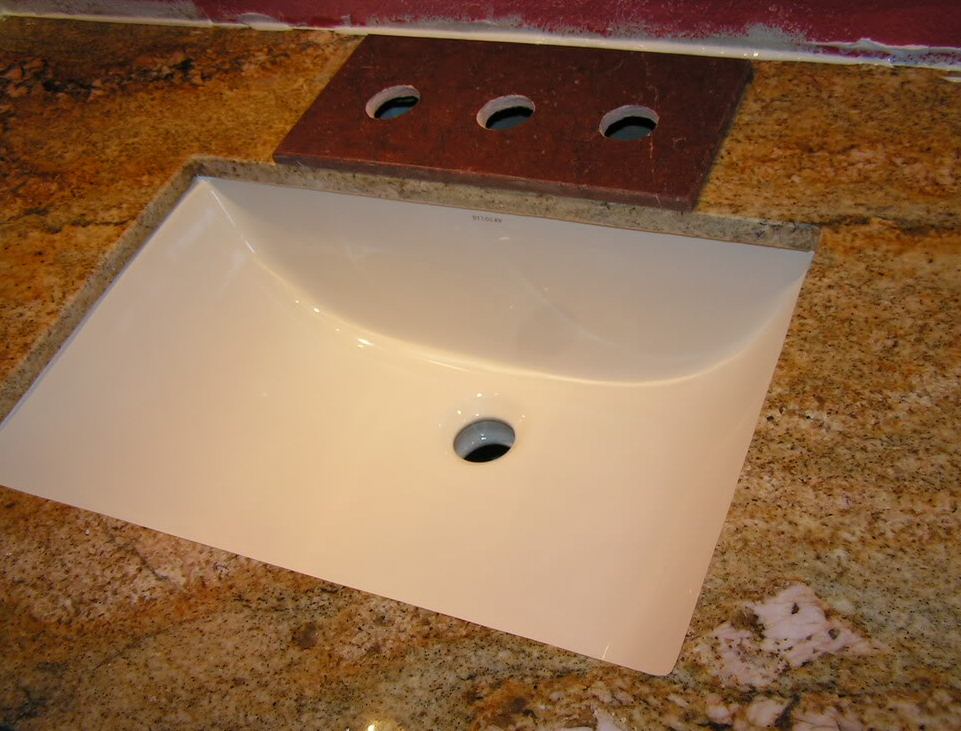
Now we mount the sink from the bottom up using anchor tabs to support it and raise it flush with the top surface.
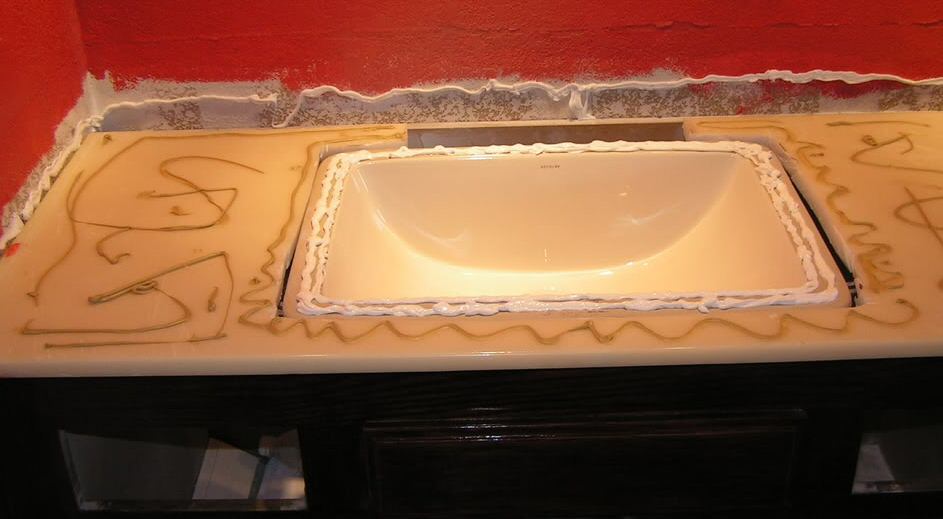
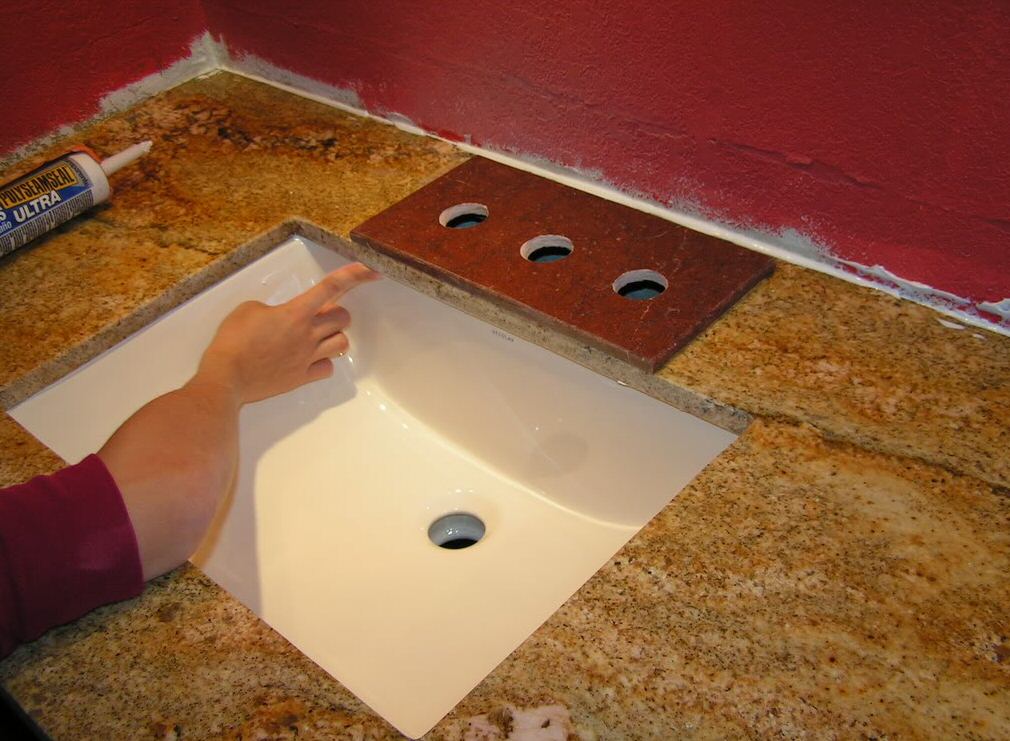
Now, we’re ready to put some adhesives to the surface and the sink.
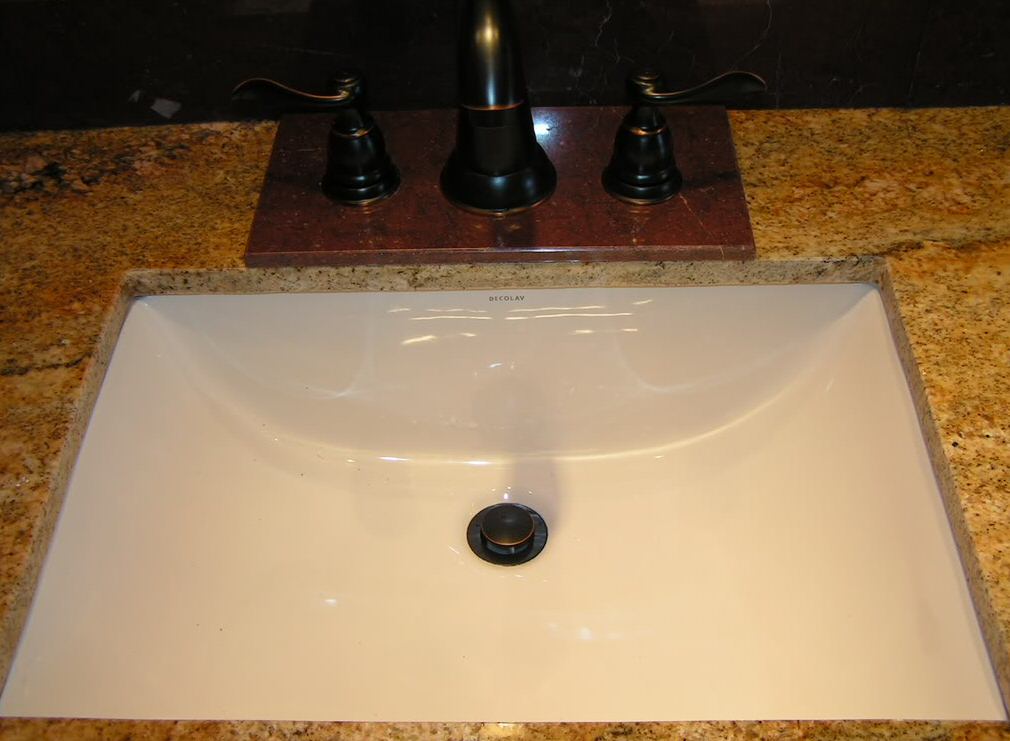
There isn’t much room to work with the faucets, the spout is a little short from the base to the sink, we have to move the base to the front but we got the thickness of the sink rim in the way. The measurement and cut out must be very close. We managed it well by using the marble plate for the faucets. The plate can be replaced and moved a little as we wanted.
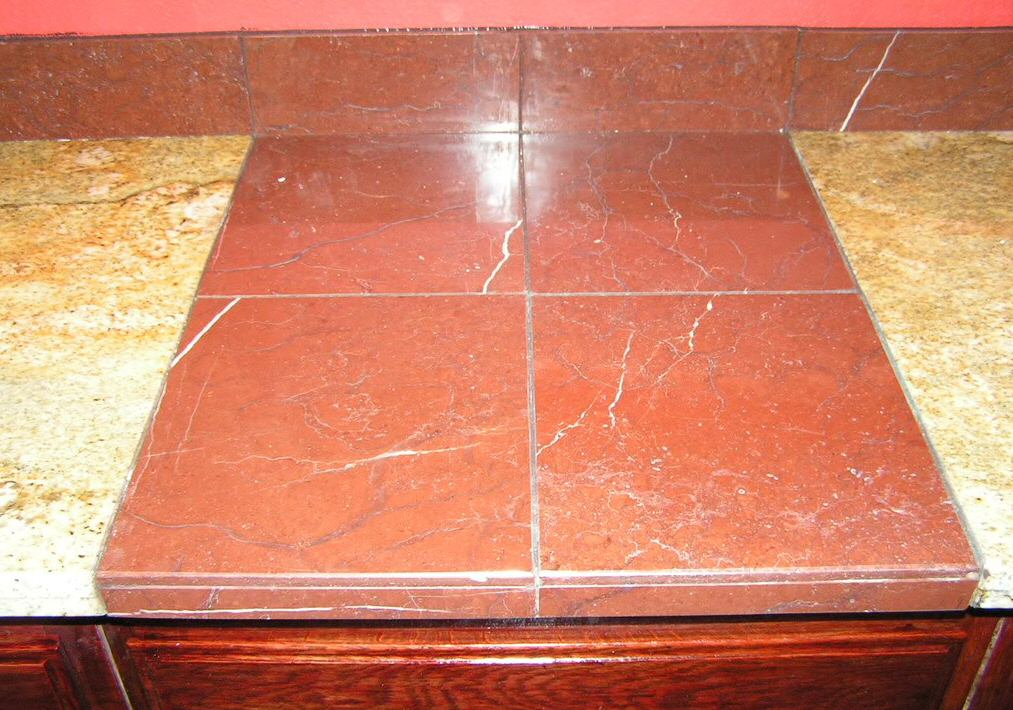
Since the design will have dark brown/cherry color marble vanity center and splash guard, we bought more than enough of these marble tiles because it’s very hard to cut without cracking or breaking due to the marble patterns. Anyhow, we did it, measure, cut, paste, buff, grind… etc.
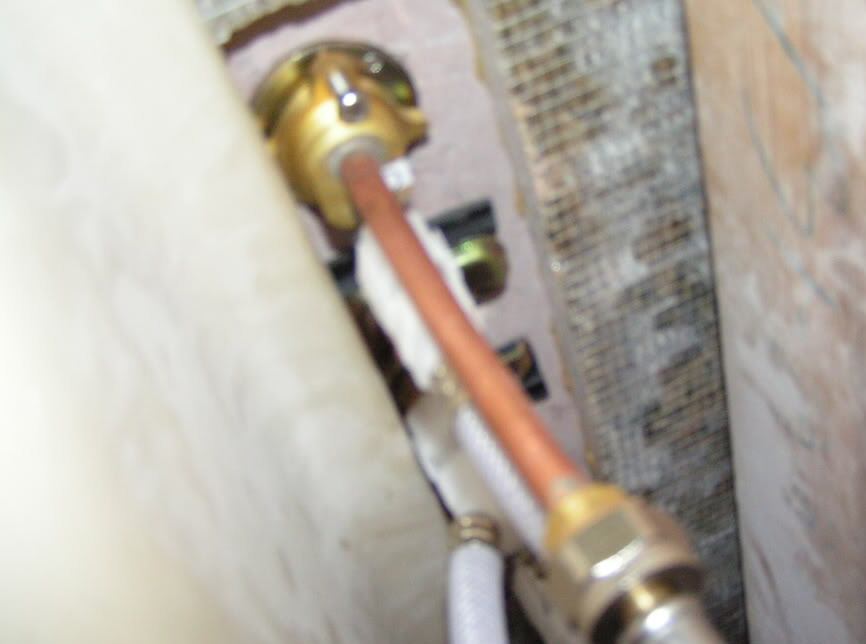
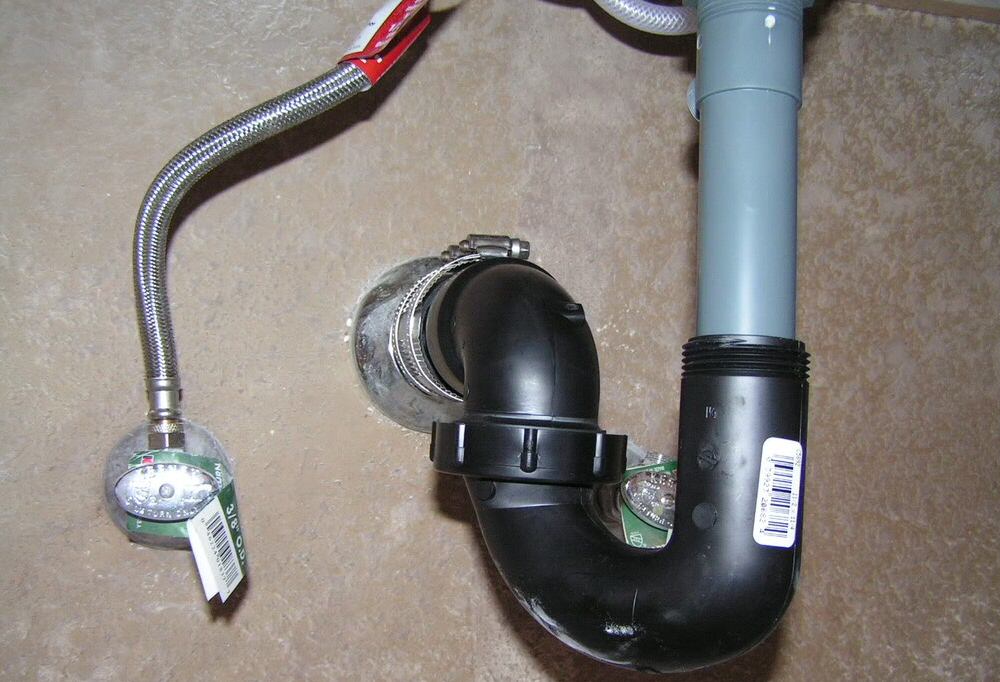
Ooha…. it came out right the first time. Well, next one is the plumbing, it’s a piece of cake compares to all the work we’ve done.
The drill 1 3/8″ for the faucet holes, again we use a drill guide made out of a granite block for guiding straight holes.
And the final finish that’s WOW to us, may be not to the PROS.
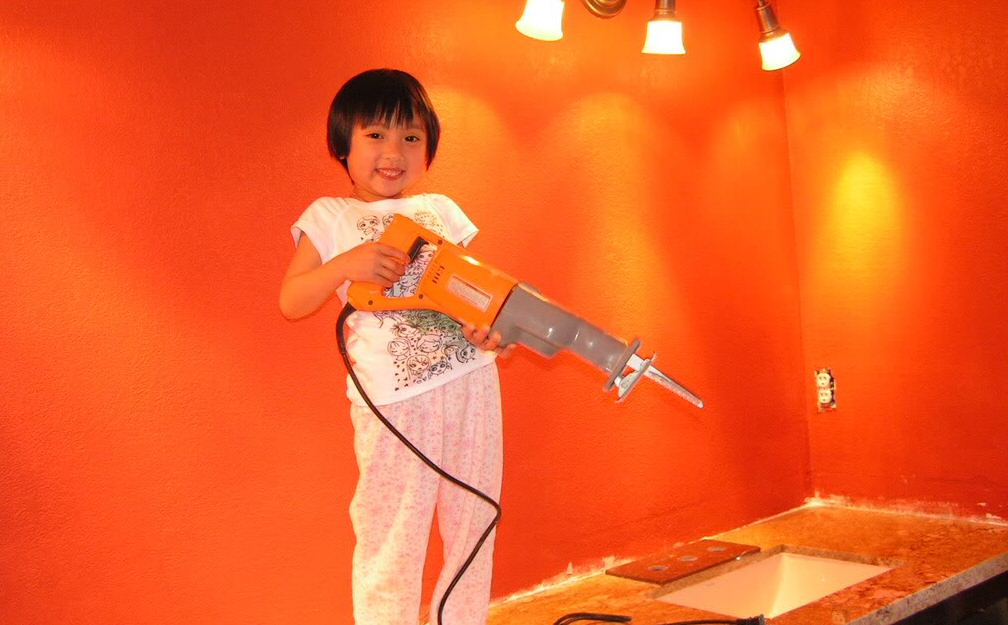
Again, until we do it, we won’t know what we can do and if we have the right crew (mom,dad, and the leader), anything can be done.
Well, it took 4 weekends and total of
Granite = $350.00 FGY in Union City, CA (Kitty saleslady) Nice & easy to deal with.
Marble = $60.00
Faucets = $ 300.00 (Lowes) Oil Rubbed Bronze Peerless Windemere model
Sinks = $ 140.00 from //www.fixtureuniverse.com/products/view.aspx?family=209429 (very good price and prompt delivery). There are many sites that quoted lower prices but with shipping charge is more. This website gave the best deal and services.
Mirrors = $120.00 (TJmax Home goods in Mercado center)
Plumbing = $60.00
Lights = $140.00 (Lowes)
Switch = $30.00 (Lowes)
Tools:
Tile cutter (4″@11,000RPM) = $40.00 Harborfreight
Sander/Polisher = $29.00 Harborfreightusa
Bombay Mahogany = $10.00
Jasco Paint remover = $7.00
Polishing dry pads/blades/holes cutters = $120.00 from McGillsWarehouse.com It’s a mistake to get 1.1mm pads, too thin, wear out fast and shipping charge is high therefore, I didn’t save any money and actually cost me more to order more pads. The $2 4″ segmented diamond blade is good and the ok diamond core 1 3/8″ drill bit
Polishing pads = $60.00 from www.toolocity.com pads are 2.2mm thick and last longer with lower shipping charge and the package price is great. If the stone is light color, make sure you get the white buffer instead of black because the black does leave black dust on your stone.
Misc blades = $30.00
Misc parts = $100.00
COMPLETE THE JOB WITH WIFE & KIDS “WOW” = PRICELESS
CHEERS,
7/6/08

