I got a new Tenda N150 router for my Aunt’s condo for $15 since it’s a small condo. She doesn’t need a N300 for a 2 bedroom single story place. The internet provider is DSL. Most routers have the same functions, and hardware connections. This Tenda router has 4 ethernet RJ45 inputs and 1 output. The connection is always the same for it to function correctly. For a little more money, I use Trendnet N-300 router for my cable internet.
1. Ethernet cable from PC to 1 of these 4 Ethernet inputs.
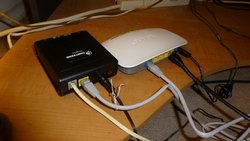
2. The Internet (modem) Ethernet port is connected to DSL modem or Cable modem, in this case, it’s DSL modem. All DSL modem should have telephone cable input connection.
3. Both of modem and router power must be on and internet must be functional without router. To check and make sure internet is available by connecting the Ethernet cable from PC directly to Ethernet port of the modem.
DSL or Cable modem connect the PC to the internet. Router is the distribution gates to take internet flow to other devices and it’s in the middle of the internet and your devices. It provides security while distributing internet flow to devices.
* Gray RJ45 (ethernet) cable connects router to modem – black RJ45 (ethernet) cable connects router to PC – small telephone cable is connected to telephone line of the house. Both power of the modem and router must be connected and turned on for the system to work.
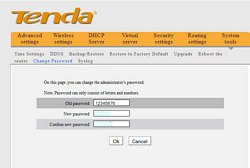
Every time we get a new router, the first thing we need to do is to change the default Admin password. Read the quick installation manual. Each company has its own ip address to access the router. Normally, they all start with 192.168.x.x. When we type to correct ip address on our browser, we should see the admin screen.
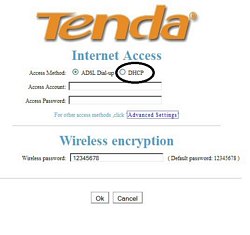
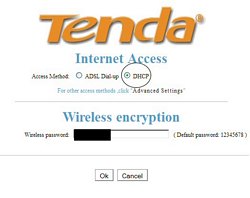
Select DHCP option to set up the router.
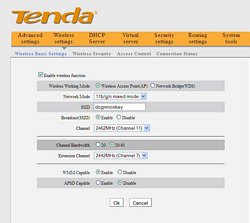
Choose a SSID name for your router network. You can choose to broadcast your SSID or hide it, if you’re going to install wireless network printer, for auto detection, better select broadcast.
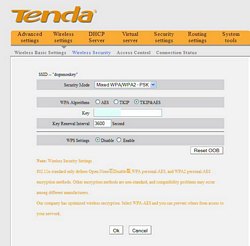
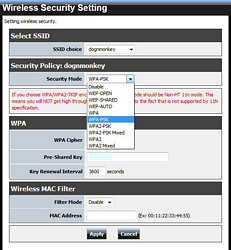
Select security type, better to use mixed mode since this router doesn’t support many SSID’s.
Save and reboot the router, it’s ready to be connected wirelessly with any devices. Wireless devices should scan the SSID we defined in the router set up, and they password is the key we created with SSID. Make sure the wireless devices select the correct type of security TKIP or AES that they support.
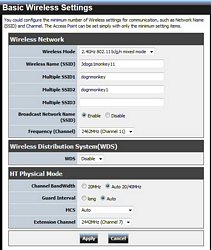
The more expensive Router N300 should have supports for multiple SSIDs, which allows us to create a few SSIDs with different types of securities, the less secured one for guess for instance. WPA is supported by most wireless devices, and WPA2/AES may not.
We can also beef up the security by using wireless MAC filter, which we have to enter every wireless devices MAC address.
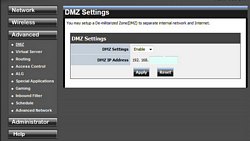
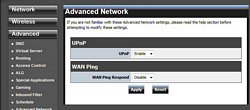
DMZ options required to connect some of the Surveillance systems over the internet and UPNP needed to be enabled for people who need to use VPN to connect to company’s servers.

2 Comments
Hi outstanding blog! Does running a blog similar to this require a great deal of work?
I have no expertise in computer programming but I had
been hoping to start my own blog soon. Anyways, if you have any suggestions or techniques for new blog owners please share.
I understand this is off subject but I simply needed to ask.
Many thanks!
Hi there, I would like to subscribe for this weblog to get hottest updates,
thus where can i do it please help out.