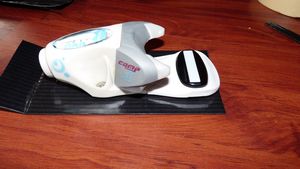
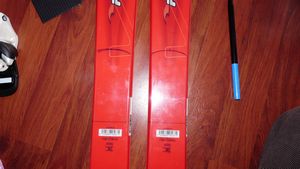
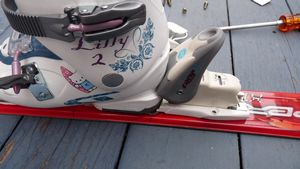
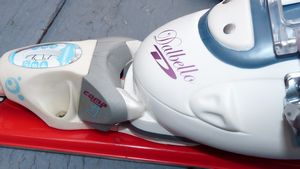
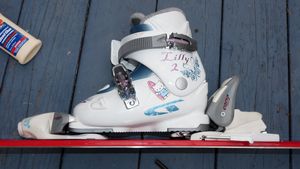
Ski season is going to start, some Sports Authority stores put all ski equipment on sale and we picked up a pair of skis for my daughter and bindings for less than $70. Since the boots must have flowers or girly look, we had to pay $65 for a pair of Dabella at Any Mountain store. The skis are on sale, but the bindings installation is not, $35.00. For me, I like to try new things, so I decided to install them myself.
There are some instructions on the internet, but none were clearly shown how to do it. I think it’s because of the liability. Well, my daughter is 7, 4 feet tall, but only weighs 43lb. According to the Rossignol chart, my daughter can only use the skis less than 100cm, although they will only measured below her chin. Anyhow, we got everything my little girl.
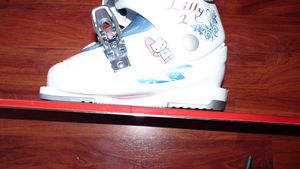
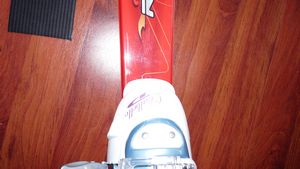
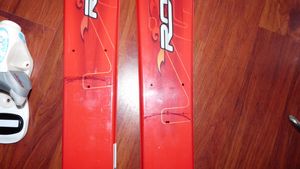
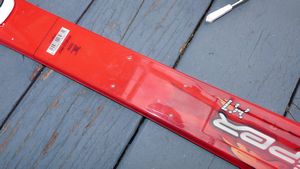
So, each ski has a line in the middle as a center mark for binding installation. Each boot has a line mark C in the center of the base also. What we need to do is to make sure the front and the back of the bindings and the boot mated together with center marks aligned.
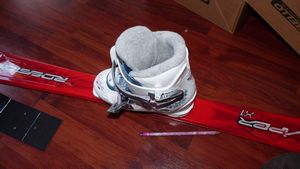
1. With the center marks aligned (boot & ski), place the tip binding to the tip of the boot to see where we should mount this part. We found out that there is a mark on the toes binding that’s pretty much where the tip of the boot should be.
2. With the ski and boot center marks aligned, use marker to mark the tip and back of the boot on the ski.
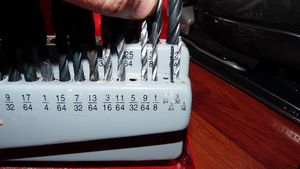
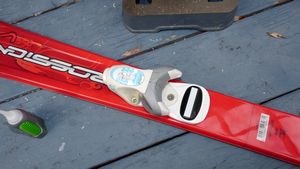
Draw a straight line touching the tip mark across the ski. Aligned the center mark (2 parts separation mark) of the front binding to the straight line across the tip of the boot. Now we can select the drill bit, the drill bit should be smaller than the screws themselves. In our case, we used 9/64 drill bit.
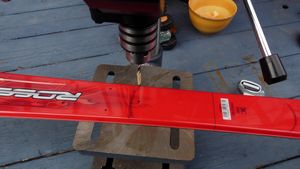
We marked the length of the drill depth with the screws with tape to make sure we don’t drill tooooo deep. Using the drill press, we started with the center hole first. Slowly and precisely and stopped just before the taped mark.
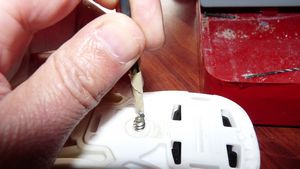
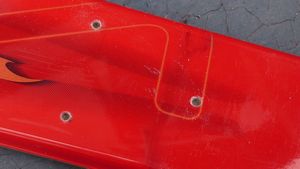
After the center hole is drilled, we aligned the front binding (no screws attached) again and mark when neccessary to make sure all 3 holes will align with the binding holes. Again, slowly and precisely until just before the taped mark on the drill bit. When 3 holes are done. The next thing is to get the screws and some glue. We believed we didn’t use the correct glue, it’s 5 minute loctite superglue which actually dry up faster out door than 30 seconds. We had to screw them down quickly before the superglue sets in. We just filled the holes with this superglue. We should be using the wood glue which we also bought. Anyhow, it came out fine, the screws were tightly done.
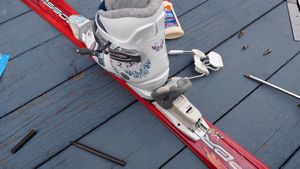
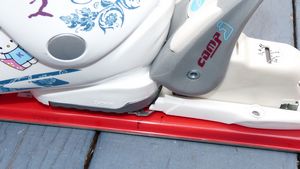
Now the front binding is done, we need to install the heel binding. Push the front boot in the front binding fully, remove the plastic part on the heel binding, slide it up to the heel of the boot, mark the where about to place the heel binding on the skis. Mark the holes and center everything. The heel binding has some adjustment for the length of the boot, it should be somewhere in the middle. Just lift the lock and move it forward or backward.
Again, use a narrow marker to mark the 4 holes, centered and start with the back hole, one by one and re-mark the hole for each drill, make sure all 4 drilled holes fit the holes on the binding. Make sure to put the plastic part back after marked and drilled the heel binding.
The glue we should use is the one that has time to settled, superglue is too fast and we need to screw in very quickly. Wood glue or 5 minutes epoxy are the best. We screw with hand force slowly and firmly until all the screws went down completely until they stopped. The glue will hold them in place. The best is to see the bindings are totally flat with the ski surface.
Again, this is the way we did ours, please do yours with your own risks. These are kids skis and they’re only $40.00 a pair on sale and not $200.00. We’ll be testing these out over the Thanksgiving weekend if there is enough snow.
Cheers,
idog

