
2013-08-12 To change video volume and music volume – Sometimes, I want the video music volume is lower than the original voice of the video.


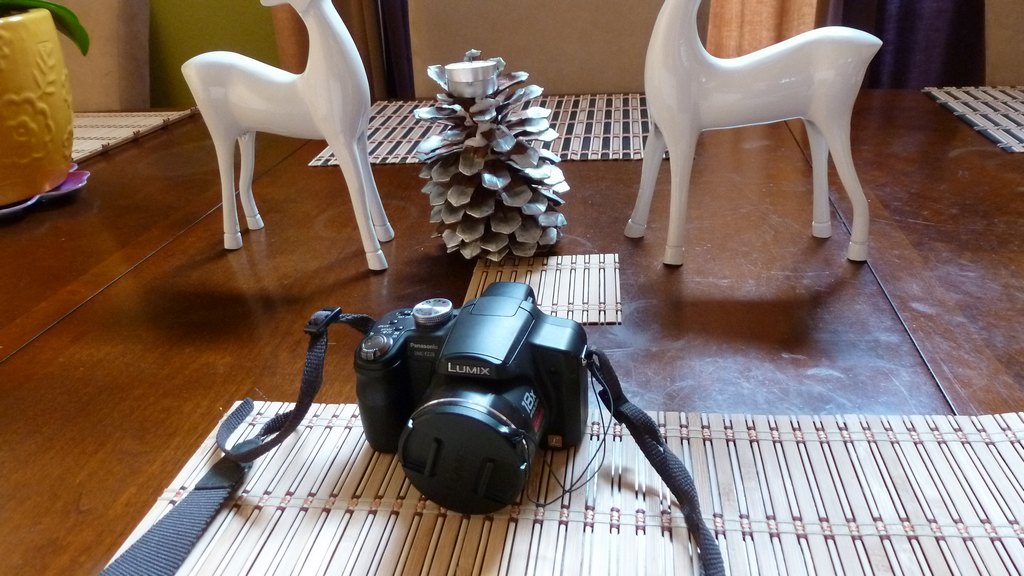
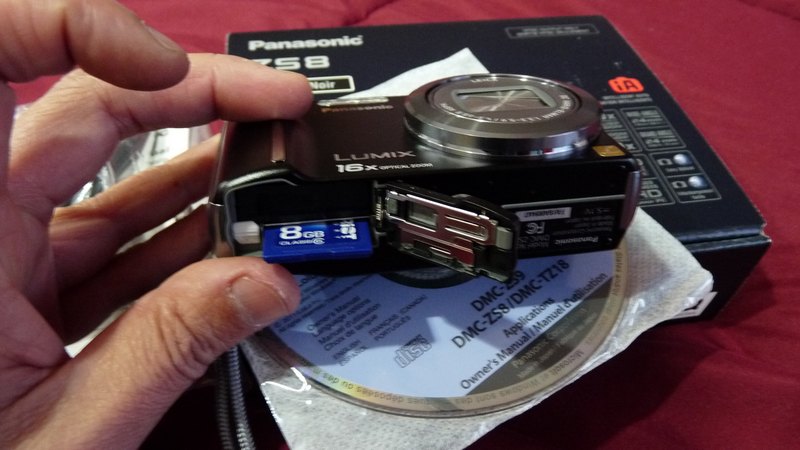
Most people are using Windows 7 but they don’t know that it does come with a very easy to use movie editing software- . Many would go out and buy third party software and don’t even know how to use them. Many video editing software do need some technical knowledge. The new and improved Windows 7 movie maker does produce very good HD quality wmv file. HD quality movies have resolutions of 1280×720 or 1920×1080 which most of new video or camera recorders support. I have 2 digital cameras that has HD movie recordable features which produce 1280×720 video clips: Panasonic FZ28 and ZS8, they both use SDHC cards (0ver 4GB capacity) and they limit each video recording session to 8 minutes long. Every time we go on a trip, my 8GB SDHC cards would be filled with both images and video clips. I do create movies with images and videos together with music. The problem with embedding music into the movie is that if the movie is loaded to youtube, the copyright stuff will stop the sound from playing, unless it’s set to private or NOT public (people with the exact link can view). Anyhow, SDHC cards (over 4GB) can only be read by an SDHC card readers, the newer ones would do, but the older ones (a few years old) can’t read. The reason I mention this is that older laptops with older card readers may not read anything over 4GB, then we need to use the cable that come with the camera to load it to the computer, it’s to me is a hassle. I just like to pop out the SD card, put it in the laptop or desktop with SDHC card readers and load all my images and movies to the hard drive for editing. So let’s get started, download Windows Live Essentials:Movie Maker or use the older movie maker. I believe the only difference is that the old one doesn’t support HD movie format (16:9). By the way, if you set your camera to take 4:3, then you should use 4:3 format. These days, all newer cameras will let you set to take pictures or record movies in 16:9 (widescreen) as default, remember to set it there.
For the quickest edit and render of any movie, load all contents from SD card to the hard drive because hard drive speeds are normally faster than USB (SD card reader) speeds. Now, cut, copy and paste: cut = move the contents to a new location (when done, nothing is left at the SD card), copy = copy the contents to a new location and the contents are still there after the copy, paste = put cut or copy contents to a new location.


So, now we should have a folder in the hard drive with all the images and videos we shot in the SD card (make sure we remember where we paste move/copy it to). To create a movie, we should know how to add images, video clips, how to cut out the part of the video clip that we don’t want, how to add transitions to make scene to scene look nice, how to add title, captions, some basic effects: speed up/slow down a part of the videos or panning images) and music to finalize the movie.
Launch the WMM and add files


To add files to the working space (screen), we can add a single file or using “shift and arrowdown” or “Ctrl + click files” to select many files.


The image is default as 7 seconds display, we can change the duration by changing it in the options or just this single image. Again, to add effect like panning while displaying the image in the movie, select the type of panning we want to use or select auto panning. After adding all the files to the project, we now can select the video clips we want to edit : cut out scenes we don’t want. To cut out scene we don’t want, slide the marker to the beginning of the section we’re going to cut out and click split there, then to the end of the part we want to remove, click split again, now we have the clip in the middle of the video we don’t want, click the section and hit the “delete” key or right click the section select remove.


Now we should be able to cut all the unwanted scenes out of all video clips in the working screen (space). When everything is done with images (panning options), all good video clips, we need to add transitions for each remaining clips if we want to. Just click at the beginning of each video clip, that where the transition selected will be. When we double click the transition, it will automatically placed at the marker where we click our scene.


Titles and Captions
Now we can add title to our movie and captions on each clips that we want to show. Just select the title type and type the name of the title and it’s done.

For captions, we can place the market anywhere and add the captions there. We can select font types and color for the captions to make it stand out dependent upon the color of the scenes.


Now the movie is almost ready, with original sound of the video clips, if we want to add music to the movie, this is the last steps, because the longer music files will be shorten to fit the movie length which is very neat (it doesn’t extend the music file to fit the movie). Movie Maker does support the popular MP3 music file.


Since we don’t want the music stops in the middle of the song where the movie ends, we can add the fade-in and fade-out to smooth sound out.


Now we have the whole movie with panning images, transitional video clips, title and captions, finalized with music, we’re ready to save the movie file to HD WMV format. The HD format is default 1080, but our original video clips are 1280×720, Movie maker has the recommend save option which automatically detect our video clips size and save it as 1280×720 which is very efficient. Anyhow, WMV file is very big because it’s high resolutions and high bitrate.


![]()
Convert WMV to MP4 using Handbrake
So, we got a nice widescreen 16:9 movie in a BIG WMV file, we want to make a MP4 version of this to upload to youtube or to make it smaller and usable with all players out there, we need to use Handbrake to convert WMV to MP4 (M4V apple).


![]()
The quality of the videos of both M4V (MP4) at 2500 and WMV default are almost the same, but the file sizes are a big difference. If you don’t like the quality of 2500, you can set it higher, but after 4000, nothing will help with MP4.
This time, I believe Windows Movie Maker beats Mac OS X imovie HD hands down in both quality and ease of use. Again, it’s only my opinions, but I did test both of them out.