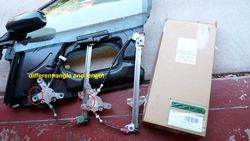
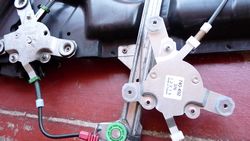
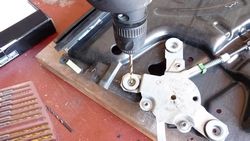
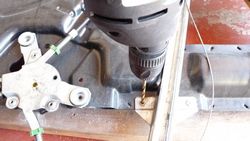
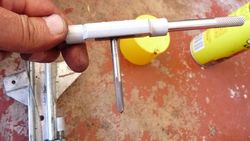
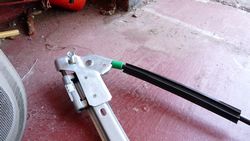
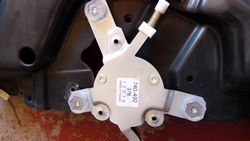
My old faithful 96 A6 C4 had the lift cable broke half way up, the window stuck, the motor turns but the window doesn’t move. There are all types of cables sold on Ebay, but I found this Doorman DOR-740492 assembly that seemed to fit and I tried it. Since the original assembly was riveted onto the door subframe, we need drill and various size bits to drill and punch the rivets out. The new part has threaded nuts but no bolts, so we need M6 x 16mm bolts, and the mounting nuts were not there in the new part, we need tap & die set with M6 size 1 thread maker to create nuts for the mounting bolts. I found quite detailed.
Dorman 740-492 Front Driver Side Replacement Power Window Regulator for Audi A6/S6
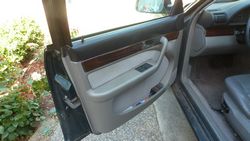
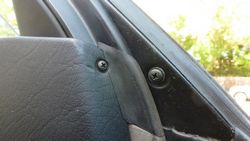
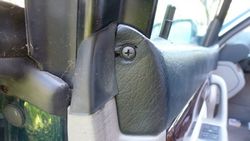
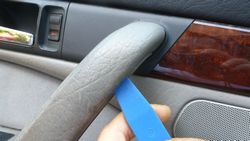
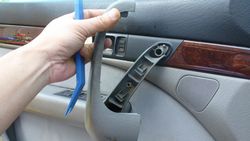
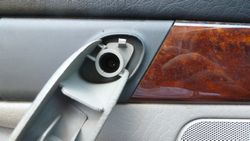
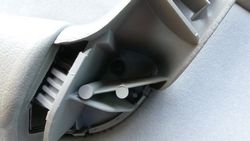
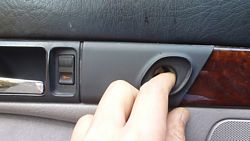
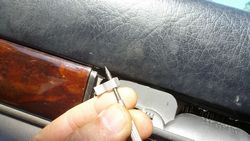
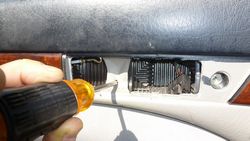
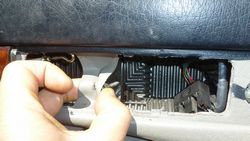
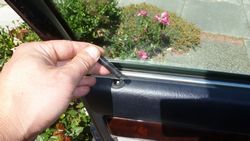
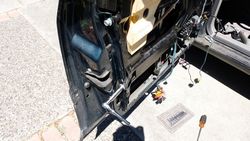
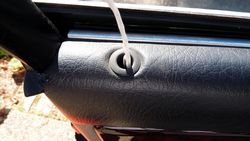
Audi door panel doesn’t use push in clips like most other cars, so don’t try to pry or yank the panel out at all. It’s secure by these downward vertical hooks, so after removing 5 philips panel screws, some cables and we can lift the panel UP and OUT.
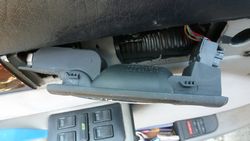
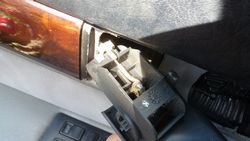
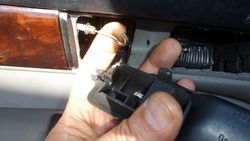
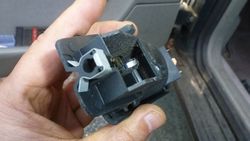
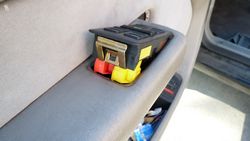
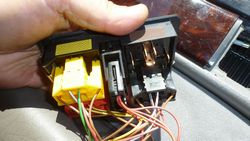
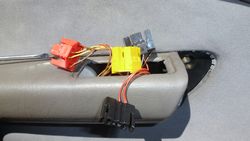
Now, all 5 screws are out, all we need to do is to remove all the plugs and lift the panel off the door. The windows switch unit has a big clip securing it to the base. Use a screw driver, push the top clip until it’s clear and lift the back up slowly out. All the plugs are colored coded so need no worry putting them back.
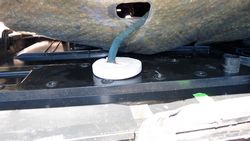
Remove the white foam and some attached connectors and remove the panel.
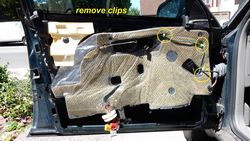
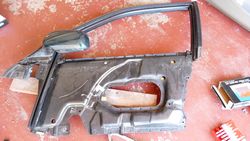
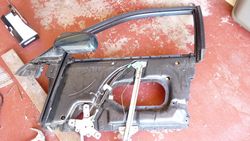
When the panel is out, we need to remove all the cable attachments clips to the subframe. There are quite a few and they’re hard to remove without breaking them. After this, we will remove the subframe which has the window included in it: 4 – 13mm bolts.
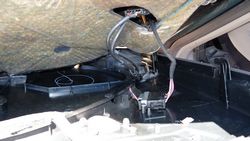
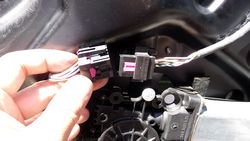
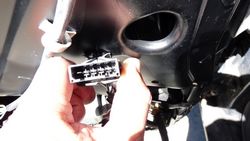
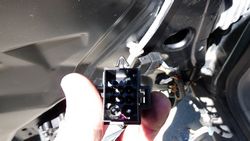
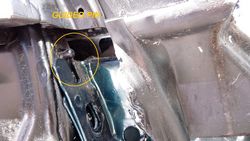
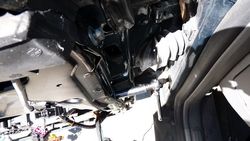
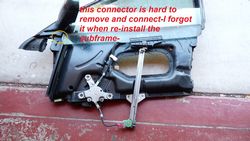
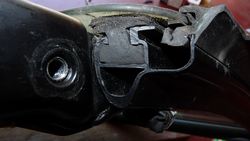
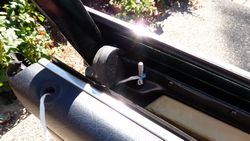
There are 4 – 13mm bolts securing the subframe in place – there’s also a guide pin to help placing the subframe in place. We need to remove 4 bolts, an electrical connector behind the rear view mirror and lift the subframe out. The electrical connector is very hard to remove and don’t forget at installation.
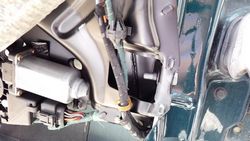
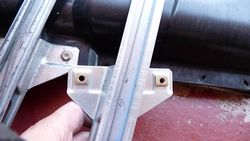
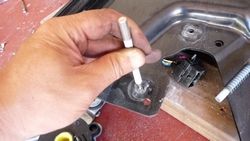
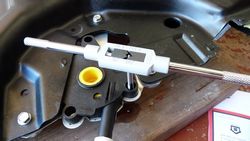
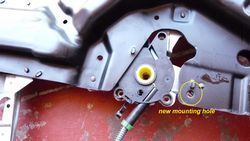
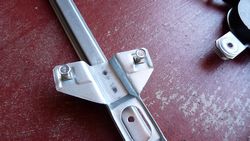
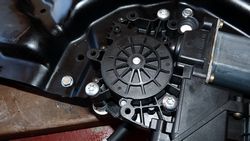
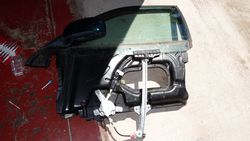
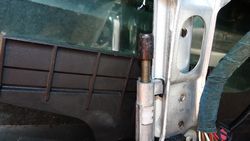
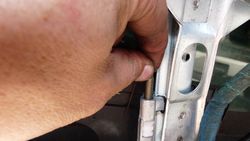
The doorman assembly is different from the original but it still fit perfectly with a different mounting hole on the subframe. The only thing we need to do is to remove all the original rivets and use tap and die to create threads M6 size 1 for the motor mount. A little more work is needed. We also need M6 16mm bolts for all these mounting holes for the new assembly.
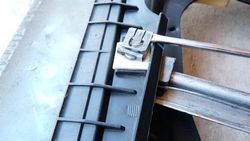
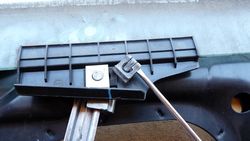
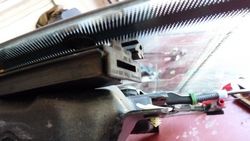
To remove the glass, we need to remove the clip and lift the plastic out, sliding it to the bottom of the subframe, make sure to remove the rubber blocks on the rails.
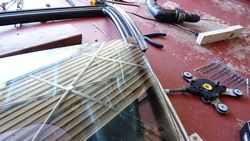
Need drill and puncher to remove all old rivets.
There are 3 nuts that need threaded with M6 size 1 for mounting the motor.
When the threads are made, we can mount the assembly and the motor onto the subframe, then the glass and stoppers and we can mount the subframe back on the door.
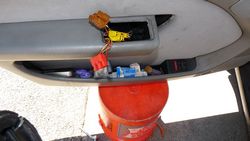
If working alone, I recommend a bucket to rest the subframe and door panel on when putting things back. For the subframe, make sure the electrical plug at the rear view mirror is plugged and rest the subframe on the guide pin and the bucket, other than that, everything should be the reverse of removing them.
*** When the subframe is back, before putting the panel back on, lift the window up all the way, we may have to adjust to make sure it came up all the way***
- G12 & G13 Coolant for Audi Cars
- How To Install ElsaWin 5.2 To Windows 8 or Windows 10
- 96 A6 Avant Work Horse



3 Comments
I am trying to get to the regulator of an 2008 Audi A8 Quatrro. I got the door panel off and have watched videos how to take the window out. Once I have replaced the new regulator, how can I get my push the new regulator back through ? There is no hole to put my hand through to push it back through. The videos show holes for A4. There are rivets that appear would have to been drilled off to get to it. Any suggestions?
Yes, I believe i also had to rivet some parts