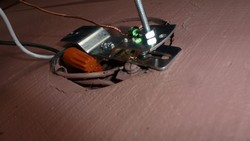
2017-06-23 After 5 years, both of the lantern no longer worked. We opened them up and replace the AC/DC converters and they work again.
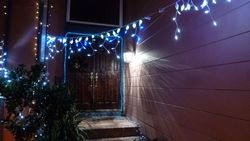
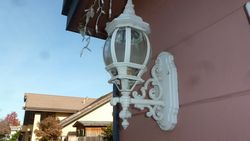
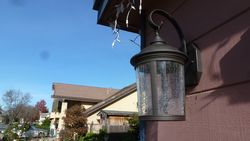
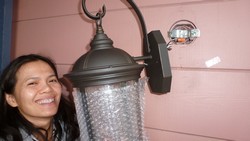
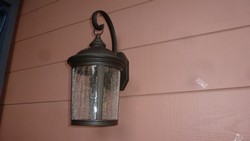
Our house was built in the late 70’s, the front door light is old, Costco has some LED lantern for sale, we got 2 for our house this Christmas. The installation is straight forward and the lamp is amazing – on at dusk and off at dawn – LED lights only consume 8.9 watts. It’s a nice upgrade and the lights designed to last 15 years with only 8.9W consumption.
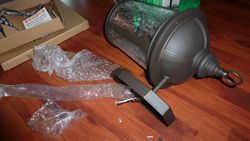
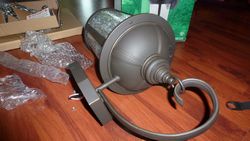
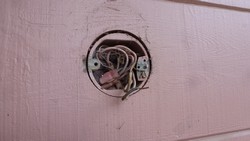
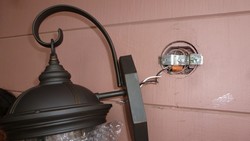
Turn off the electrical system, remove the old heavy lamp, we have the outlet. The lantern came with all the brackets and necessary stuff to install and mount, assemble the lantern first before mounting it to the fixture.
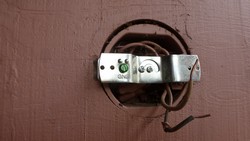
Remove old light fixture.
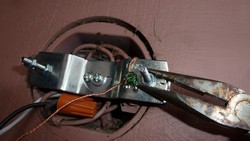
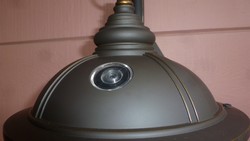
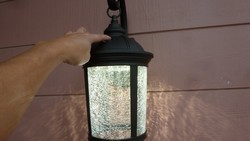
Connect electrical wires together (MAKE SURE TO WEAR GLOVE and ELECTRICAL WIRES ARE OFF) with the twisted orange connectors provided. After the wiring is done, before mounting the lantern in place, turn on the switch to see if the lights work. On this lamp, in the day time, we have to cover the sensor with our finger for it to come on, remove the finger to turn off (simulate night and day).
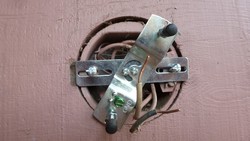
Install the mounting studs in the hole and tighten the studs with the nuts provided, measure the length of stud enough to slide and secure the base tightly.
Have someone happy to help you to lift and hold the lantern all this time. Mount the lantern through the studs and put the nuts provided in, tighten them and test again.
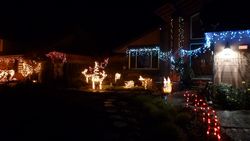
The house got a nice gift for this Christmas.

