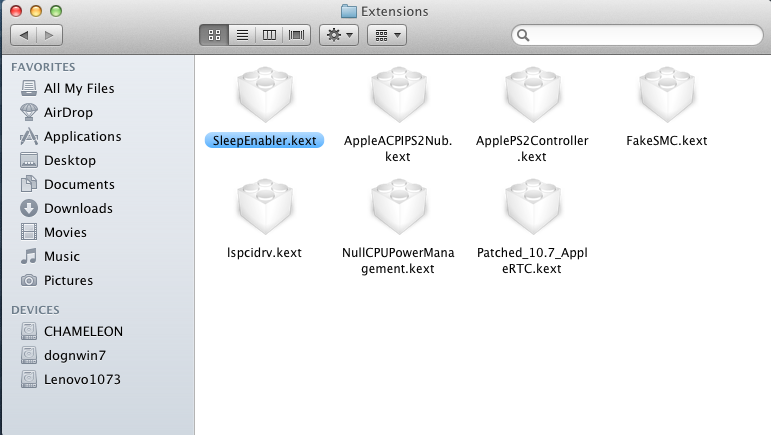
July 21, 2012 Sleepenabler.kext – put in the extra folder for the lid to close and wake up when opens, wake up from sleep… etc.
And always use portable drive to install before internal hard drive. For Realtek id 0139 card reader isn’t supported, a USB SD card reader is handy.
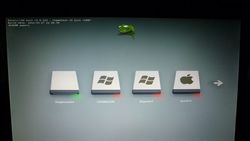
May 20, 2012 After installing Lion on Asus P8Z68-V LX board, I realized we can boot from Lion partition with -v -f and we don’t have to use idogboot12 cd (no KP). Now this is the easiest way to load Lion!!!
2012-05-16 After a few tries with MyHack, I think this is the fastest and simplest way to install Lion on Lenovo G770 i5 Sandy Bridge HD3000 Graphics 0116:8086.
Unibeast USB Lion Installer has been the most popular way to install Lion without Snow Leopard if we have a working Mac OS X, the only draw back is that it can only be created with Lion Apps only. MyHack 3.1 will accept InstallESD.dmg (in case we extracted from Lion Apps and accidentally deleted the Lion Apps), which is very useful in this case. One more thing beneficial about this installer is that it has “MyFix” which can solve many problems with the installation and we don’t have to install chameleon after the installation, we can boot straight from the partition Lion installed, if we do it correctly especially with our Lenovo G770 i5 HD3000 laptop. BTW, if this procedure works for you, it will be nice to buy the author a cup of coffee at least.
If we have a snow leopard 10.6.3, we can install it to use as a mac os x system to create this MyHack 3.1 Lion Installer. We will need this snow leopard partition to fix the boot crash 1st time from the lion partition because the Extra folder is not installed to boot if you don’t have snow leopard os .
Prepare an 8GB USB drive for installation
Create MyHackUSBLion drive
Use MyFix to install Extra folder in Lion Partition.
To make this installation full proof and easy to work, after the created USB MyHack installer done, drag the smbios, dsdt.aml and plist from my Lions 10.73 extra folder to this Extra folder. After the installation, it will boot perfectly to the partition, all we need to do is to install the kexts for PS2 keyboard and mouse, ethernet, wifi and VoodooHDA.kext (this one is tricky – remove AppleHDA.kext first, reboot then install it) don’t do it until the end, make sure to remove AppleHDA.kext in the extensions folder, run MyFix.
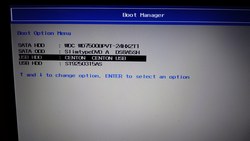
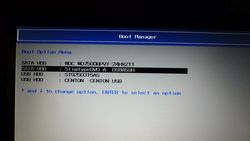
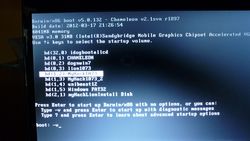
Plug the MyHackLionInstaller USB drive and USB hard drive to the laptop. Make sure to have usb keyboard and mouse ready. Turn on the computer, hit F12 while booting to get to boot menu and select MyHackLionInstaller USB drive to boot.
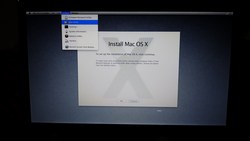
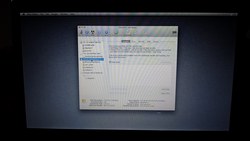
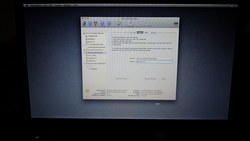
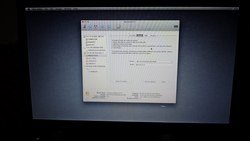
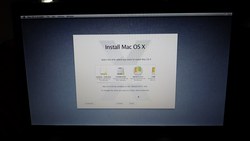
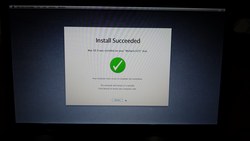
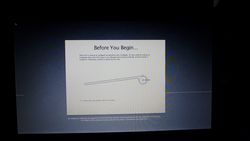
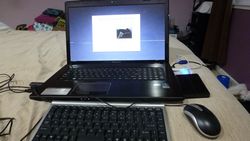
Now we can close the Disk Utility and start with the Lion installation. Make sure to select the correct partition.
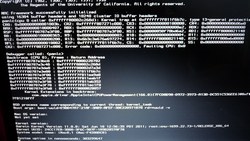
Now, according to MyHack Guide, we should have an option to install our Extra folder to the Lion partition 2 minutes before the installation ends, but there wasn’t, as of now, there is no Extra folder in the root of the new Lion partition, if we boot directly from our Lion USB hard drive, we will have a KP. So, if we have a working Mac OS, boot from there or boot USB Lion partition with idogboot12 to run MyFix to install Extra folder and kexts, THE BEST IS TO BOOT WITH -v -f flags, this will not give KP and boot very nicely.
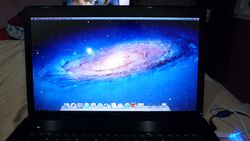
It will boot into the Lion without any problem, start follow the instruction of setting up Lion, we need USB keyboard and USB mouse for detection. The camera should work without any problem.
From here, we should have full resolution 1600x900x32 and QE/CI/CL because we have dsdt and device-properties in the Extra of the MyHackLionInstaller. Now, all we need to do is to run MyFix to install our LionExtra folder. Install all the kexts, remove AppleHDA.kext from the Extension folder, we can run the 10.7.3 update now or after the reboot. If run 10.7.3 update now, remove the AppleHDA.kext again before reboot because we’re going to install VoodooHDA.kext for sound, we also need to re-install Wifi kexts, run MyFix again, then reboot. The video below shows how we booted freshly installed MyHack1073 partition with Lion, update to 10.7.3 combo, install all kexts, remove AppleHDA.kext (to install VooodooHDA.kext after reboot), run MyFix to install Our Extra folder with Device-properties and DSDT.aml for HD3000 0116:8086 with brightness slider and artifacts fixed.
After reboot, we should have network wifi and Ethernet working, now we can use Multibeast to install VoodooHDA.kext to get the sound. Before installing VoodooHDA.kext, make sure the AppleHDA.kext is removed from the System/Extensions folder
Update 10.7.3 is a breeze, again, if installed VoodooHDA.kext (2.7.3) (using any multibeast ) must delete the AppleHDA.kext before installing this VoodooHDA.kext. If already installed in 10.7 and worked already, just delete AppleHDA.kext after the 10.7.3 update, re-install Network Kexts, run MyFix and reboot, the laptop will be running 10.7.3 perfectly. Stay away from 10.7.4 until further notice.
Done… Any comments or questions, please post.
Thanks for reading.

17 Comments
[…] someone can lead me in the right direction. Thanks for the help. I've followed this tutorials – Install Lion 10.7.3 With USB MyHack 3.1 Lion Installer On Lenovo G770 i5 Sandy Bridge – Techs1… and tonymacx86 Forum • Information They have similar hardware to my laptop. And when i […]
just enquiring, i have installed lion on my lenovo g570 using parts of your method with no dsdt as i find that section confusing and do not want to risk bricking my system with the one you supplied as its for a diferent model.
my questions are is how do i get my dsdt and also what kext gets the wifi working as i constantly struggle with this.
use an external USB hard drive, experiment with it first, if it works, then restore it to the hard drive. Make an image of your laptop before doing anything. Read to make sure how to get your wifi ids from windows 7. If it’s the same wifi device, then it will work. If you don’t have an external usb hard drive, don’t try anything.
Cheers,
1 Trackback or Pingback