
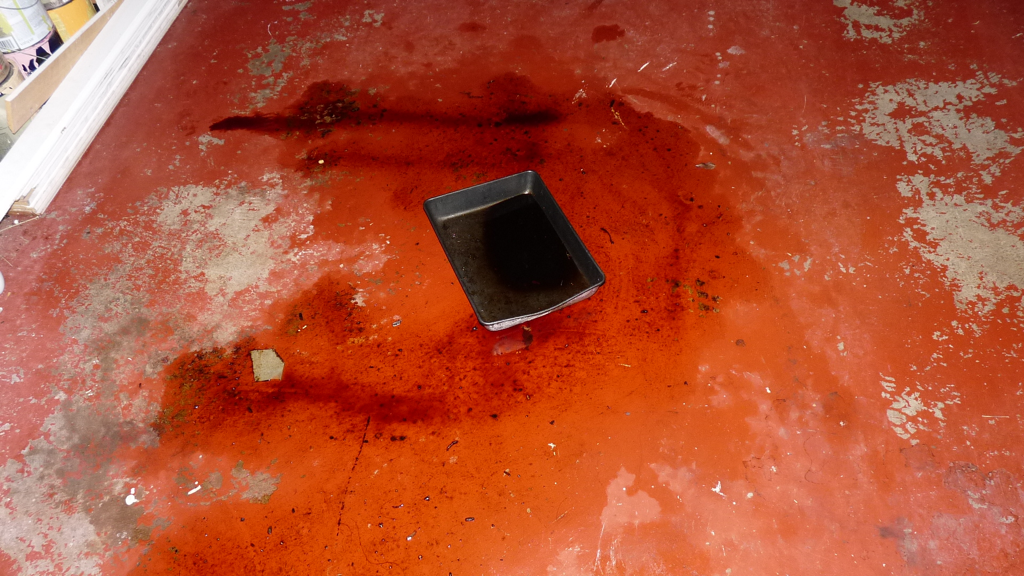
Well, my A8 was bleeding terribly since it has 162k miles. I decided to change some gaskets where I see possible leaks. Valve cover gasket and the camshaft rear cover seal.
There are references on the internet and especially @ audipages.com where I used the information for this. This is for me to remember how to do it next time or next car.
Order parts from autohausaz.com, free shipping and order on Monday, sure will have them on Friday for the weekend chores.
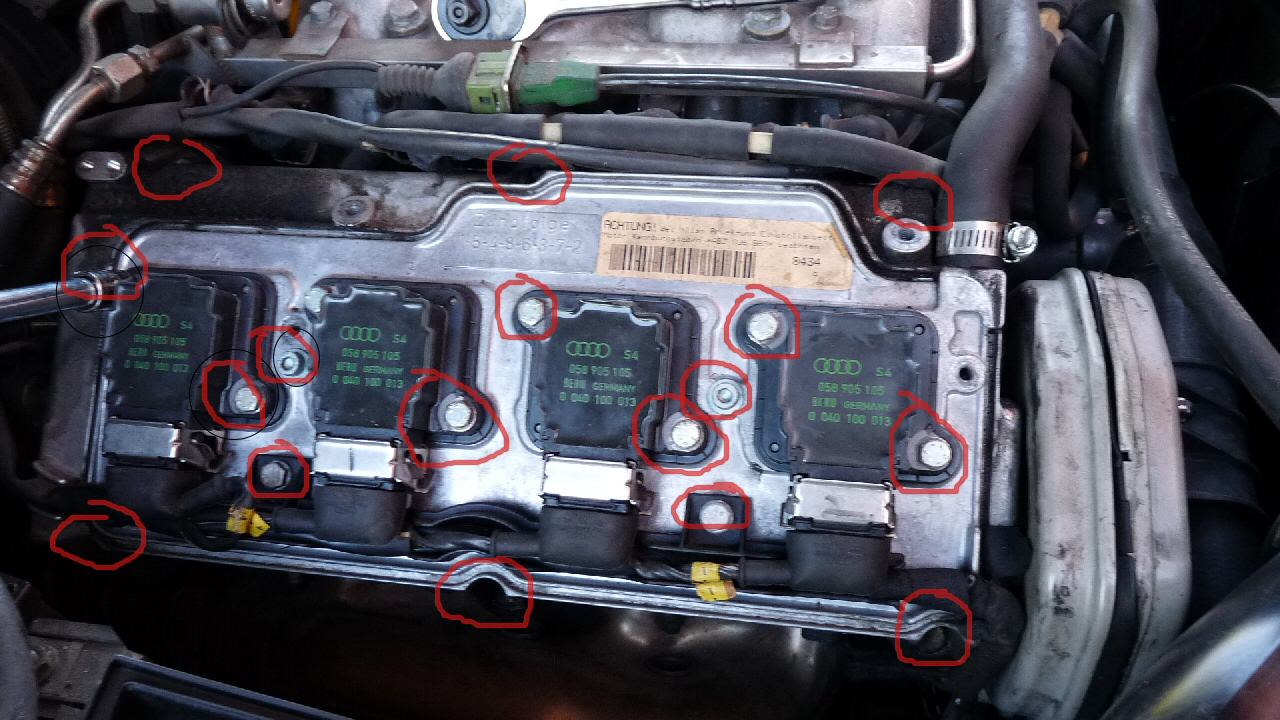
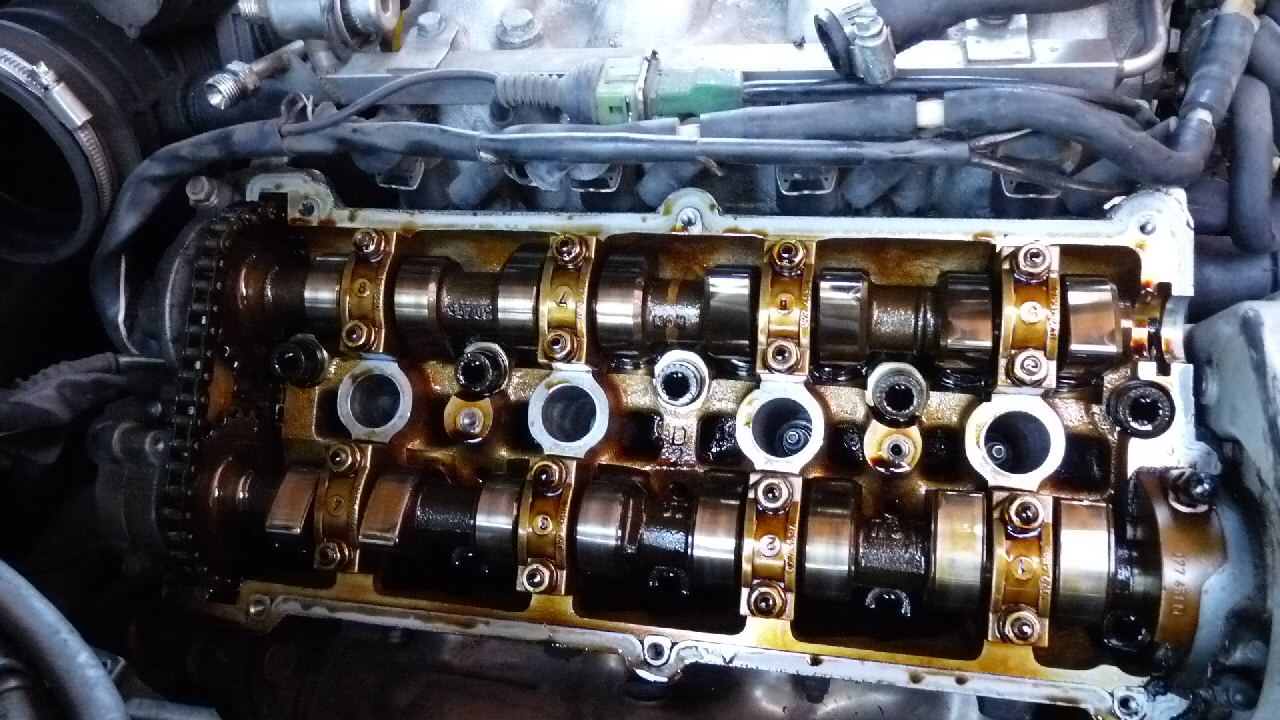
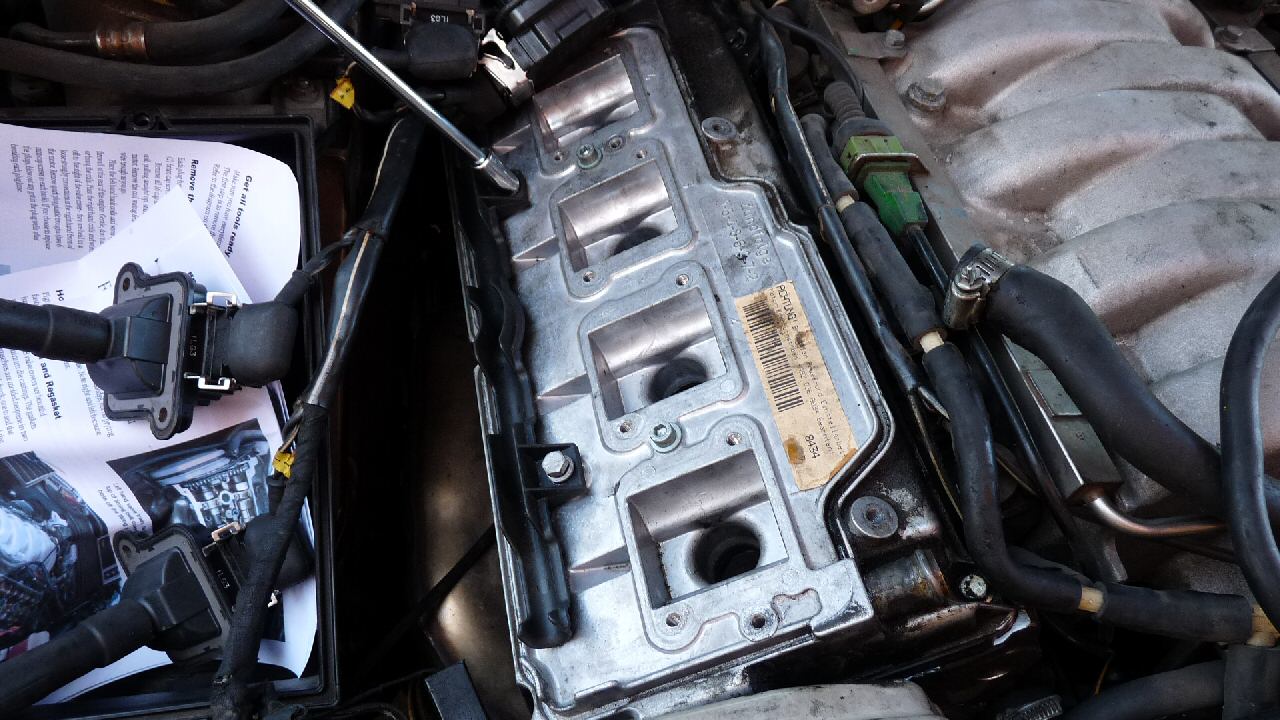
Take off all the audi engine covers, air duct for fuel injection system, I even remove the air cleaner to have more room to work on. When everything is done, we will have the valve cover with spark plug wires. One good thing about A8 is I only need 1 size 10mm socket for bolts. There are 2 6 or 8 mm hex bolt in the middle that are every easy to forget, SO DON’T FORGET and hammer the the cover away to break it. Remember a little tap in the top left corner would break it loose.
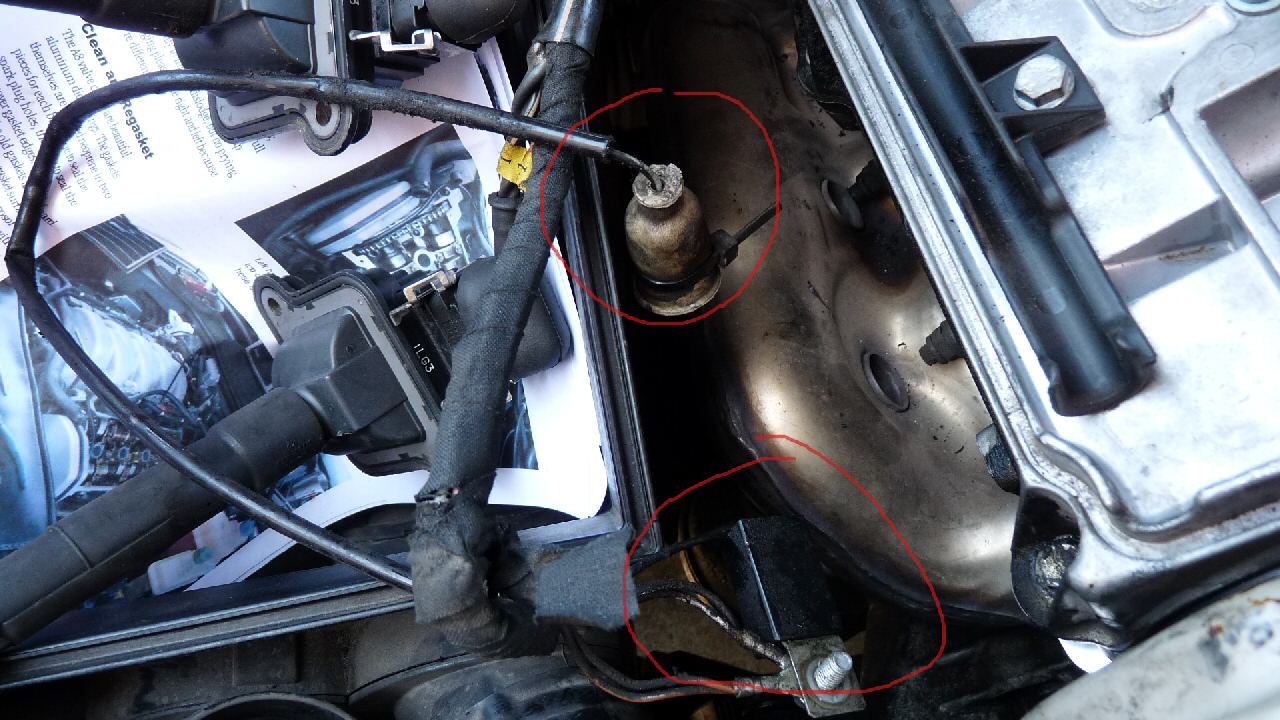
There are things in the way of removing the valve cover, sparkplugs wires, breather hose, two gas return hoses, 2 wires (1 from the exhaust manifold and bunch from the lower right corner of the valve cover.
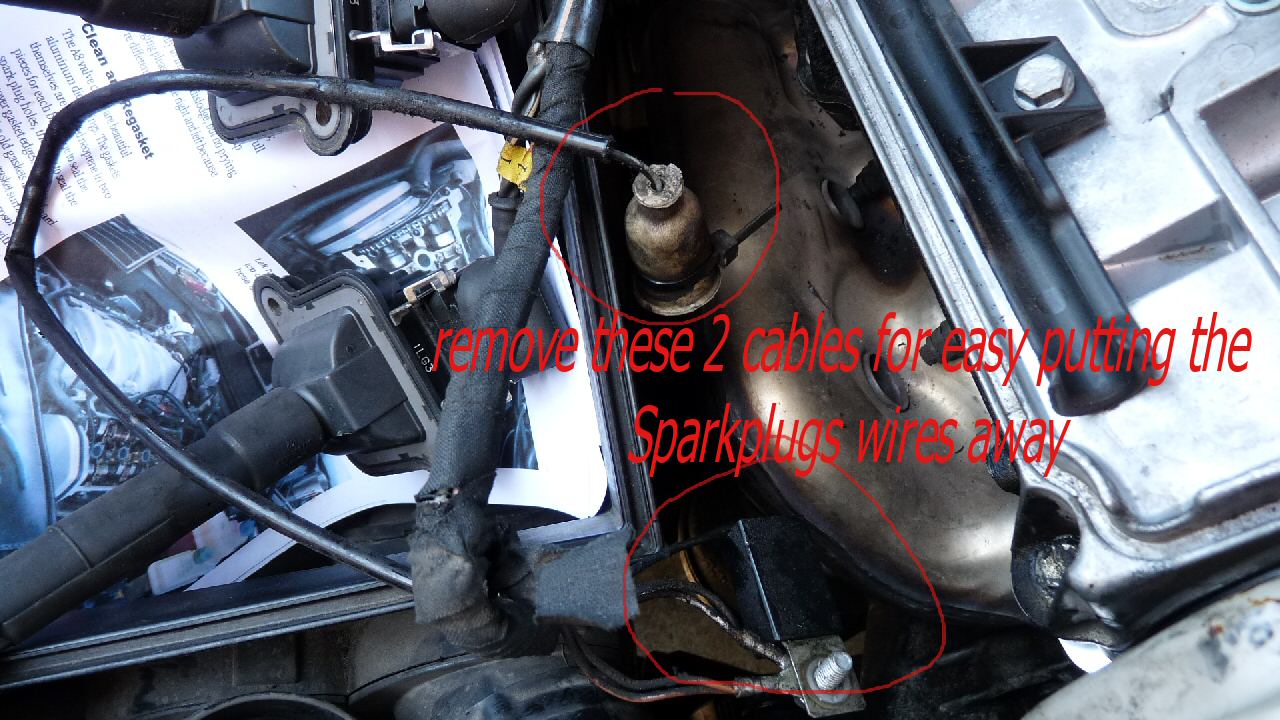
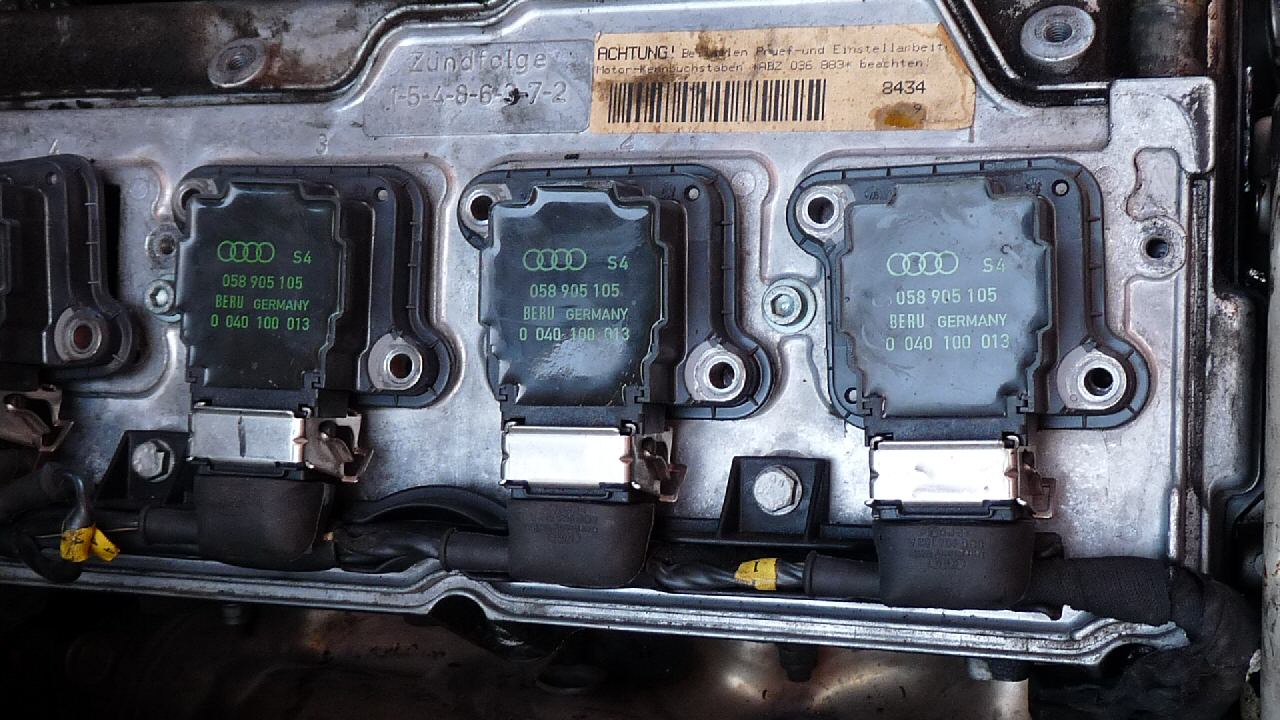
Removing all the spark plugs wires, 8 bolts: 2 for each spark plugs. Remove the wires from the groove of the plastic holder. Remove the holder (2 bolt) also.
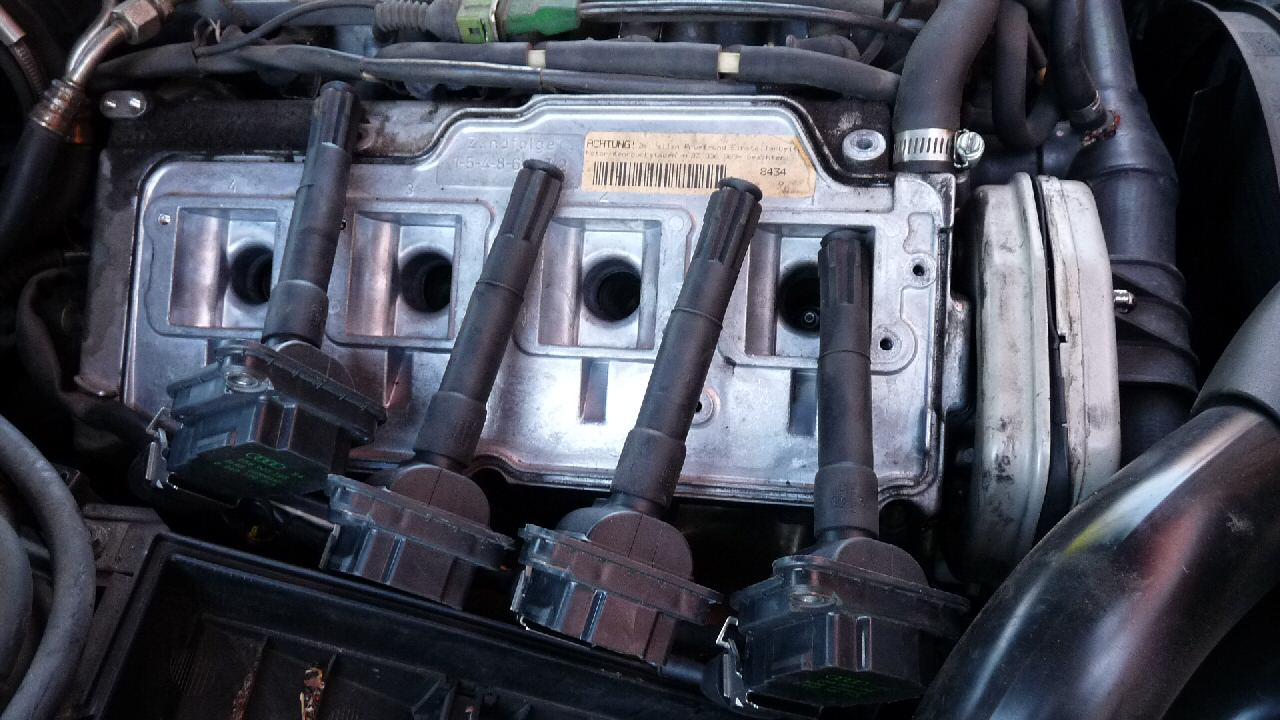
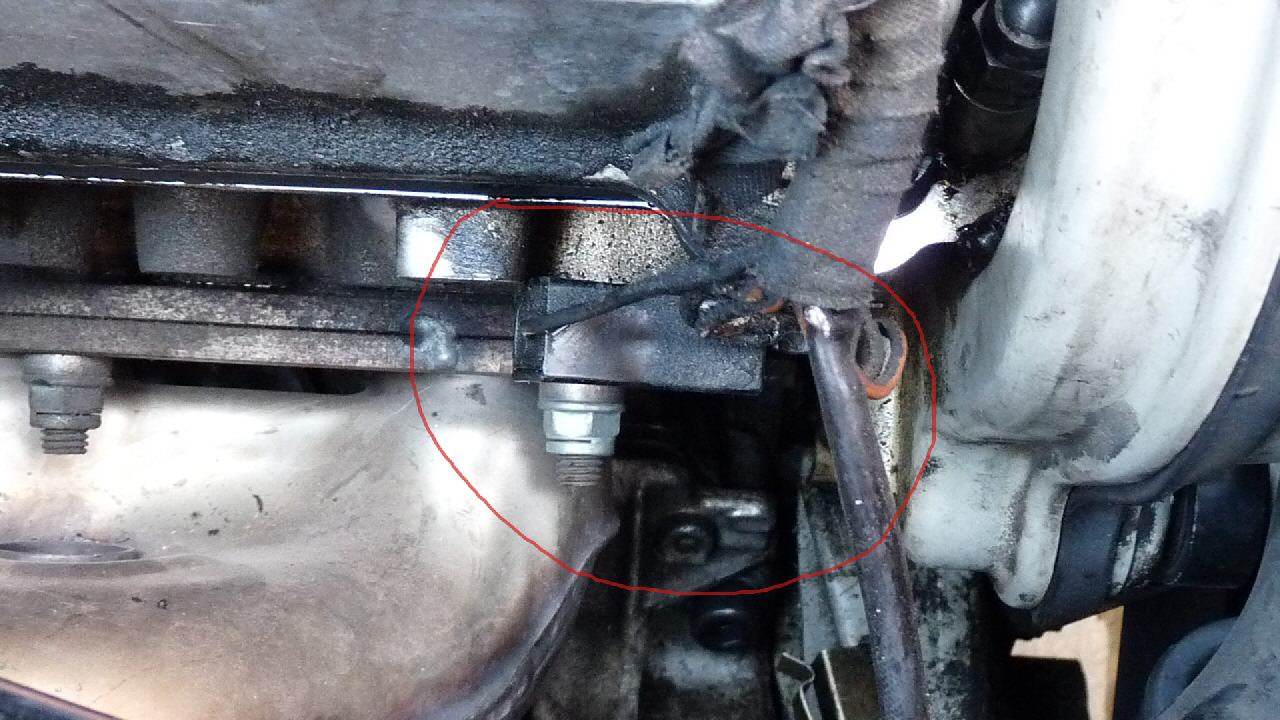
Remove the breather hose and electrical wiring attached to the spark plugs wires bundle.
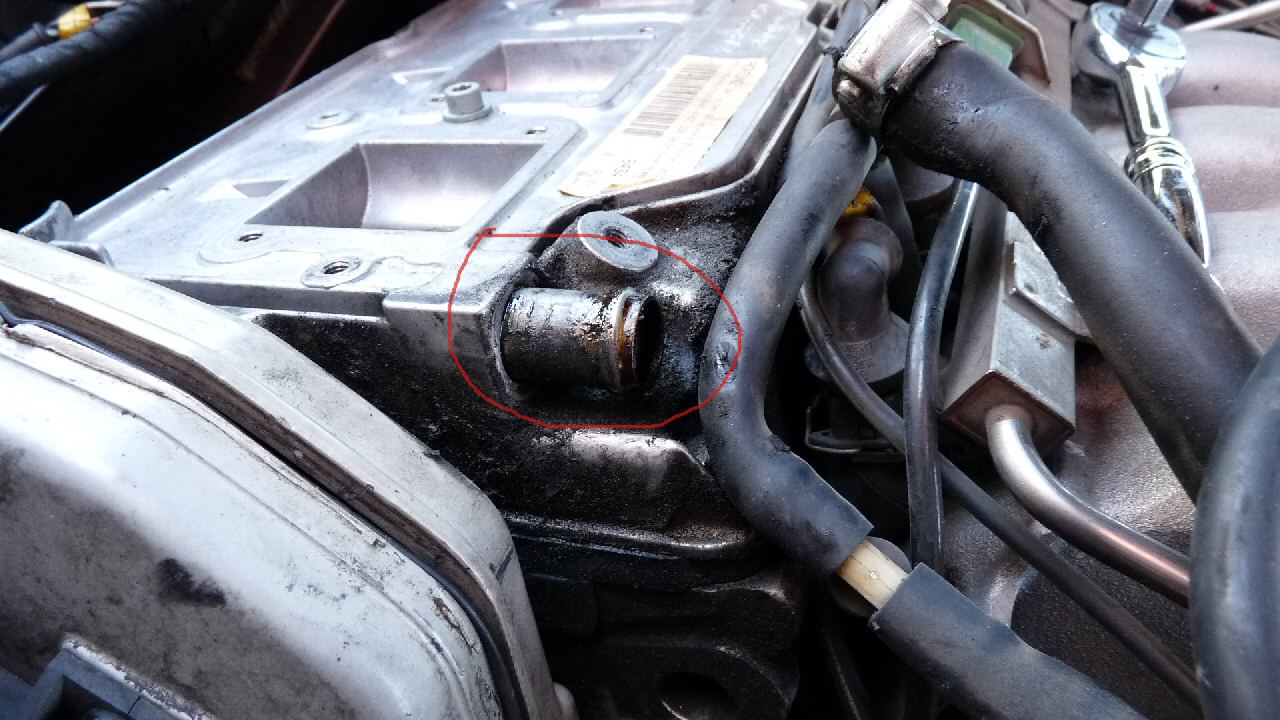

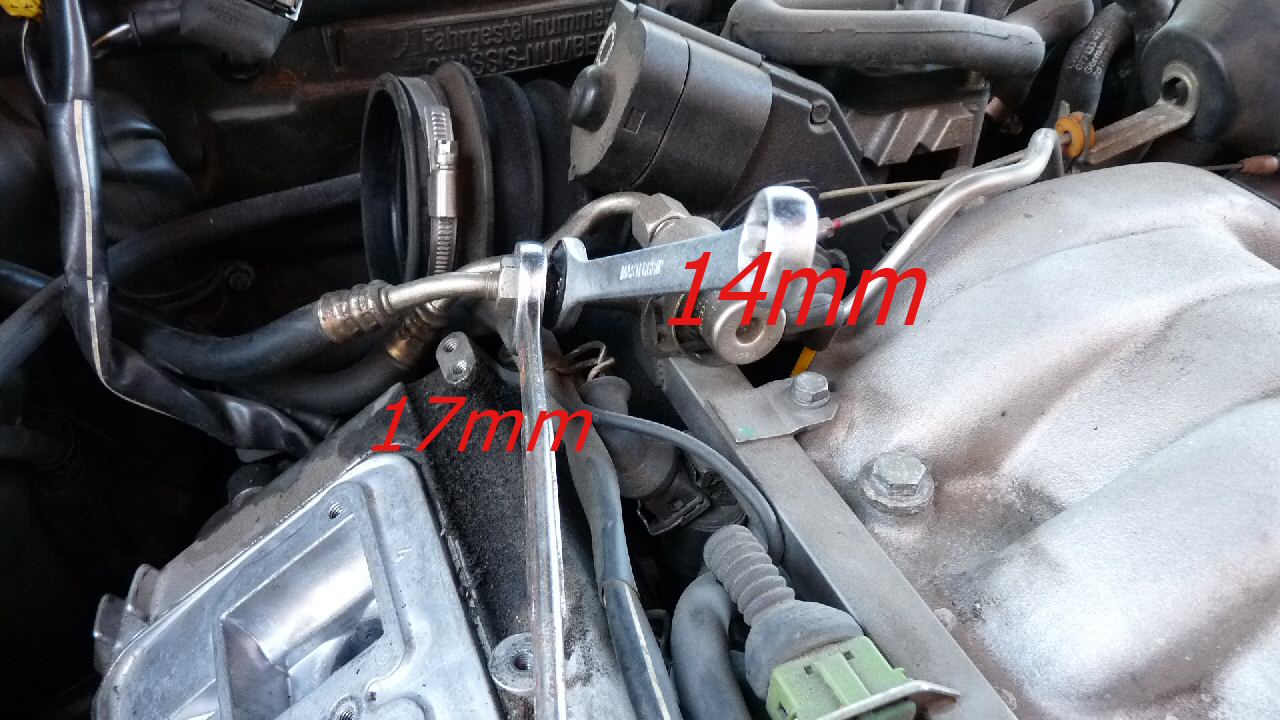
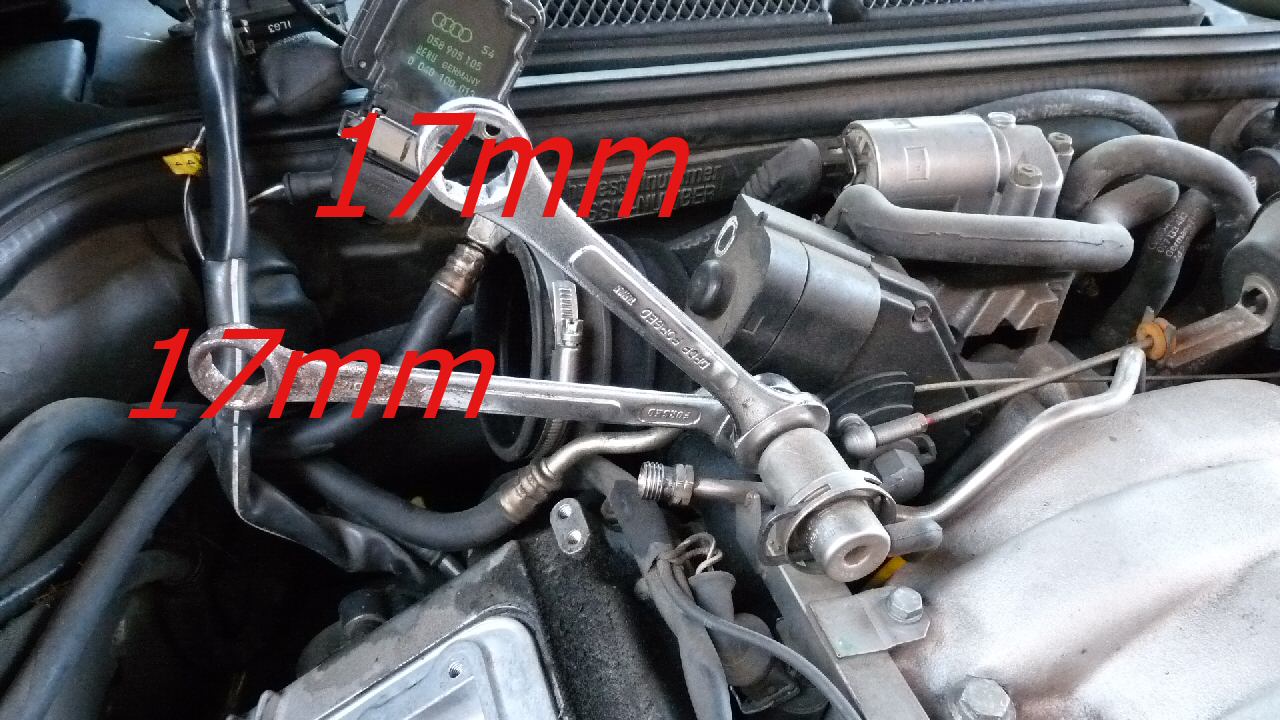
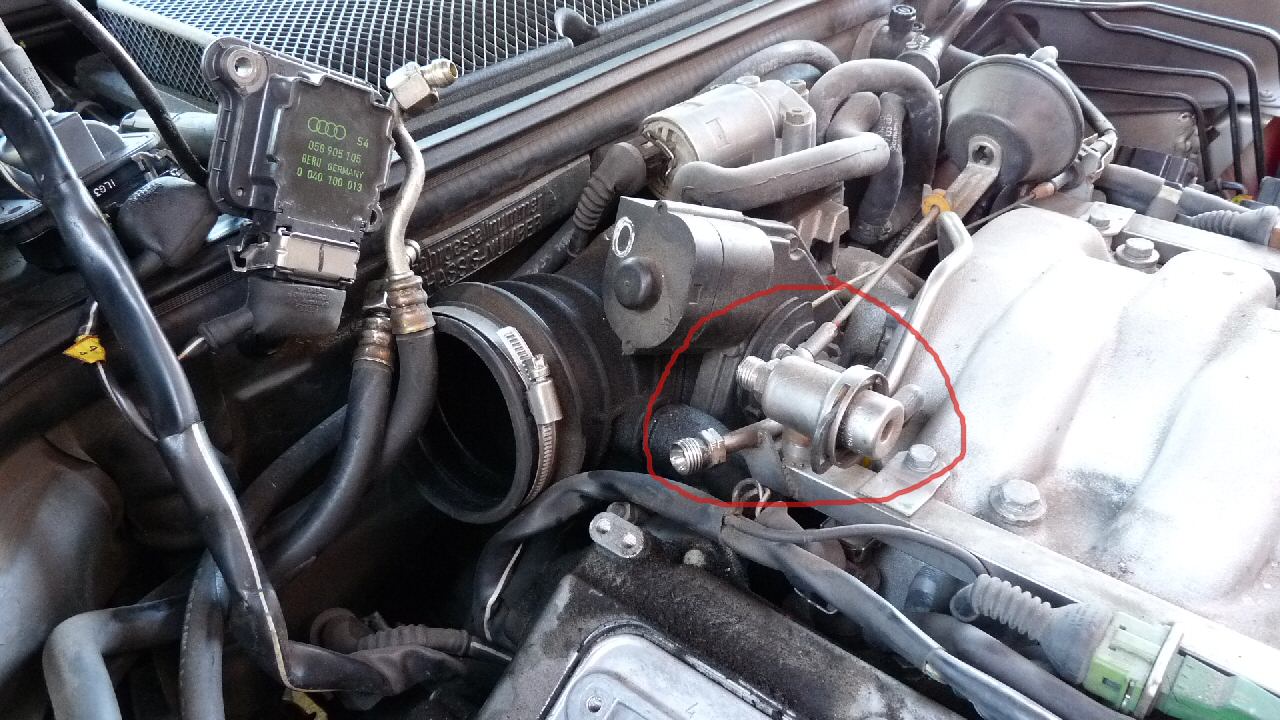
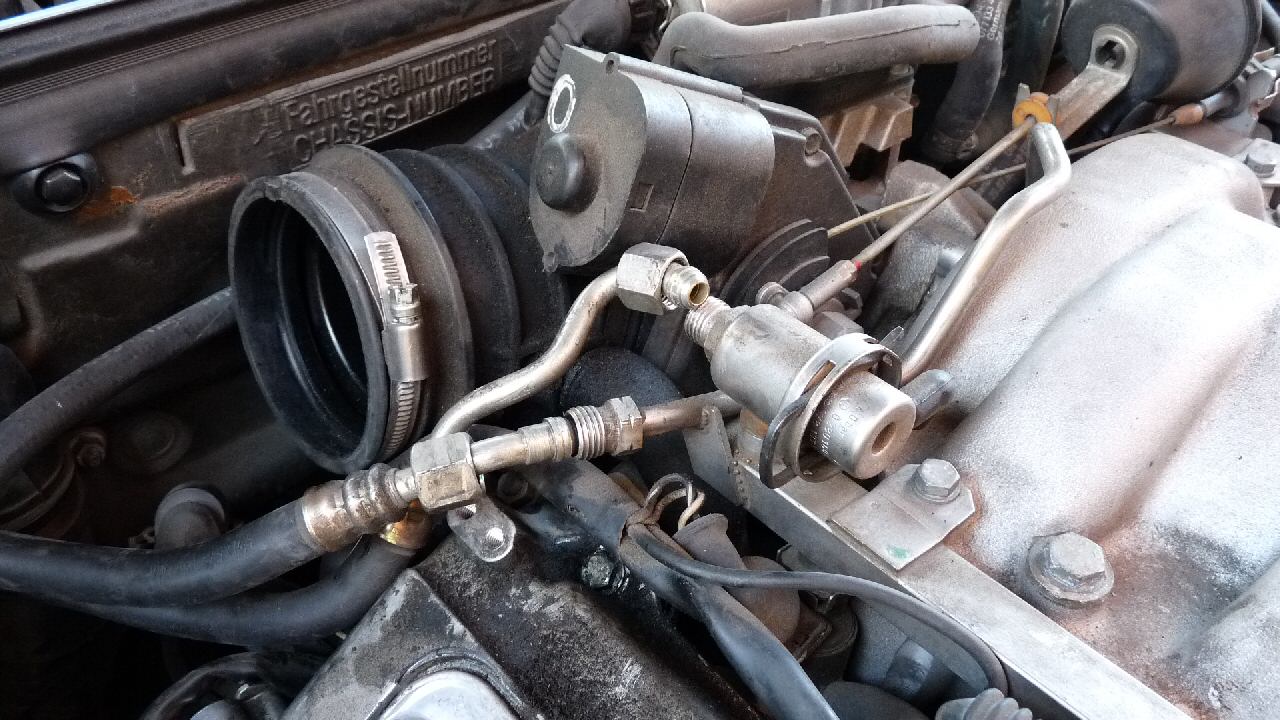
There are two gas return hoses which need to be removed, watch out for some dripping of gas if any. 2 17mm open wrench and 1 14mm needed for this task.
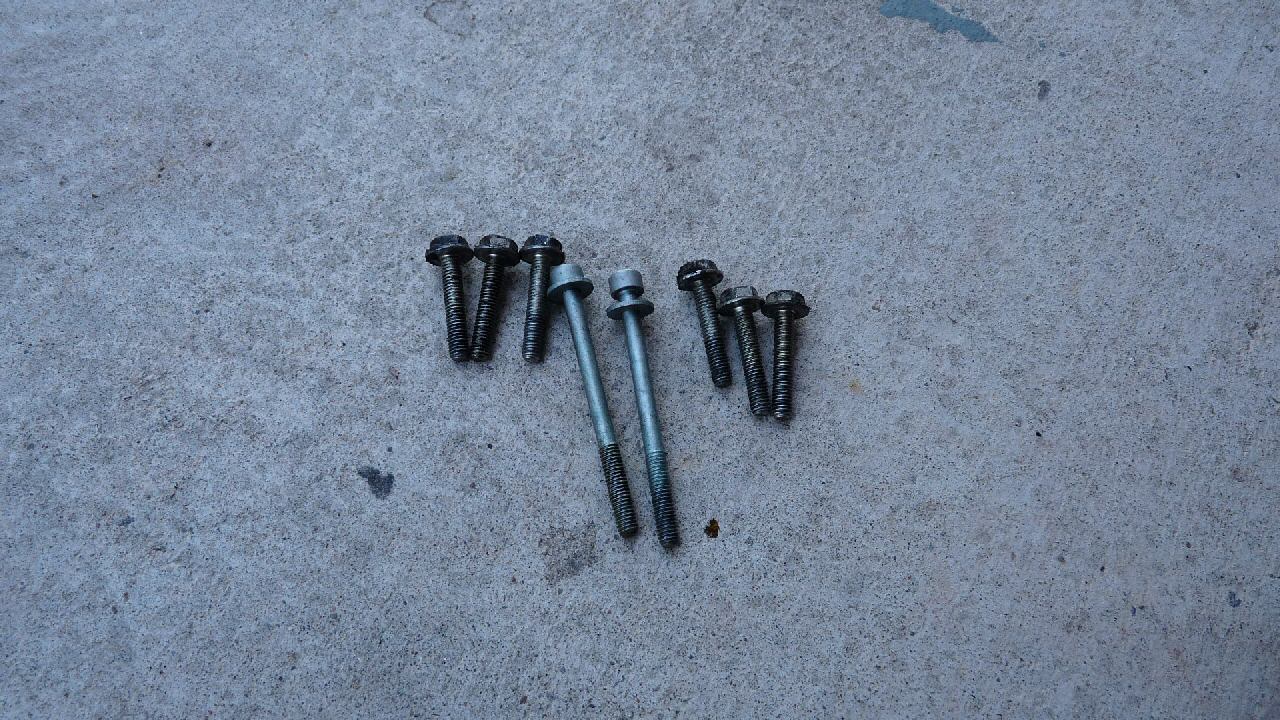
Now we’re ready to remove 8 bolts of the valve cover, 6 hex-cap 10mm and 2 hex 6-8mm (I forgot- and don’t forget these 2)

When all bolts are out, we should have 8 total
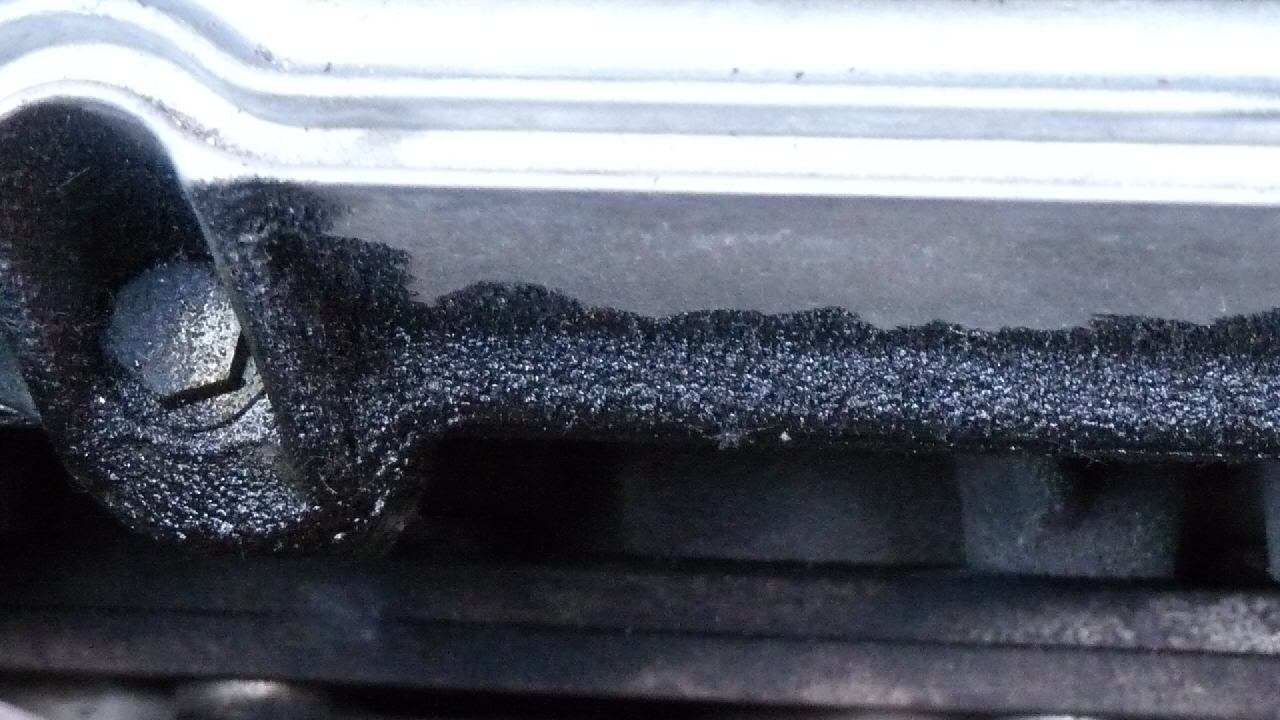
Tap gently with a rubber mallet on the top left valve cover and it should break loose right away, lift it up slowly and carefully top first.
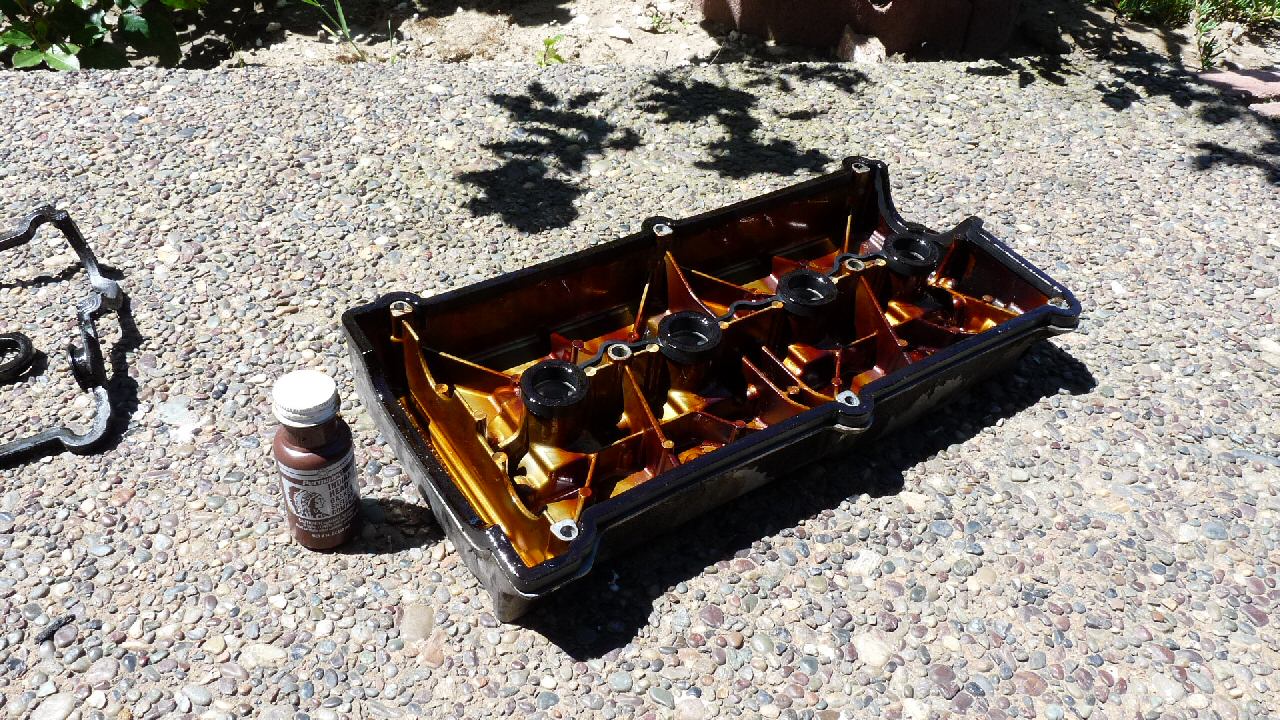
The new gasket set for the passenger side only.

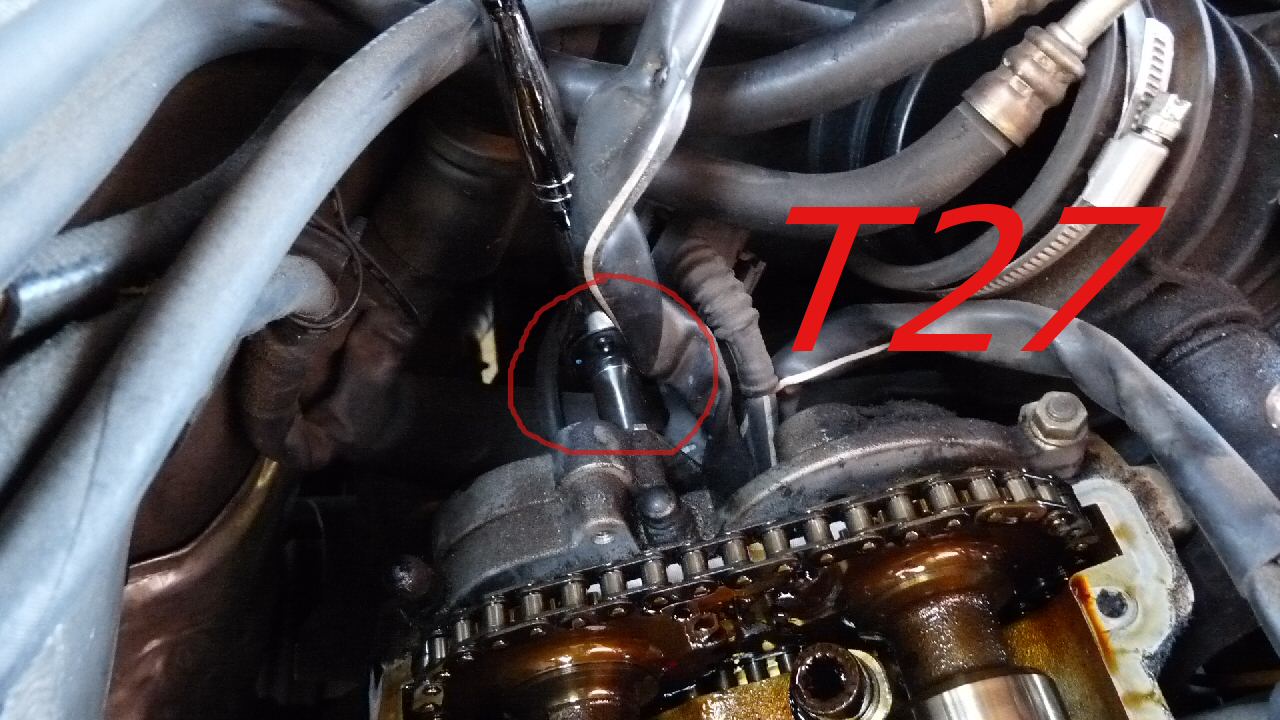
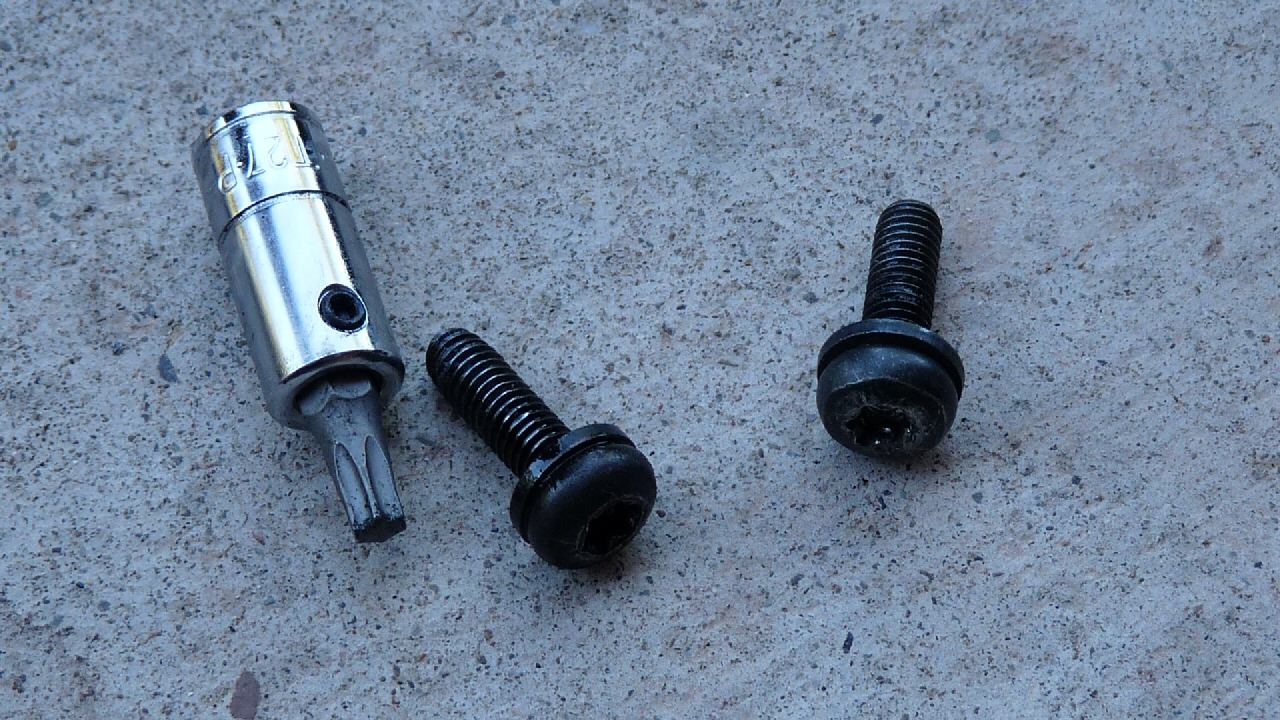
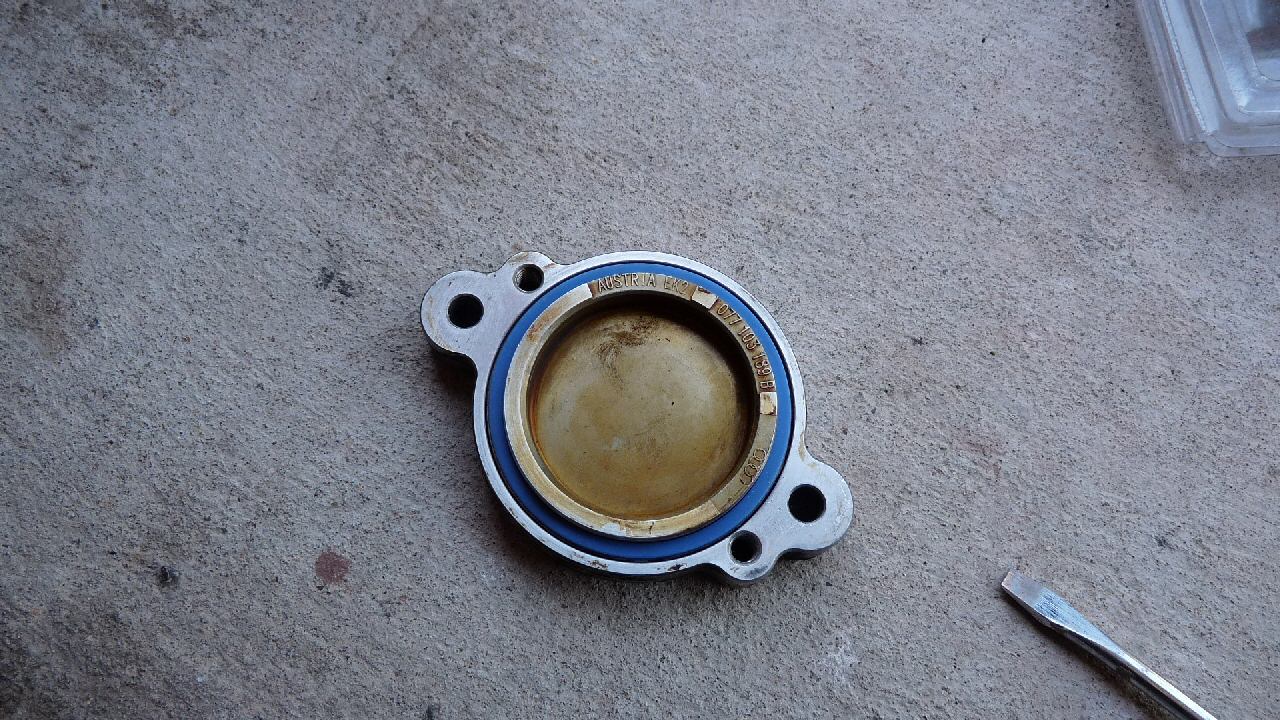
Remove the rear camshaft cover gasket, use star T27 to remove 2 bolts diagonally.
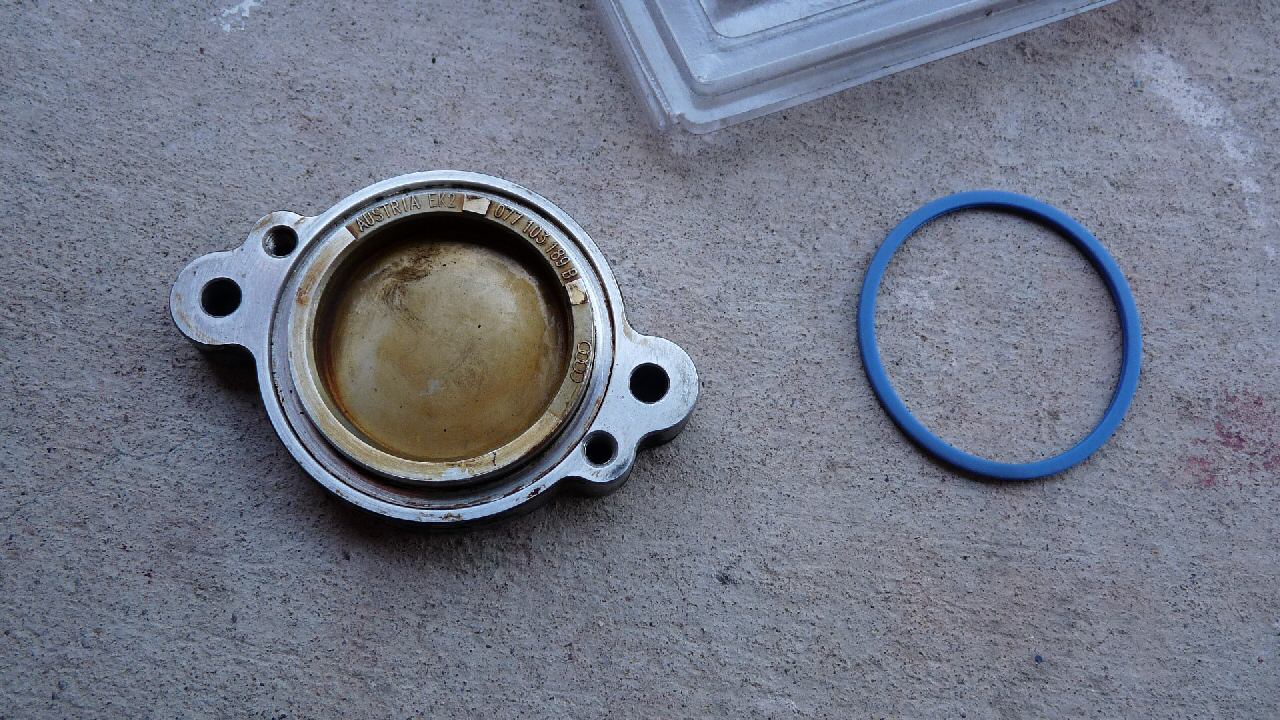
Clean the cover and place the new ring gasket in the camshaft cover and put it back. Ring gaskets are bought from dealers for $9 a piece which sold online for about $6 plus shipping. Autohausaz.com doesn’t have this one.
Next is the valve cover gasket installation, don’t forget the little half circle block, place this one first.
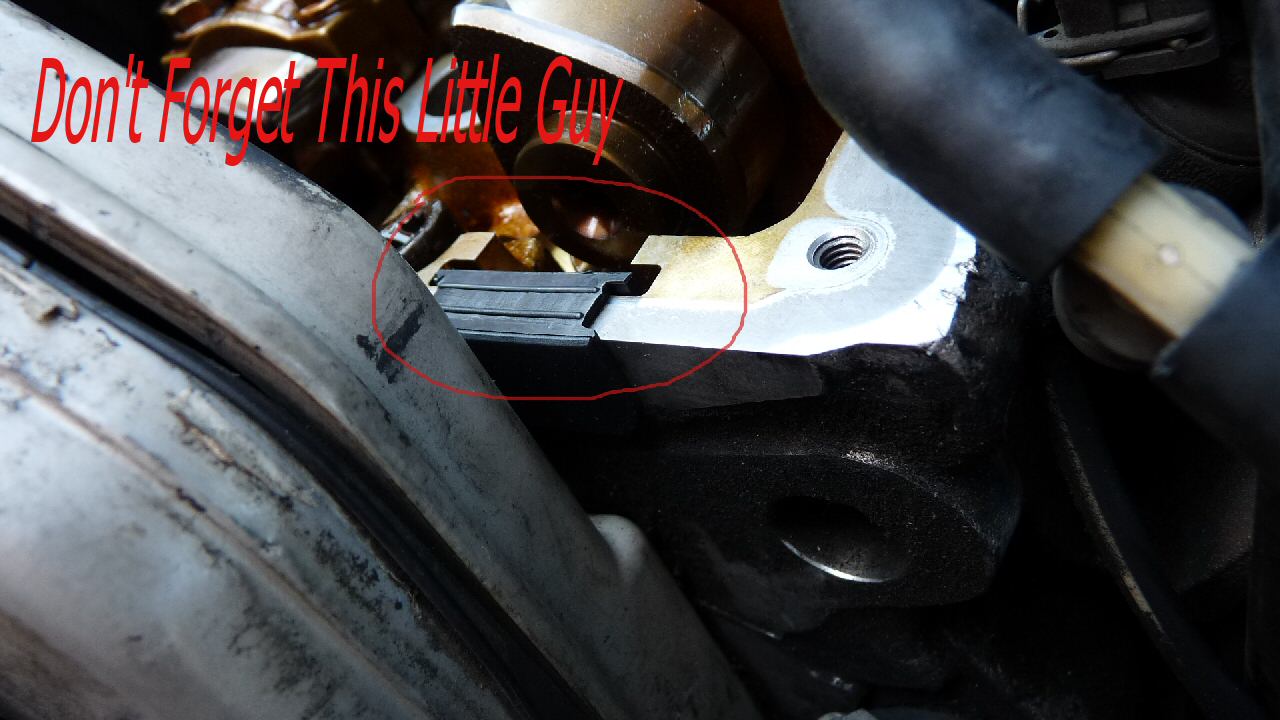
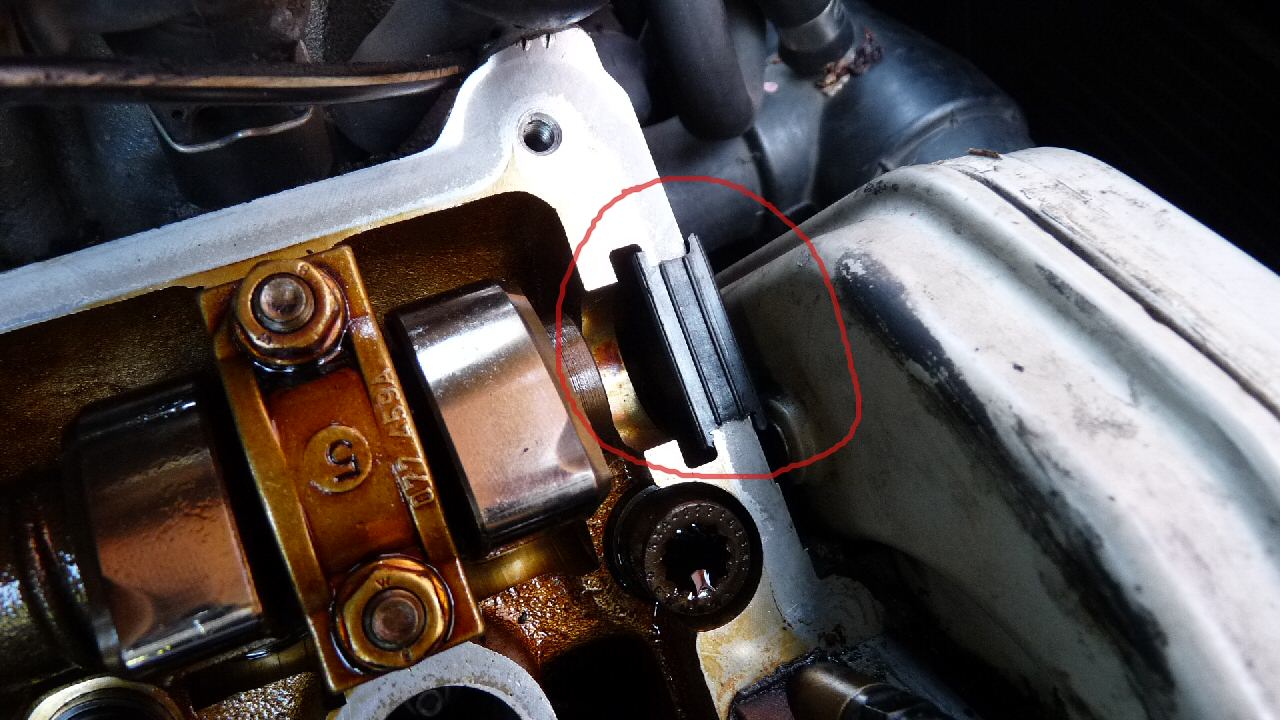
Remove the old gaskets and place new one, apply some gasket sealant on the surface after mounting the gasket securely onto the valve cover grooves and DON’T FORGET SOME ON THE HALF CIRCLE BLOCK.
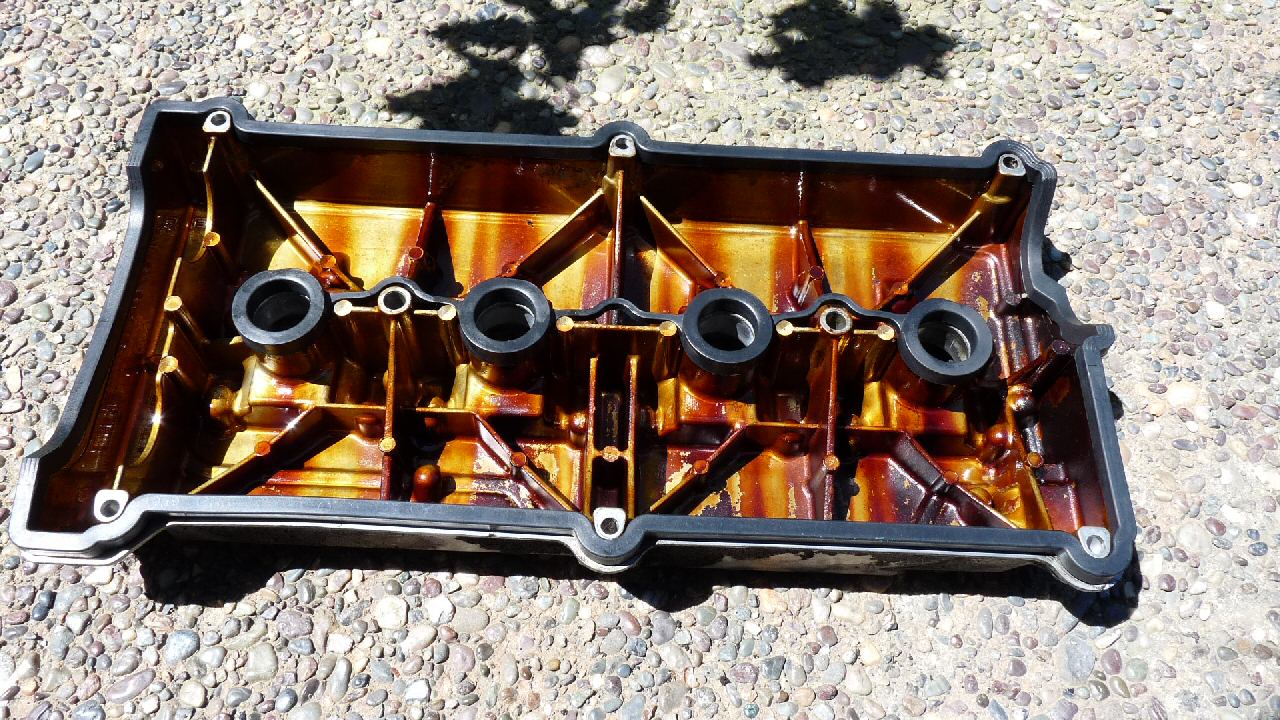
Wait for the sealant to be hazy, not totally dried and put back in the head, carefully and slowly and surely, bottom first. Tighten the bolts: 2 hex first hand tight, then 6 hex cap diagonally 4 corner, middle 2, then 2 hex again and other corner again… slowly and evenly.
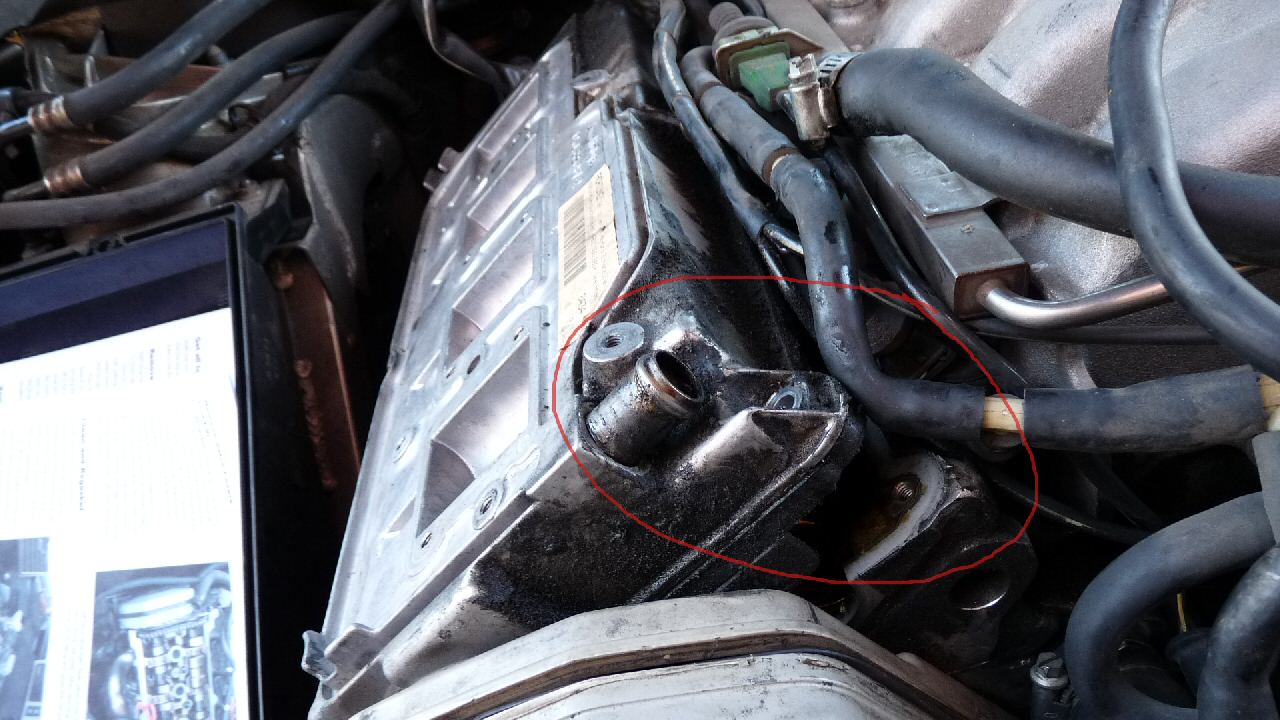
Don’t forget the gas return hoses and 2 electrical wires
Put back all the covers and Fuel Injection air duct, starts the car and make sure there’s no leak anywhere.
It’s been 2 days and the floor is still clean. BTW, after the installation, the check engine light came on, may be due to the gas return lines removal, we need to reset with the vagcom.
2 Comments
I was just informed that the drivers side valve gasket cannot be replaced by itself. Audi has said I need to buy the entire valve cover for the driver side.