The coolant leaks caused us to believe it was from the water pump, our bad, and we replaced it.
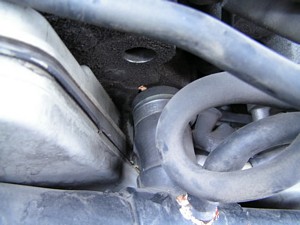
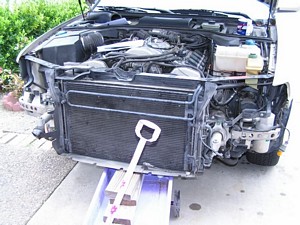
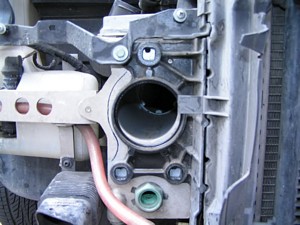
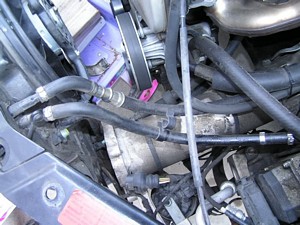
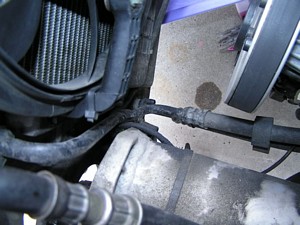
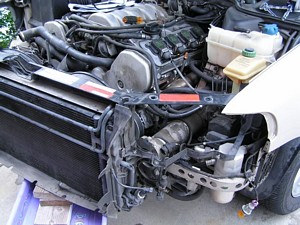
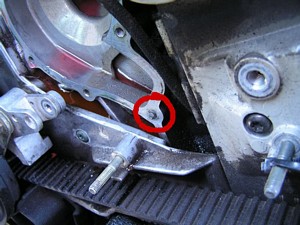
****The bumper should come out for the radiator to move out to have room to access the front of the engine. It took me less than 1 hour to remove the bumper and the radiator support. Follow the procedure from Audipages.com, it’s very clear. Also read the timing belt procedure. Read carefully because it took me half of a day to remove the passenger side timing belt cover because of a hidden bolt and stripped a water pump bolt due to over tightened the bolt (the procedure was 89lb-in ~7-8lb-ft which my torque wrench was in, I try to torque it to 20lb-ft and after 17ft-lb ~ 204lb-in, the bolt was gone and leave me with headless bolt stuck in the block) and this set me back another 4 hours. Below is the video for the whole replacement which including the removal of the oil cooler to replace the $23 part plastic coolant pipe (which was the cause of the coolant leak).
We can remove the right timing belt cover and the electrical fan to run engine to see if the waterpump is leaking.
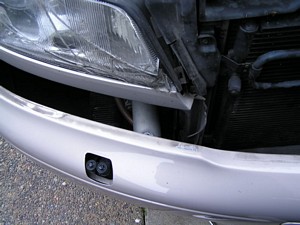
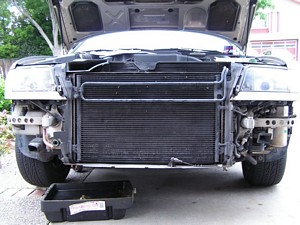
Front End Removal
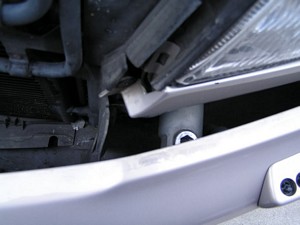
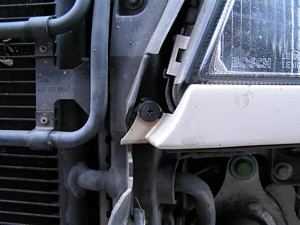
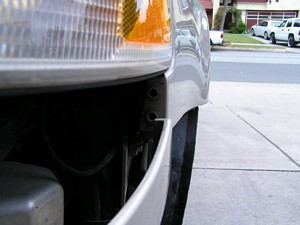
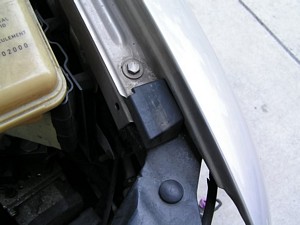
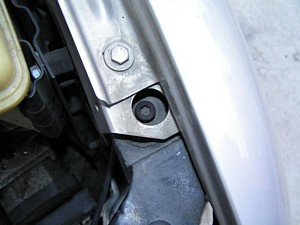
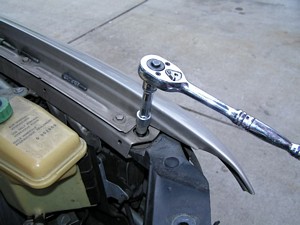
Remove 2 10mm Hex bolt securing the bumper to the frame shock absorbers
After the bolts (2) are out, go to the tire well, pull the fender liner out clear the bumper itself (both sides) then in the front center of the bumper, pull and slide it horizontally out from the brackets like a drawer, if it doesn’t come out easily, something is still attached to it.
This whole procedure is only takes about 15 minutes, it seems like a lot of work, but it isn’t and it saves lot of time and pain working on tight spaces. Don’t be lazy!!!
Now go to the right side and remove all the AC electrical connections to remove the front end.
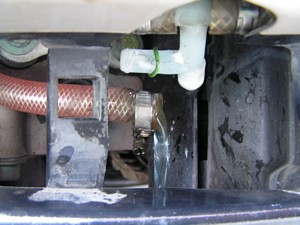
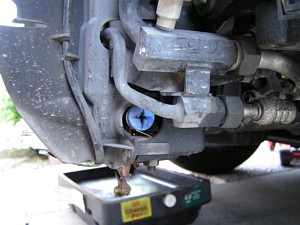
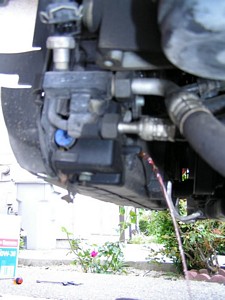
Now drain the radiator-we can do this without removing the bumper.
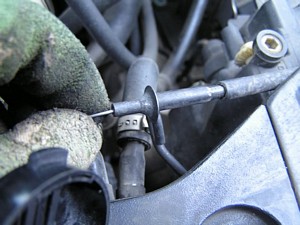
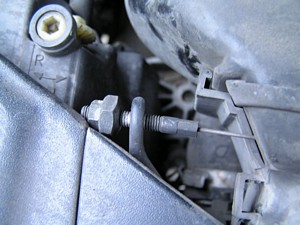
To remove the water hoses, we need to remove all the engine covers, the hood release cable. Slide the driver side out first, then the passenger side and move it to the back somewhere so it doesn’t get in the way later.
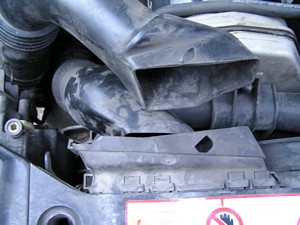
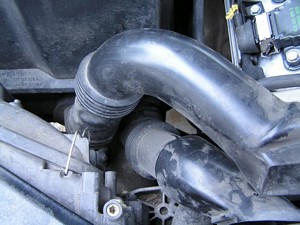
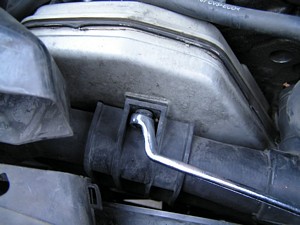
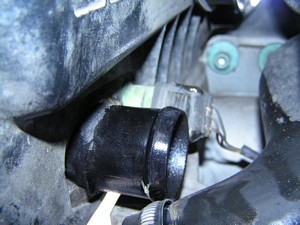
Remove air cleaner intake vents at the radiator
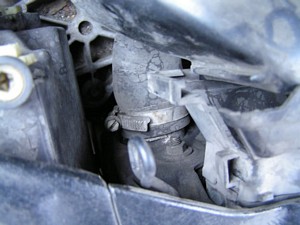
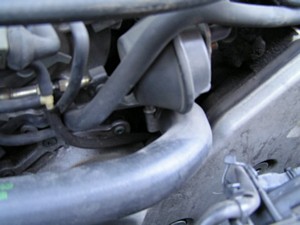
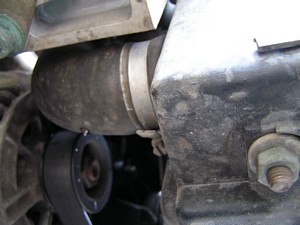
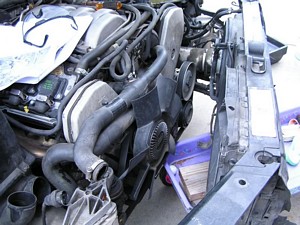
Remove waterhoses top and bottom
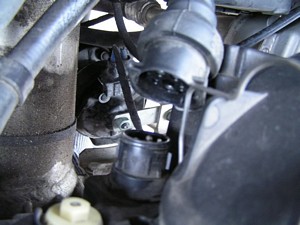
remove electrical plug above the bottom radiator hose and pull the hose out.
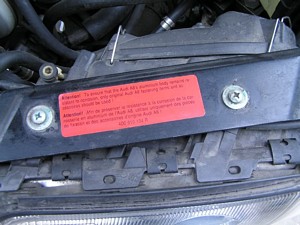
Remove both headlight assemblies
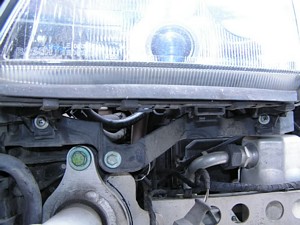
Front end radiator bracket hex bolt (2) one on each side
Loosen the bolts, give some support to the radiator bracket. Remove the bumer shocks (3 big bolts), mark the position of the shock with black marker pen for re-installation.
Remove the hex bolt securing the passenger side radiator bracket, lift the bracket up and out carefully not to put so much stress on the power steering hose on the driver side, rest the radiator bracket on the support.
Now we have more room to work on our water pump replacement
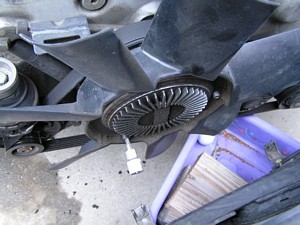
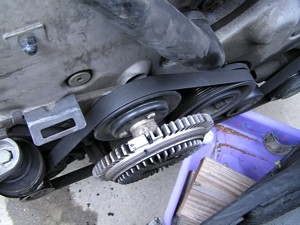
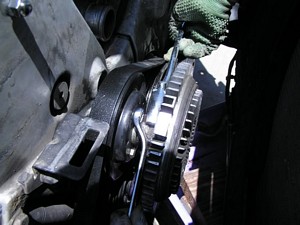
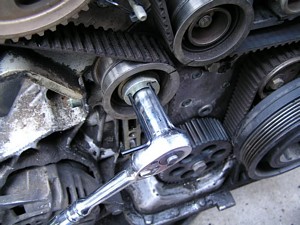
Removing the radiator fan. We remove the fan by removing 3 hex bolts securing it to the base. Now we can see the big center bolt and 3 10mm bolts of the pulley. We need to remove the center bolt and it’s left handed thread which means CLOCKWISE is to OPEN, if we use the 10mm bolt as anchor to remove the center bolt, the 10mm bolt will turn open (counterclockwise), the only way to anchor this is to use a long 10mm box wrench, put it on one of the 10mm bolt at the same time resting wrench on the center shaft, hold it tight and hammer the crescent wrench attached to the center bolt, after 2 strong hits, the bolt start to turn.
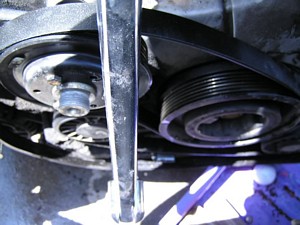
Now we’re going to remove the serpentine belt, 13mm deep socket needed (the bolt is black and on top the black plastic roller), counterclockwise is the release the tension. We’re going to change a new belt, we don’t need to mark the rotation.
Remove driver side timing belt cover, 2 hex bolts
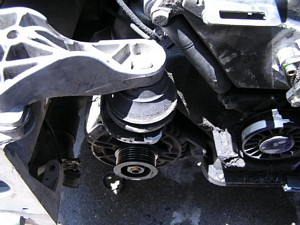
The passenger side timing belt cover is harder to remove, start with the engine mount
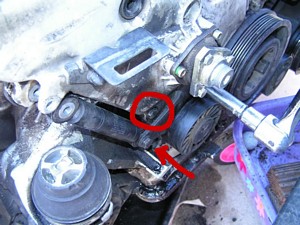
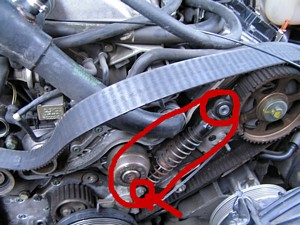
There are 2 hidden bolts hiding under the shock absorber, need to rotate the serpentine tensioner to see either one of them. I called this #2 & 3 bolts
Total we should have is 4 long bolts and 1 short bolt (bottom). Remove 2 hex bolts and the shock absorber of the tensioner and the cover should come out right away, if not, there must be a bolt still exist. Watch the video
Now rotate the Harmonic Balancer to top dead center mark.
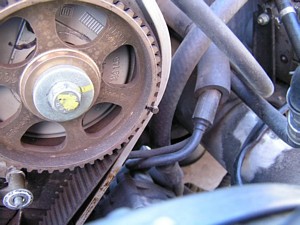
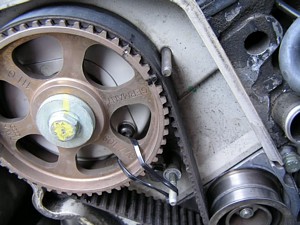
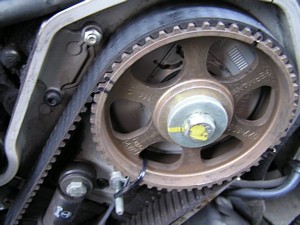
Mark both camshaft on the 1 revolution at TDC
Rotate the crank pulley 1 more revolution and mark again
So, every 2 revolutions, the camshafts marks will be back to the same positions.
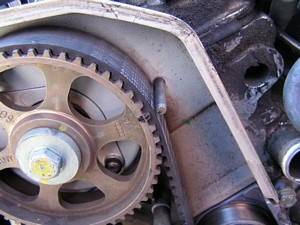
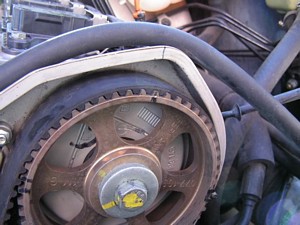
We decided to choose the TDC that corresponds to the little dots on the cam sprockets at top. We use the tie wrap to lock the cam sprockets in place (since we don’t have the cams locator tools and we assumed that the current position is correct).Mark the timing belt with marker also.
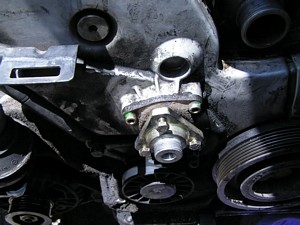
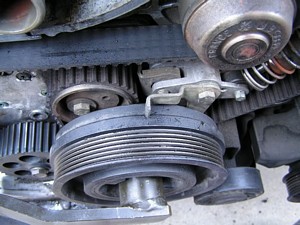
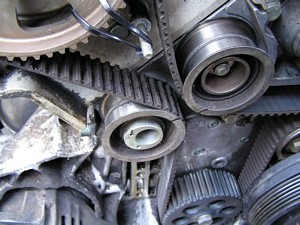
Now we’re ready to remove the timing belt off the water pump pulley. First we need to loosen the belt tension, look at the eccentric roller, mark all the original position for later re-tensioning.
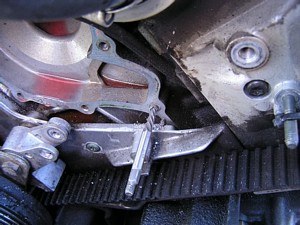
Now we can slide the belt off the water pump roller. Next we need to remove the belt tension shock absorber that’s in the way.
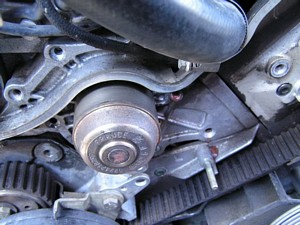
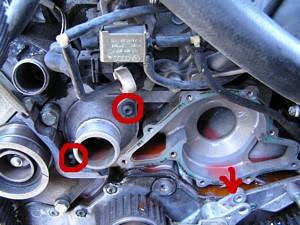
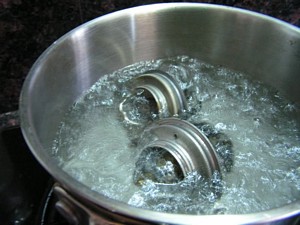
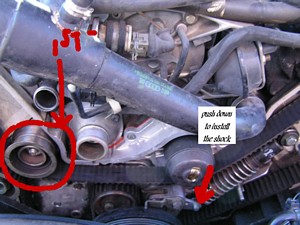
Remove all 9 screws (star) and push the tension lever down to remove the water pump, knock it lightly at the pulley, it should come out, if not, there must be a screw still in place. Now remove the thermostat housing by 2 little screws. Test the new thermostat to make sure it works by placing the old and new in the boiling water. They should open, the old should open faster and close slower (in our case at least).
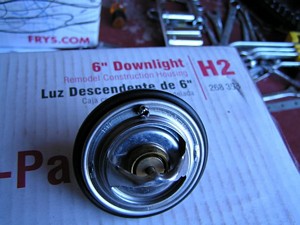
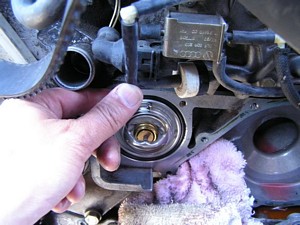
Verify the marking on the new thermostat (87c), put the seal ring on and place it back in place with the vent (dot) on TOP.
Replace thermostat correctly with O ring in place
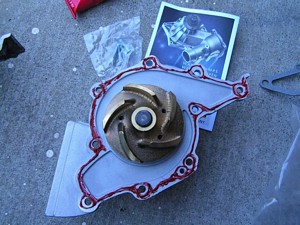
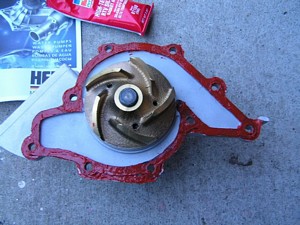
Put back the housing and tighten the screws snugged tight, don’t strip them. Now put some gasket sealer on the water pump gasket and install the water pump. We used the high temp gasket maker. Evenly apply it through out the front and back of the gasket.
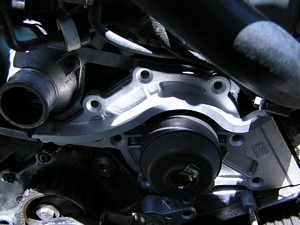
Put the new water pump back in place, we have to push down the tenstioner again.
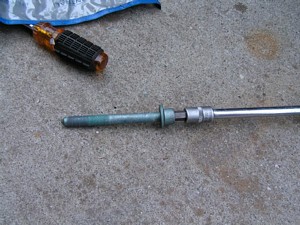
Install 9 screws and tighten them snugged tight like audipages.com and here we went wrong by mis-reading the specs. 20lb-in and max 89lb-in, we tighten with ft-lb torque wrench and @ 17ft-lb, the #1 (per audipages.com) stripped because 17ft-lbx12 = 204lb-in. Darn it. READ SPECS CAREFULLY or the best OLD FASHION WAY, by the “feel”.
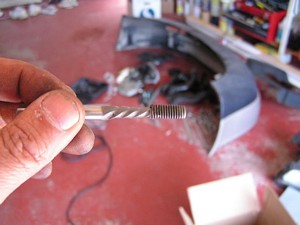
So we went to autozone to get one off those $2.99 bolt extractor 1/8-1/4 size and it didn’t do squat. Went to Harbor Freight and get a real set for $7.99 and it came out. Drilling is a pain, it must be straight and slowly and carefully. This set us back 4 hours.But at least we could get it out.
Now we refit the water pump again and torqued all screws correctly. Diagonal screws tighten pattern is always the best way.
While the belt tension is off, check all the sprockets and rollers for looseness (in/out) and spins, if they’re totally loose, then replace them. Ours are OK, not much free play and they all spinning nicely.
In order to put the timing belt back under the new water pump roller (pulley), we need to slightly rotate the Harmonic Balancer (the big pulley) counterclockwise just a tad, make sure the belt is in the left roller (the roller above the eccentric one) first then water pump’s.
Check the cam sprockets for marks lining up with the belt like before.
Put back the tensioner shock absorber and re-tension the timing belt to the original position or close to it, not too tight, not too loose. Cut the tie-wraps, rotate by hand-crank a few revolutions to make sure the belt is rotating smoothly and the marks are still in place. Then TIGHTEN the ECCENTRIC ROLLER one more time.
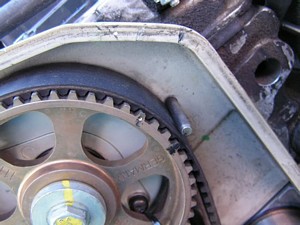
Put back the passenger timing belt cover. Make sure the sleeves for the hex bolts are there when we took them off for tie wraps.
Put back the driver timing belt cover. Make sure the sleeves for the hex bolts are there.
Put back the radiator fan with the reversed thread bolt, using the rubber strap is best since the serpentine belt is not on.
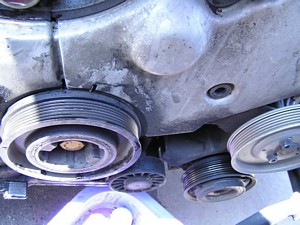
Put the new serpentine belt, and make sure it runs through pulleys and rollers correctly, the drawing in audipages is not clear, look at the picture of the engine.
Put back the radiator frame and watch for the position, but in our case, when we tighten the 2 hex bolts at the fenders, everything seem to be in place, the same marking as before.
Put back the A/C electrical connector.
Put back the engine damper bolt at the passenger side cover.
Put back the water hoses and make sure the radiator drain is closed (the blue screw), we never drain the engine coolant.
Add coolant, unscrew two bleeder valves at the heater core, if the screw slot is broken, use 15mm box wrench. Read Audipages.com procedure. The amount we add should be the same as the amount we drained out.
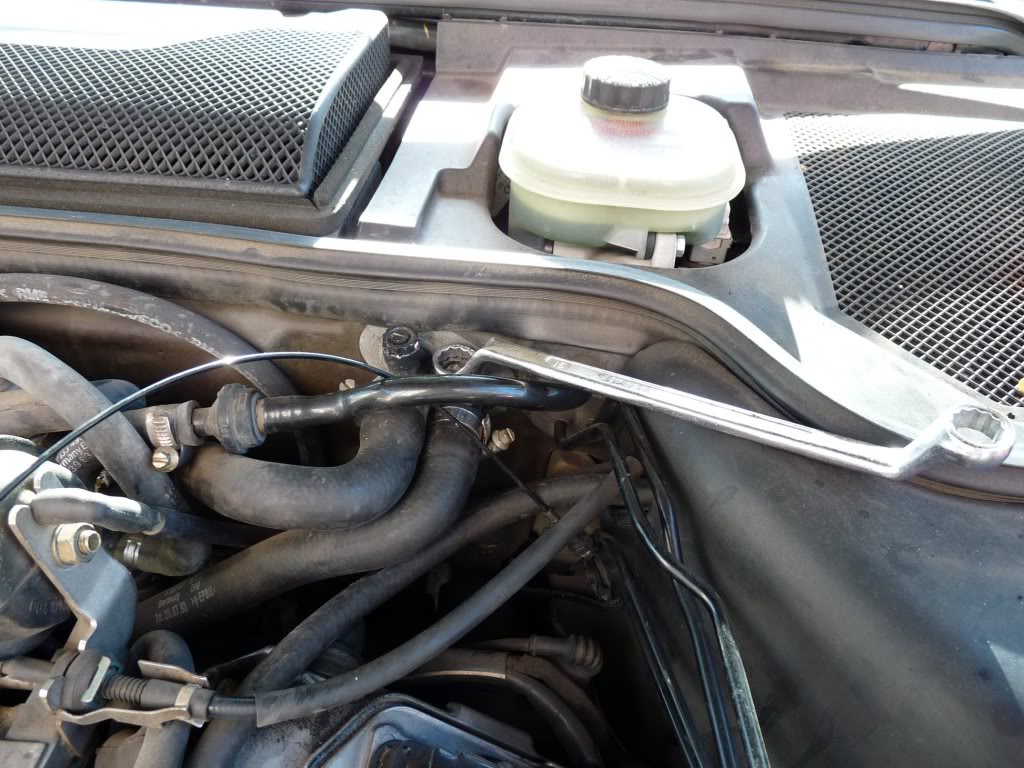
Put back the engine covers and intake ducts.
Make sure everything is done and no tools are in the ways of rollers and belt and fans.
Connect the battery, start the engine and we should hear it purrs like before we open it up because all our marks were there.

1 Comment
Nice job with that… But when you remove tha part when you replace tha oil tube was tha starter rite there