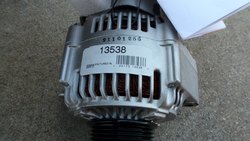
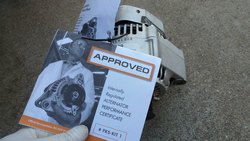
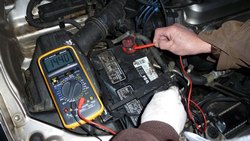
I replaced a rebuilt alternator for my father in-law’s 97 Honda Odyssey 2 years ago and now it’s dead again, with the engine running, measure across the battery terminal, only 11.90 V registered, it should be over 14V. He got another rebuilt one, life time warranty, but he never keeps the receipt any way. The old one has to be returned for $60 deposit ($180 total). I’ve never have to replace any alternator on any of my Audis, even the 96 Avant.
Ok, after checking the part #, it’s the same as the old one, we start to work on the car, tools we need are:
12 mm stubby box and open wrench combo, 14mm socket wrench (3/8 and 1/12), 10mm socket wrench with flex connection, 8mm socket wrench (1/4″), extensions 1/4, 3/8, 1/2.
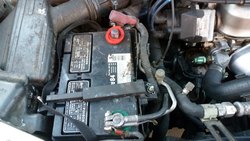
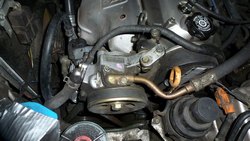
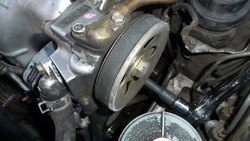
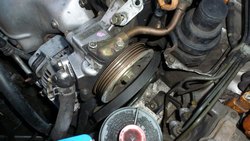
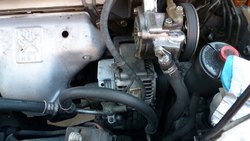
First-Disconnect the battery-remove the power steering pump belt to access the bottom alternator 12mm nut.
We need to loosen 2 nuts 12mm securing the pump and the belt tension adjustment bolt (10mm) to loosen the belt and remove it.
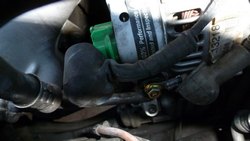
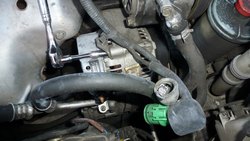
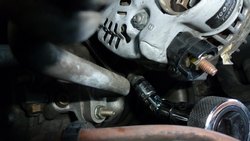
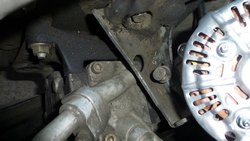
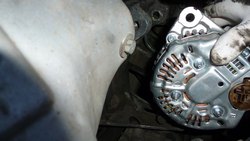
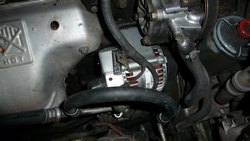
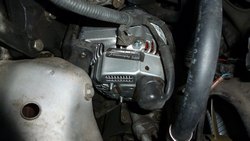
Now we need to disconnect all electrical wires to the alternator, 1 green plug and 1 cable (10mm nut), ground bracket (8mm nut).
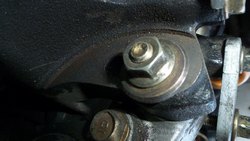
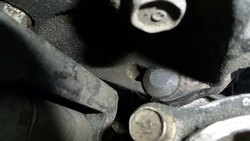
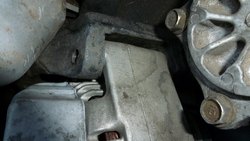
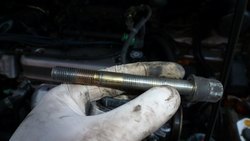
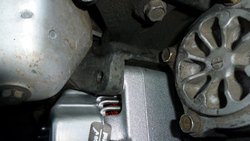
There are 2 main bolts holding the alternator and a belt adjustment bolt connected to the bottom alternator bolt (this one is hidden and a little tricky to remove and install IMO). The top bolt and nut are 14mm size and the bottom one is 12mm size, this one I use a 12mm stubby boxed wrench (short and fat) to remove.
When the bottom bolt is secured with the 12mm nut, move the alternator up to line up with the top bolt bracket.
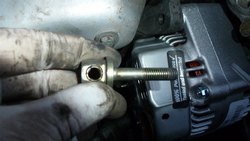
Screw the belt tensioner bolt to the bottom bolt, adjust the tension of the belt, by feel or by specs, check on line, I did it not too tight and not too loose, then tighten both bolts tightly. Check the specs of the torque to be safe. Put back the green plug, the wire with 10mm nut and the bracket on the alternator.
Next, put back the pump belt, adjust the tension with 10mm bolt, again not too tight or loose, then tighten both top and bottom bolts on the pump. It was late and we forgot to tighten these 2 bolts and the belt got loose and torn apart.
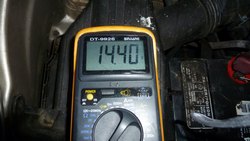
When all things are in place, turn on the engine, check for belts not flapping (loose) or make noise (too tight), all bolts are tight, and if the alternator is good, we should see 14.4V, that’s when it’s charging.
This is the way we did our car, if you find better way, please comment and let us know.
Cheers,
- Q7 Battery Died and Re-Charged
- What you should/must know about Audi Electrical System
- How To Charge Battery On 2008 Q7 3.6L

2 Comments
Tried all day, never could get the bolt under the alternator out. The wheel well is close for access with a ratchet. I need some special tool. Try again tomorrow. -jim-