
is a Skylake CPU i7-6600u with HD Skylake 520. It came with all the components that work with macOS Big Sur 11.4 at the moments. It does have m.2 NVME option, so I’m going to show you how to install SP NVME 1TB and install Windows 10 and Big Sur from beginning to end using both Clover V5130 and OpenCore 0.6.6 or 0.6.9.
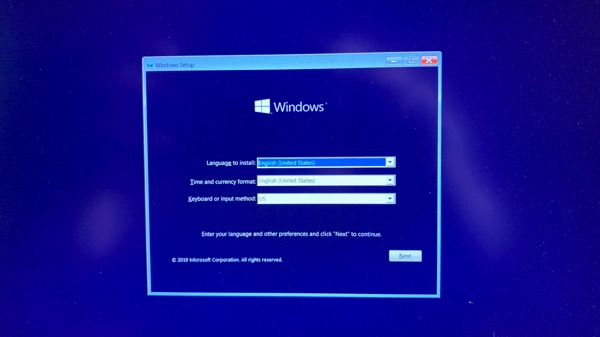
- We need to download to create a usb windows 10 installer for windows 10 installation.
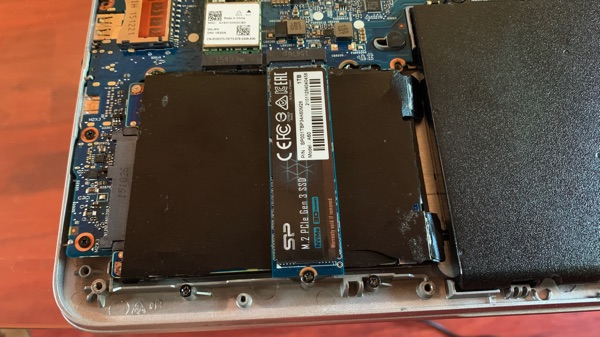
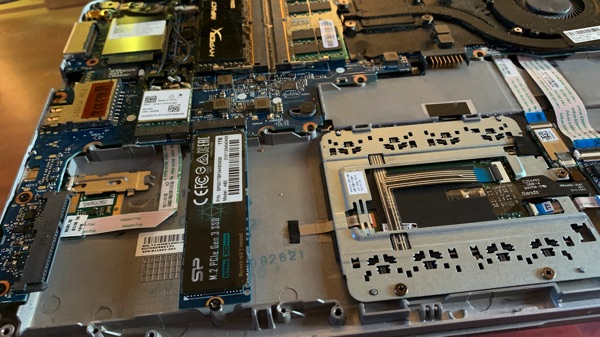
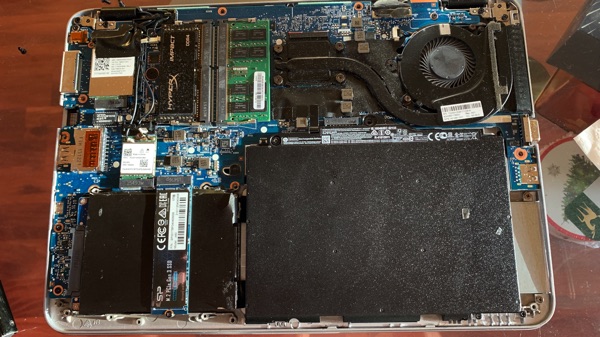
- We need to install NVME HD into the laptop, we can also install both NVME and 2.5 7mm hard drive together.

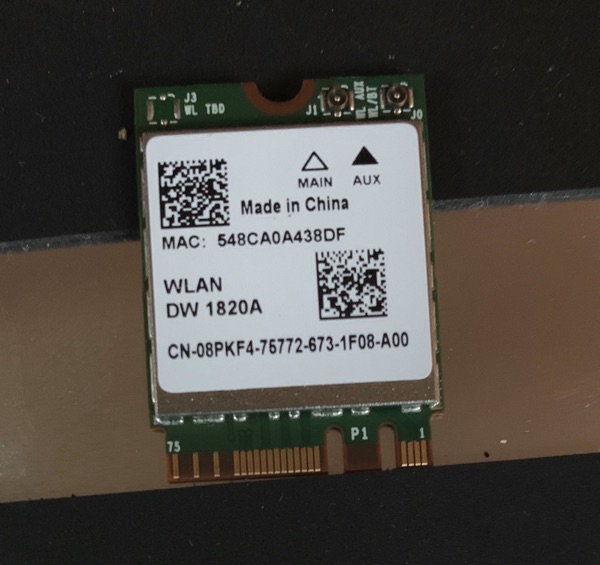
- I’ve bought a DW1820a to replace the original Bluetooth-Wifi combo from Intel on Ebay for $22 so I can have handoff support hence Airdrop with macOS Big Sur. People seem to like DW1560 but it cost more and does the same thing.
- Now it’s time to configure the new NVME drive and install Windows 10. We need to use the created USB windows 10 installer to boot, in order to boot from external USB, we need to disable secure boot and enable legacy boot. If we’re going to use BlueStacks for Android, turn on the Virtual Technology (VTx) option in the BIOS also.
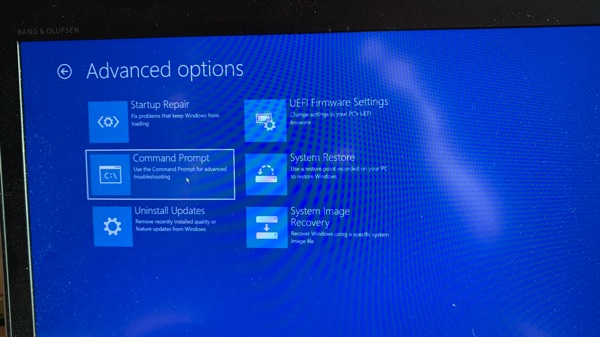
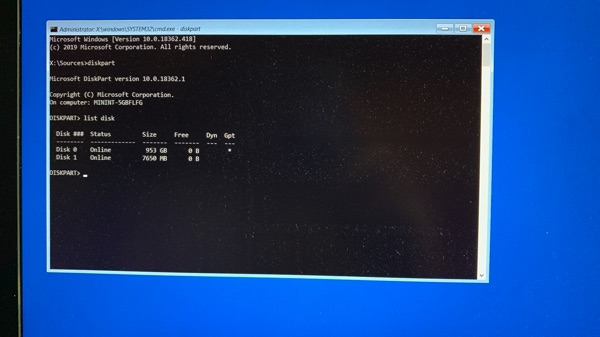
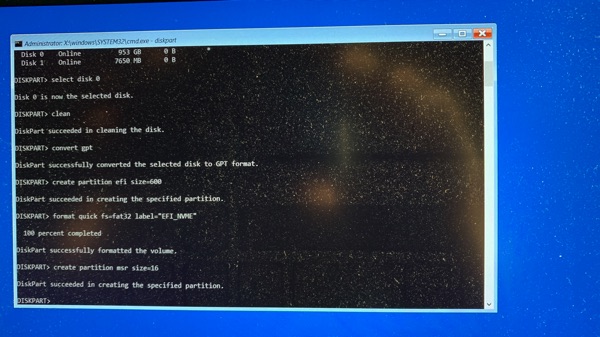
At the boot screen, we select repair instead of installation, then we get to the CMD screen to use command diskpart to configure the new NVME drive. We need to convert drive to gpt, create EFI folder and msr for windows 10 before we can install correctly.

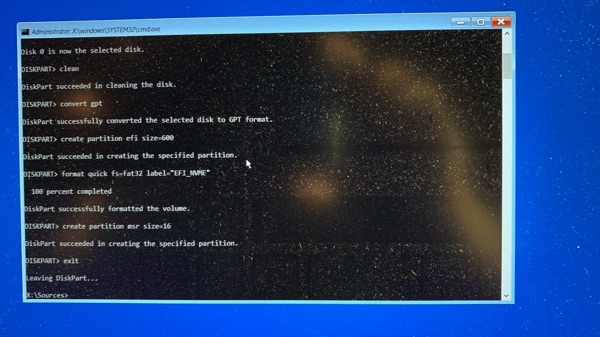
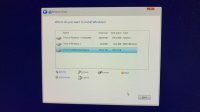
- When the diskpart is done, we shutdown and reboot again to windows 10 installer, this time we select installation.
-

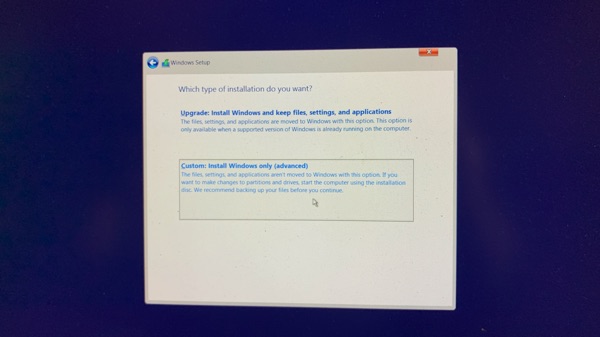
- Custom Install
-
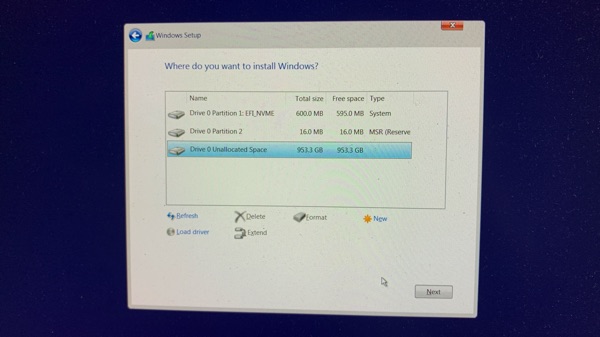
- NVME install
-

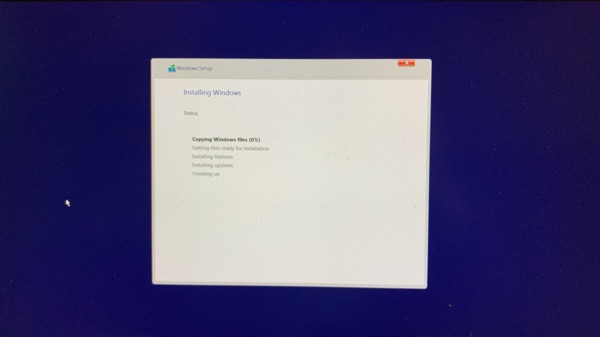
- Copying files
-

- Done
-
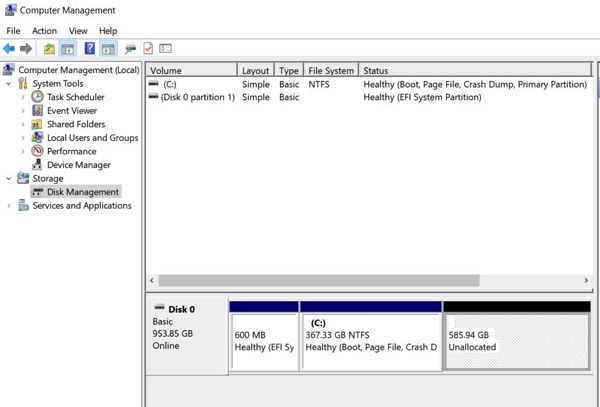
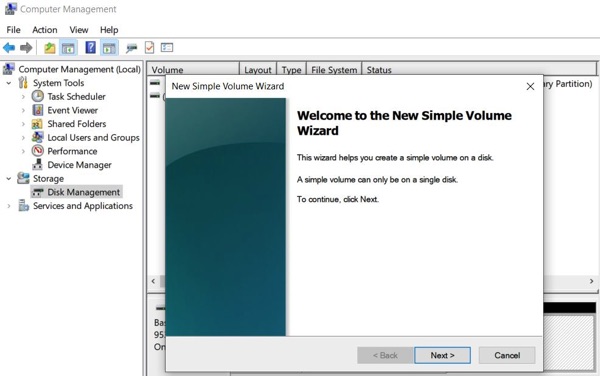
- When the Windows installation is done, we need to shrink a partition for macOS Big Sur, create a simple partition with ntfs for the shrunk partition and named it BigSur or anything you like.
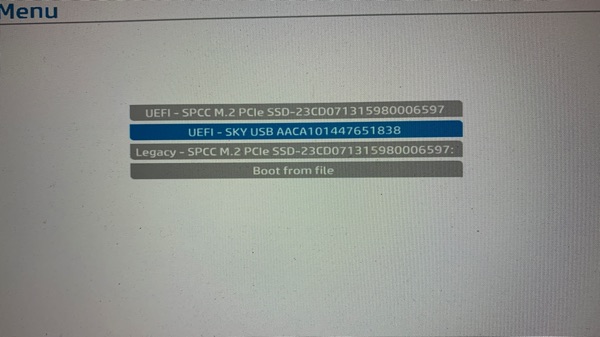
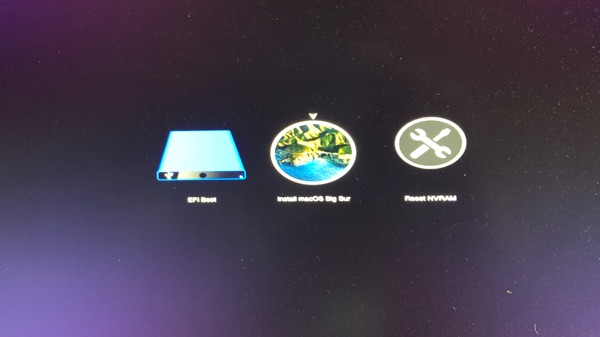
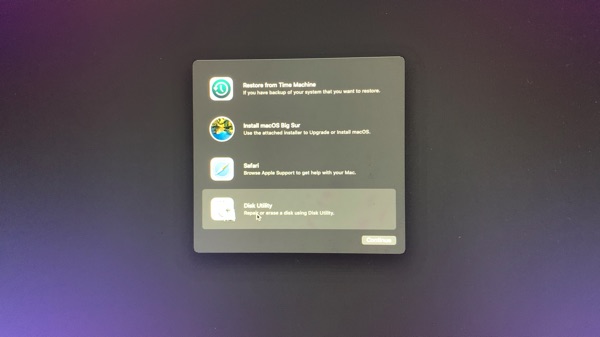
- After we created the bootable Clover or OpenCore with macOS Big Sur installer, we will need to boot UEFI from the flash drive by hitting F9 while booting if up and select from the boot menu the flash drive. After we booted into the installation if everything is correct with the EFI folder for macOS Big Sur, we need to select diskutil to erase the NTFS shrunk partition of the macOS Big Sur to APFS file system, if everything is done correctly, it will erase, then we get out and start installing macOS Big Sur. For the installation boot loader, I prefer to use OpenCore because it will default to macOS install partition every time the installation reboots and for Big Sur, it will reboots 4-5 times and takes at least 50 minutes.
-
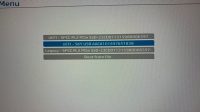
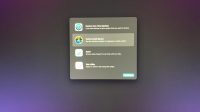
- F9 UEFI boot menu
-
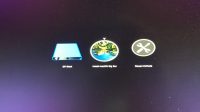
- OpenCore boot menu
-
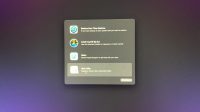
- Select Disk Utility
-
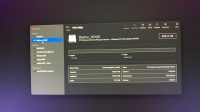
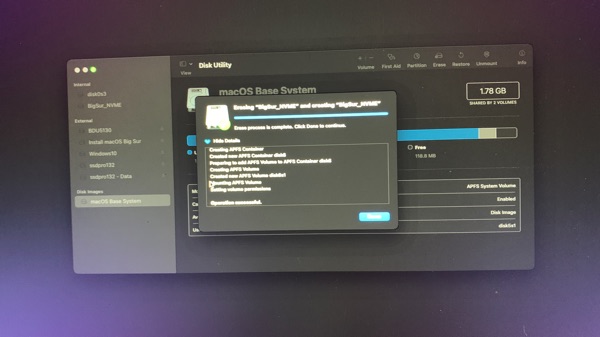
- Erase NTFS to APFS

-
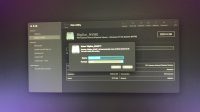
- Erase NTFS to APFS

-

- Erase Done
-
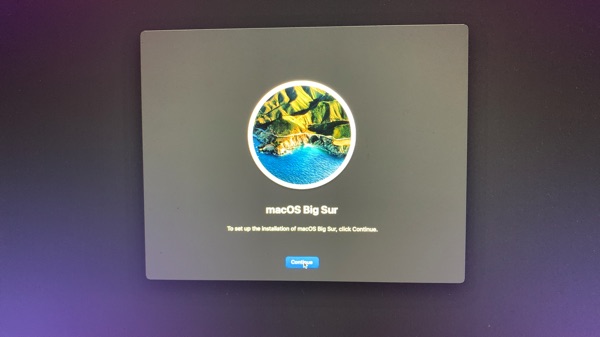
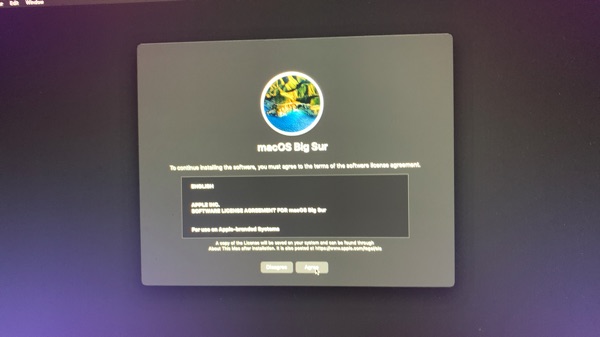
- Select Installation

-
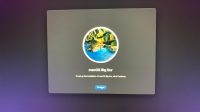
- Installation Screen
-
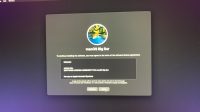
- Installation Screen
-
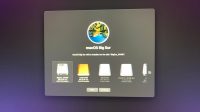
- Select Volume to Install

-
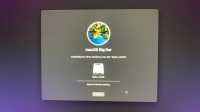
- Installation Starts
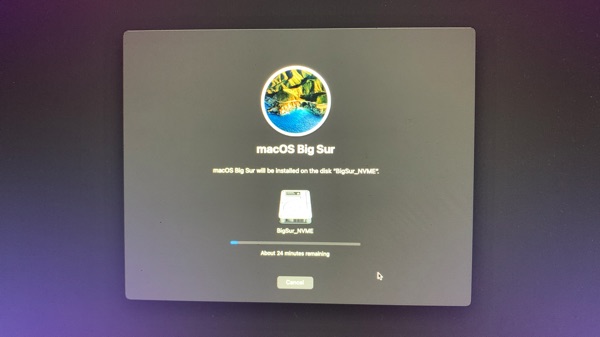
-
- Installation Progress
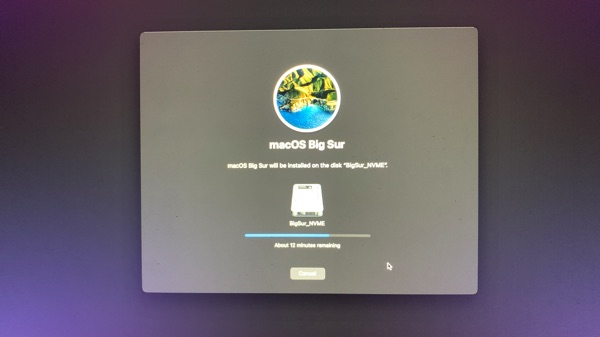
-
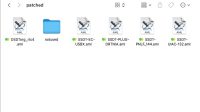
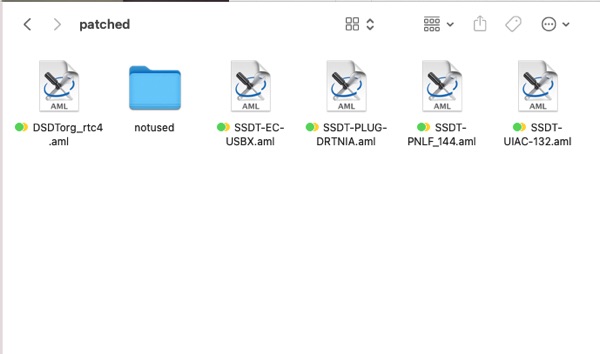
- ACPI folder with files
-
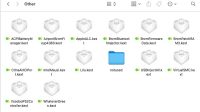
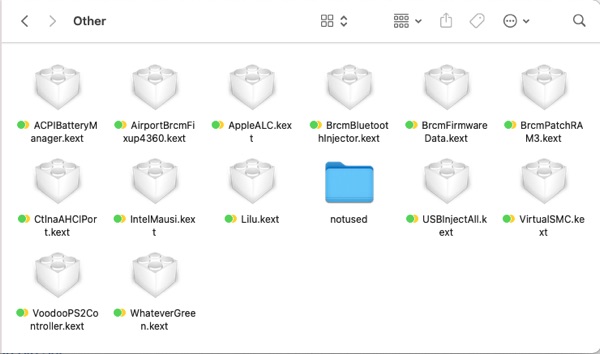
- Kexts Other folder with files
-
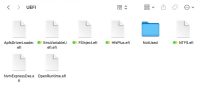
- UEFI driver folder with files

- Fix NVRAM On Clover Bootloader
- How To Fix Haswell HD 4600 Artifact and Glitches in macOS
- iCloud: Could Not Communicate With Server
- Prevent macOS Monterey To Upgrade Automatically
- How To Mount R/W NTFS USB hard drive in Big Sur
2 Comments
sir,can you send me all the *.aml file .i am in China it is hard to download.
my email 512431843@qq.com
Please make your own to learn.