
Since the macOS updated to Sonoma and Sequoia, it’s sometimes quite difficult to install ntfs-3g, so I copy the whole directory that works, just put it on the personal library folder and access with command line and it will mount and work perfectly. Must install .
3. Install :
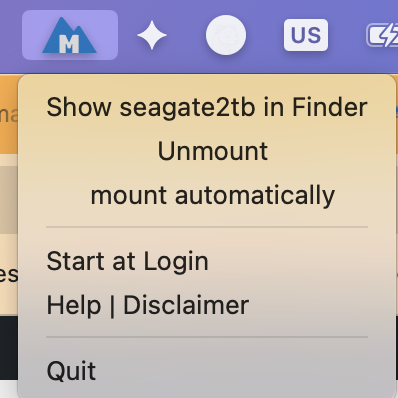
brew install gromgit/fuse/ntfs-3g-macbrew install --cask mounty4. Go to the Application Folder and execute Mounty App to mount the NTFS USB hard drive. After mounted, we can read/write to the NTFS drive.
1. Use Show-Hide Files App to show hidden files or use the terminal to type these commands.
defaults write com.apple.Finder AppleShowAllFiles true
killall Finder
2. Navigage to opt/homebrew/Cellar/ntfs-3g-mac/ and copy the folder “2022.10.3” to the user folder and rename it to “ntfs”
3. Hide all hidden files again.
defaults write com.apple.Finder AppleShowAllFiles false
killall Finder
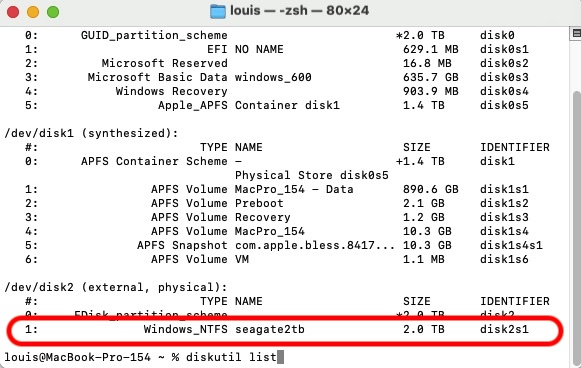
- diskutil list !!get the ntfs disk designator
- unmount the NTFS drive.
-
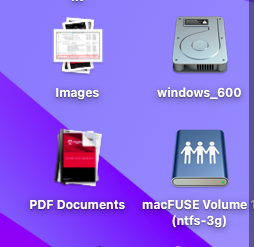
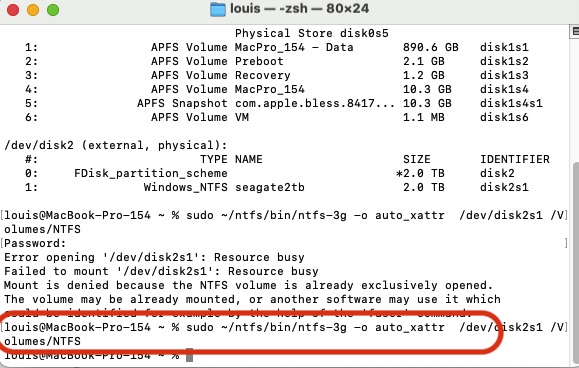
sudo ~/ntfs/bin/ntfs-3g -o auto_xattr /dev/disk2s1 /Volumes/NTFS
- Mount NTFS On macOS
- Install iBoysoft NTFS Driver For Silicon Mac
- Recents Folder Empty After Restart macOS
- How To Fix Quicktime Player Screen Recording Error
- iCloud: Could Not Communicate With Server
- Prevent macOS Monterey To Upgrade Automatically
- How To Create macOS App To Run Sudo Command with Password
- How I fixed BlueStacks Crashing in Big Sur 11.4
- How To Make External NTFS Hard Drives Writable In Big Sur
- How To Get iMessage and FaceTime Working On Big Sur