
We planned and started our Master Bathroom Shower Tub remodeling in late July 2013 and we didn’t finish all the important stuff until December. We both work and we could only spend the weekends on our renovations. We’re really happy with how it came out.


-
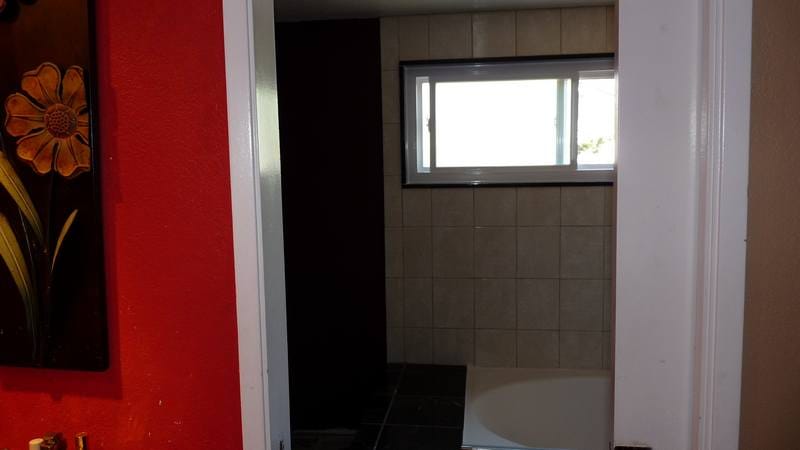
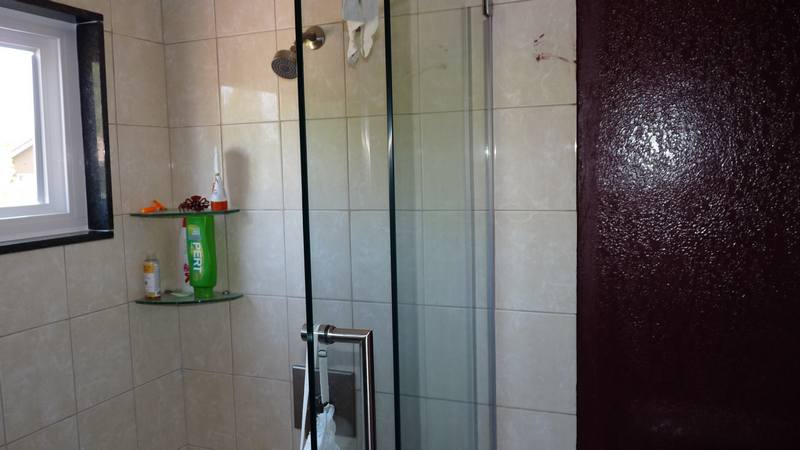
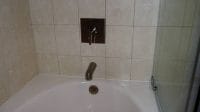
- Finished

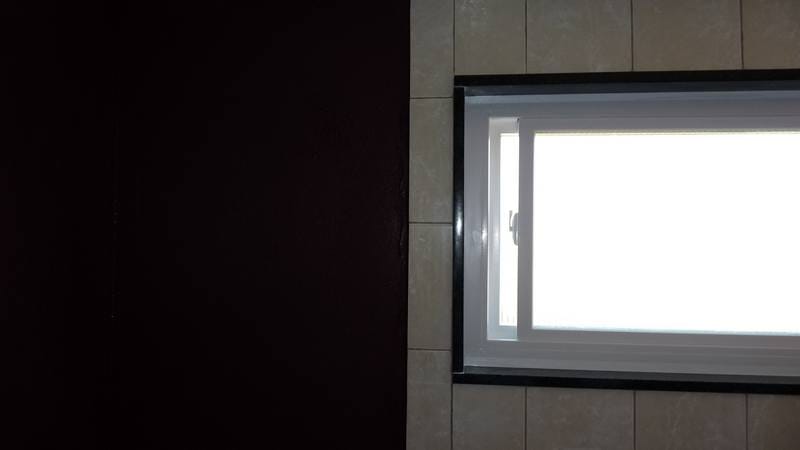

We plan to remove the whole bathtub surrounds and make a corner bathtub with frameless sliding shower door from Dreamline. We was thinking about swing door also, but we decided sliding door was better. We also wanted to paint the tub since it’s Cast Iron and replace the shower valve with Symmons Duron Brush Nickle S-3602 set special order from Lowes. We got the ceramics 10×8 and marble tiles many years ago. We also want to change the window frame with granite.
Old Bathtub Demolition
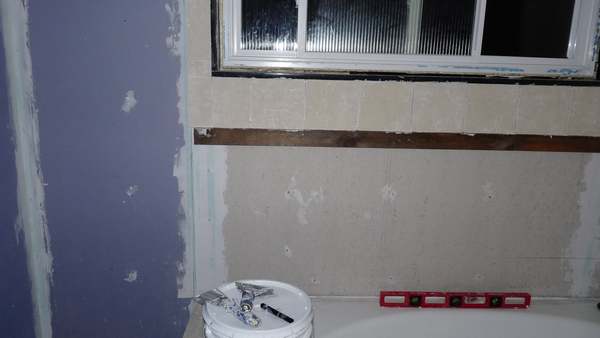
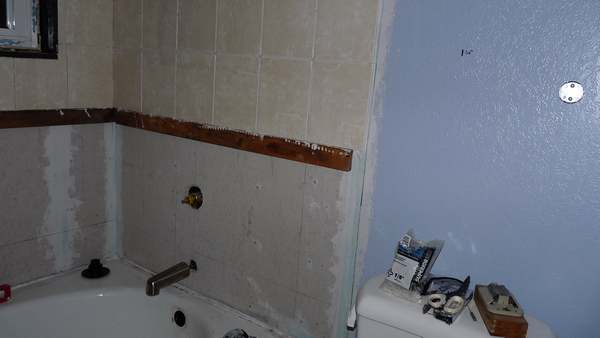
This was the hard part, scary and no-return when we started. We use sledge hammer to break down the wall, but we had to remove the huge sliding door surround the tub.


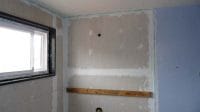
Now we need to get 2×4 to replace the damaged woods supports.
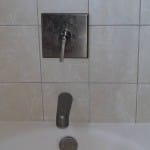
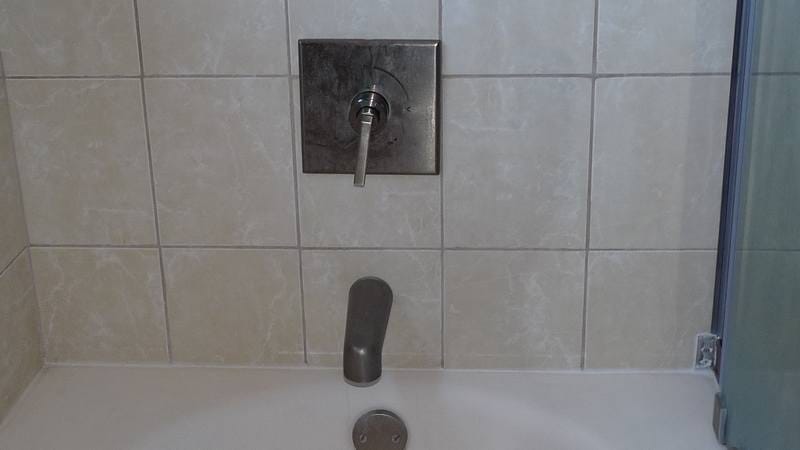
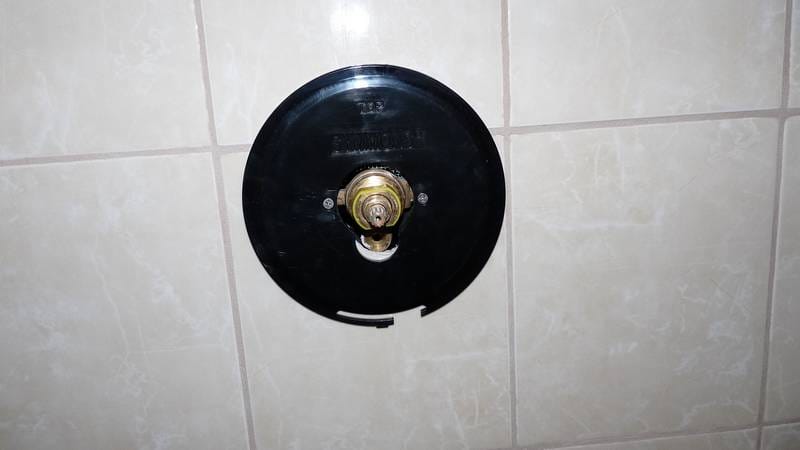
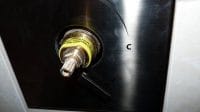
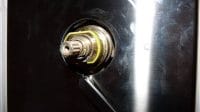
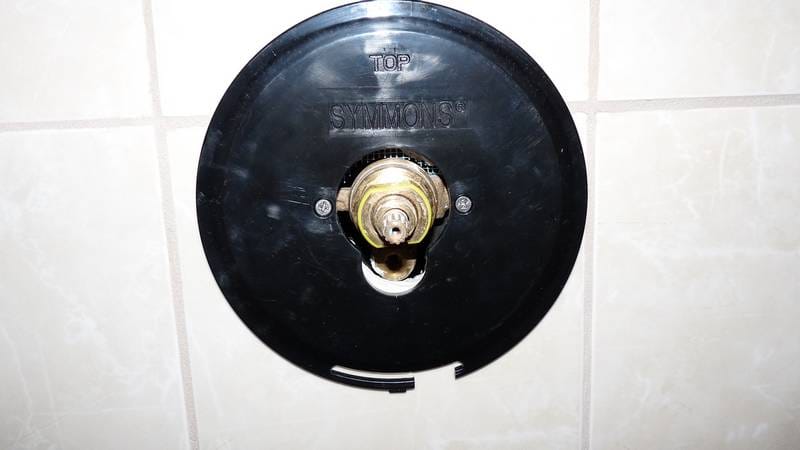
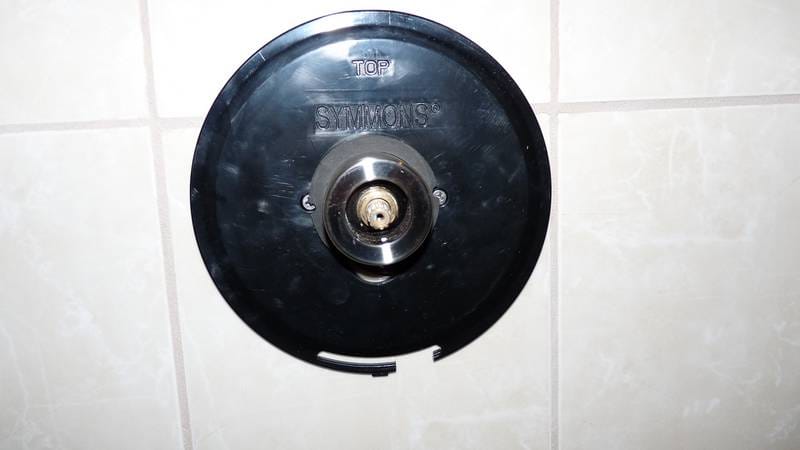
The Symmons Duron S-3602-STN Shower Valve
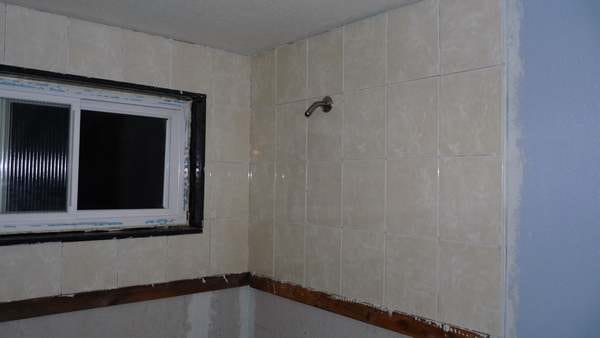
Since the wall is out, we could start soldering our new Symmons Duron S-3602 shower valve to the wall. We select this valve because the water diverter is at the valve and not at the spout. This valve requires soldering onto the valve itself and not threaded as majority of valves. We have to measure the height and depth correctly then solder both hot and cold pipes to valves. They do recommend to remove the plastic and rubber components inside the valve before applying the heat to solder the pipes, but we didn’t want to break anything by removing the components inside.


Need to use the fire retardant blanket for soldering at the wooden post and wall.


When the soldering was done, we did test the valve to see if it works and there’s no leaks at the solder joints. Everything works with the water turned on, then we proceed with our wall preparation.
-
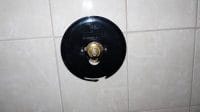
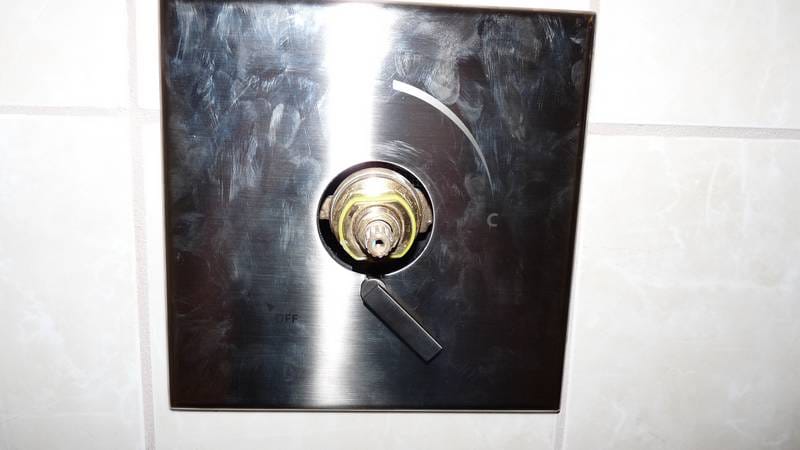
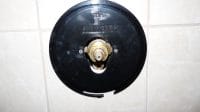
- Place the valve cover
-
- Valve Cover is in place

-
- Valve Cover is in place

-

- Valve Cover is in place
-
- Valve Cover is in place
-
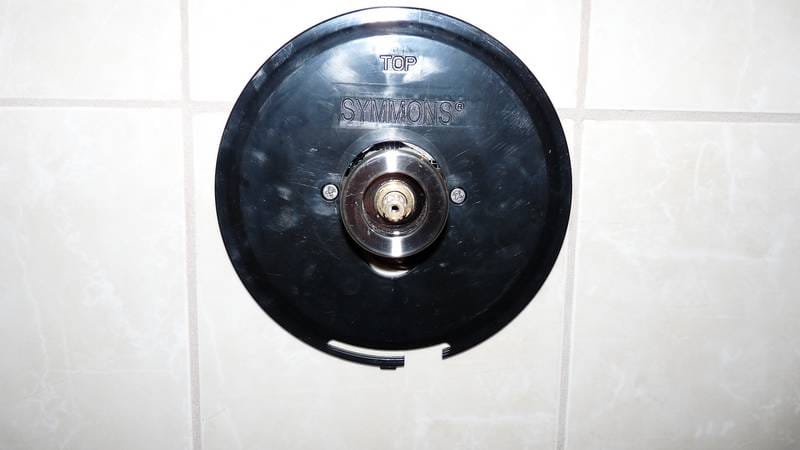
- Center Valve Cover is in place
-
- Center Valve Cover is in place
-

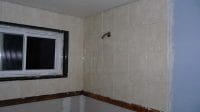
- Fisnished

-
- Finished

-
- Finished
The New Walls
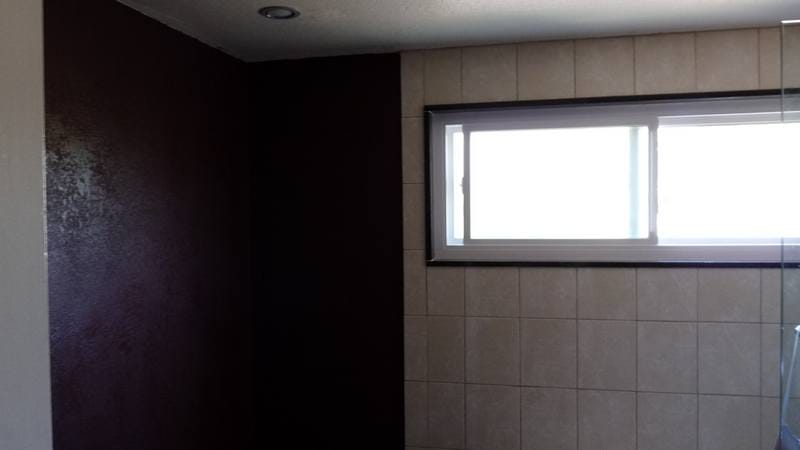
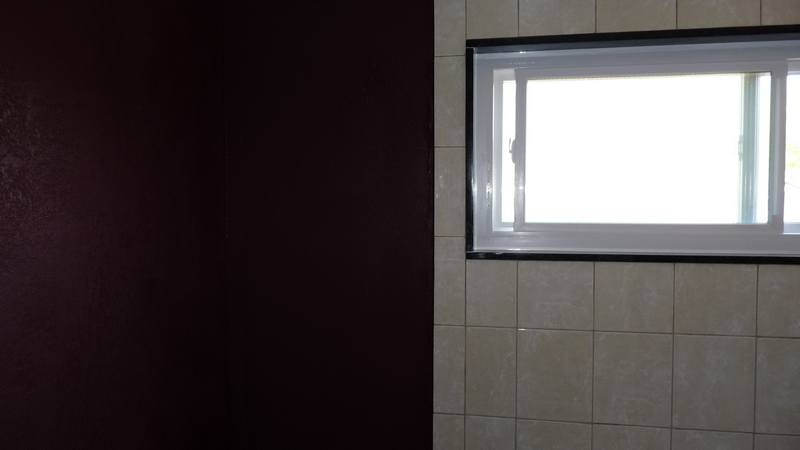
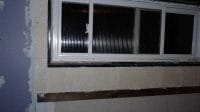
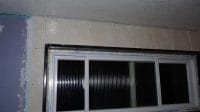
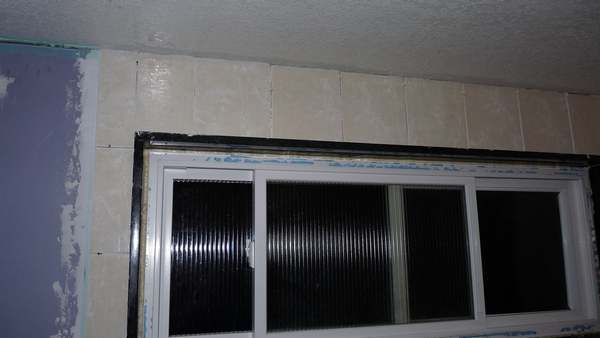
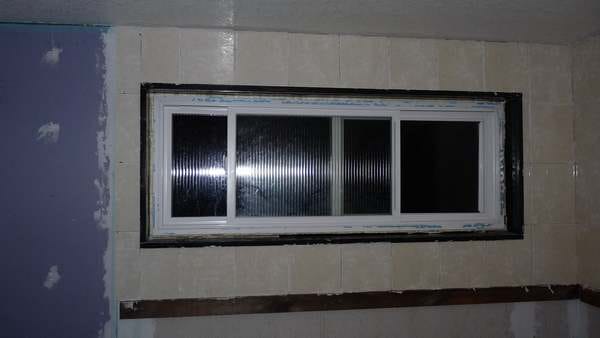
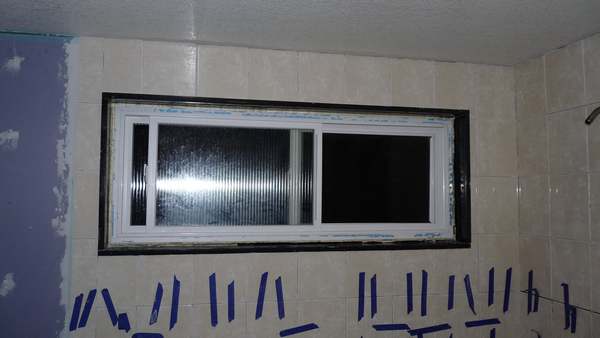
We cut out some granite backsplash from a local granite store for the window frame. Since the support 2×4’s were shot by the water for so many years, we had to retrofit with new ones.


We use liquid nail to glue the granite in place with the wood.


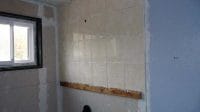
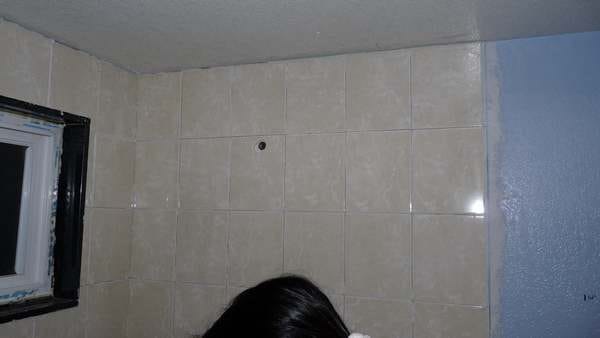
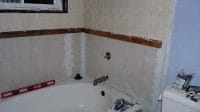
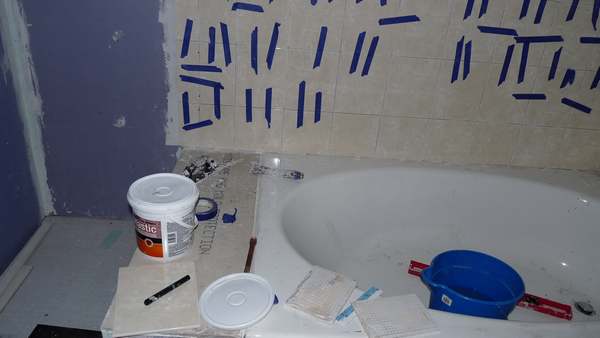
Prepare backer boards for ceramics and tub surround for Marble tiles.


-
- Start from the Top Half

-
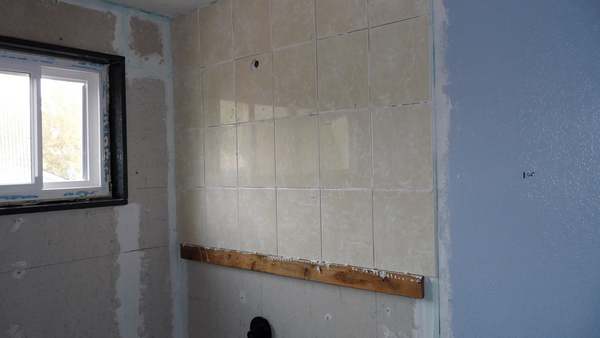
- Lay all the way up
-

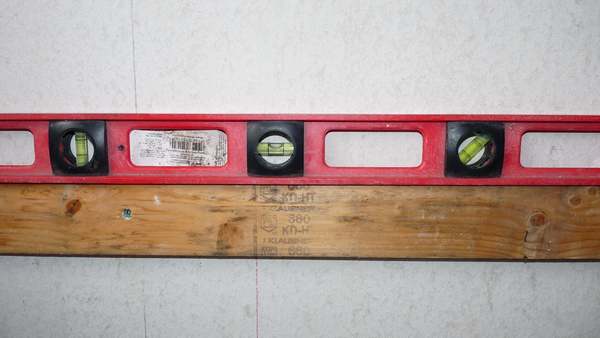
- Flat and straight
-
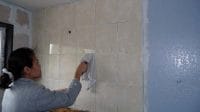
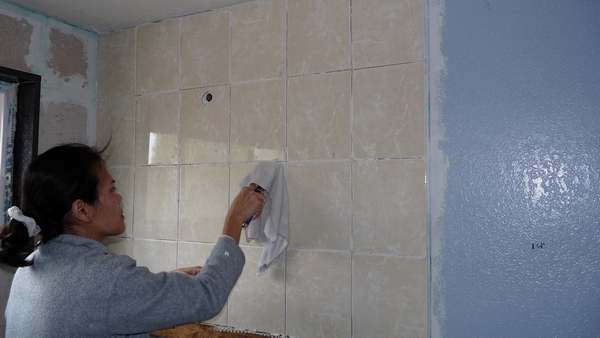
- Clean up
-
- Start on the side same

-
- To the Top
-

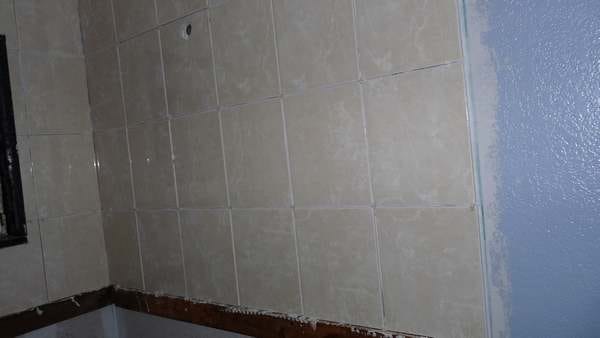
- Make sure the hole for shower head
-
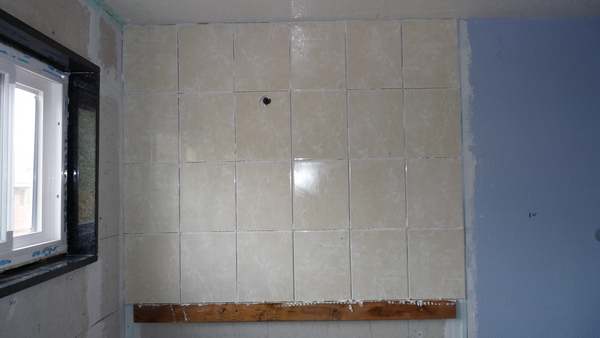
- Top half is done
-
- Top half is done
-
- Top half is done
-
- Get ready for bottom half

-

- ready for bottom half
-

- wait to cure 1 day
-
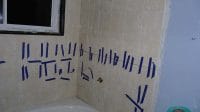
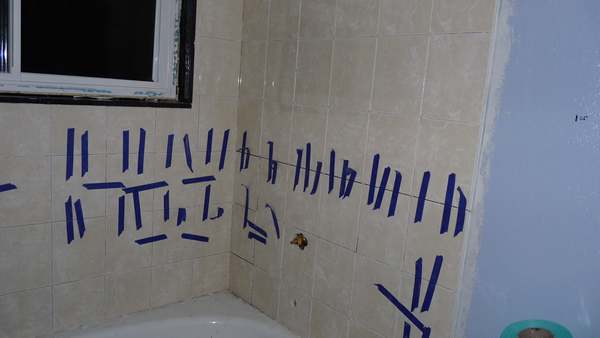
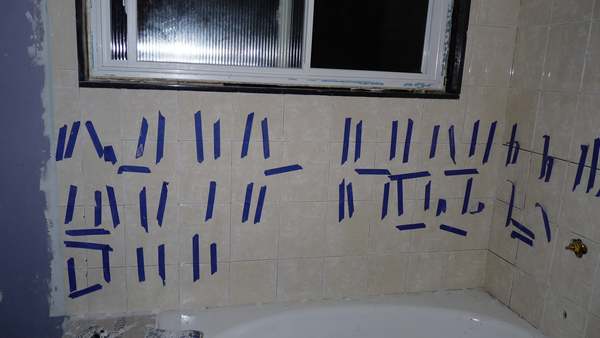
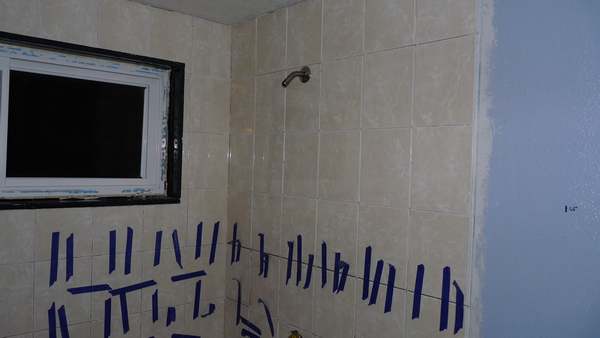
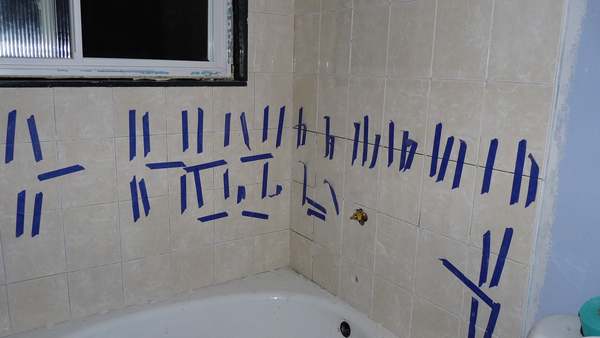
- Use Tape to hold the bottom half
-
- Use tape to hold the bottom half
-
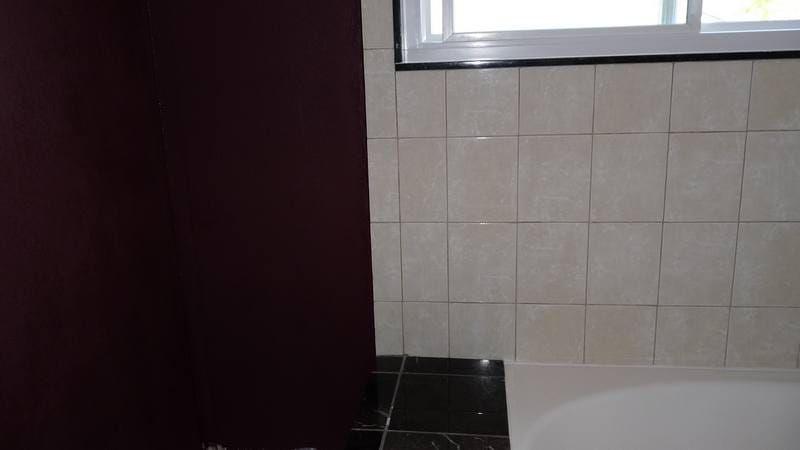
- Bottom half
-

- bottom half
-

- Bottom half
-
- Bottom half
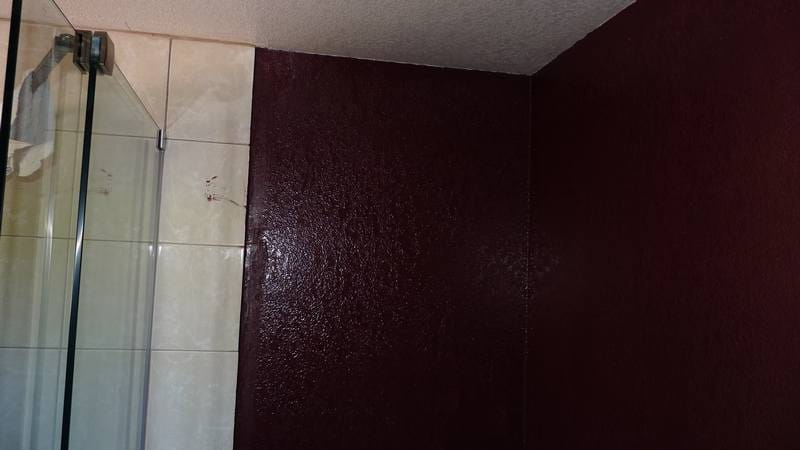
Apply Texture to walls
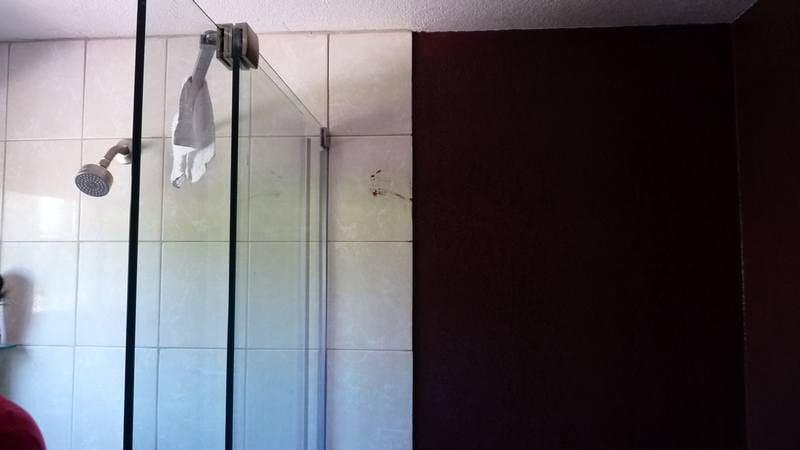
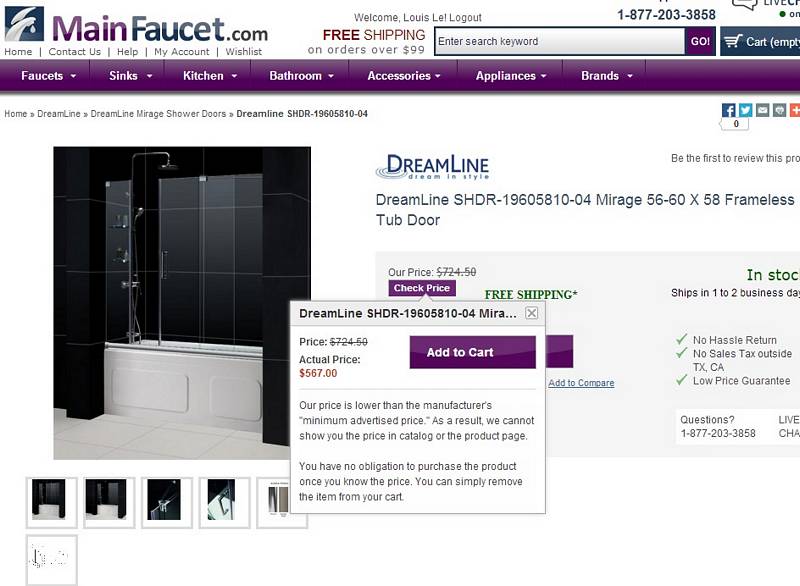
Dreamline Mirage SHDR-19605810-04 Nickle Frameless Tub Shower Door
After getting all the local quotes for sliding shower door for our new corner bathtub all range $1700-2000 custom for the CORNER, we decided to look for alternative. There are already made tub doors, some are swinging and some are sliding. Swing doors seem to be cheaper but the door is not retractable, we decided to go with sliding door. The chance we have to take is to see how strong and sturdy the door frame mounted since it’s only held in by 1 side of the door. The one we chosen seems to fit the criteria since it has a bar holding the stationary glass in place. It’s also the first time we buy something this heavy online. For $587 for the whole set with 3/8″ thick glass and shelves, we thought it was a great deal if it works and it did. The package was delivered on a crate and everything is perfectly packed.


Measure and cut sliding rail, make sure to include the mounting hardware thickness for perfect fit. Cut and grind. Mark the holes for drilling.


The holes to drill has a wooden post behind it, so we don’t use the anchors, just stainless long wooden screws with washer, we do use silicon for the holes and screws and the back plate. Before we put the rail in, we have to put some padding on the bottom of the rail because the tub is not really straight and it creates a gap between the rail and the tub. After the padding, we put plenty of liquid nail between the rail bottom and the tub to secure the rail in place.


Before gluing the rail onto the tub, make sure the rollers are installed first.


While the silicon nail is still wet, the best is to mount the stationary glass to put the weight down onto the rail for better adhesion. We need 2 people to lift the glass and mark the holes to drill. Must use the leveler to check for the vertical alignment.


Make sure to put some nylon washers came with the hardware between the glass and the hardware.


Now, put some nylon wedges supplied between the glass and the rail slot from the inside of the tub. Install the hardware for the sliding door.


Measure and drill the hole for the fixed bar to hold the glass door in place.


Now we can slide the sliding door in. We must use a stopper for the inside and the outside of the sliding door. The inside came with the stopper, the outside must be used with one of the nylon tube came with the package, cut about 6-8″ and press it against the outside rail in the sliding roller slot. See the video. Without the outside stopper, the glass will go all the way out and fall off the TOP!!!!!
Paint Tub With Spray Paint From Homax
Replace Tub Drain Stopper and Overflow Cap
