
This was the way I did mine, please use the information below as reference only and be safe.
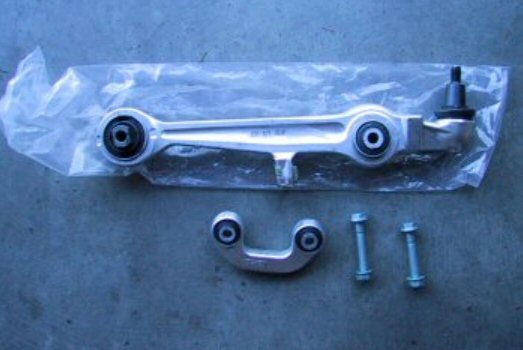
When the car makes squeaky noise while driving at very low speed, parking lot or over bumps, it’s normally the ball joint of this straight arm being loose. I replaced the curved arm, it didn’t fix the problem, I replaced this straight arm, and it fixed it.
On the D2 1996-2003 A8, there are two types of straight arms which are not interchangeable, beware and order the correct one for your car. Look under the car and identify it first and ask for the correct one. I believe this only happens with 2000 A8 because there are both types fitted dependent upon the Vin# or when the car is built. Ebay kit sellers can claim very irresponsibly that their kits will fit from 1994-2003 which is false. Yes, may be most of the parts in the kit, but NOT all, this is a pure example.
Newer 2000+ longer and smaller spindle

1998 straight arm, shorter and bigger spindle

2 different arms fitment

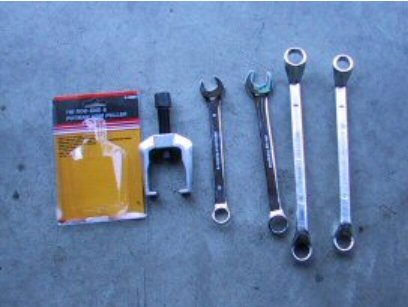
TOOLS: 16mm 18mm wrenches offset regular.
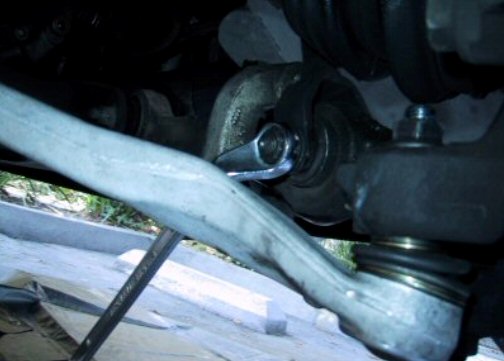
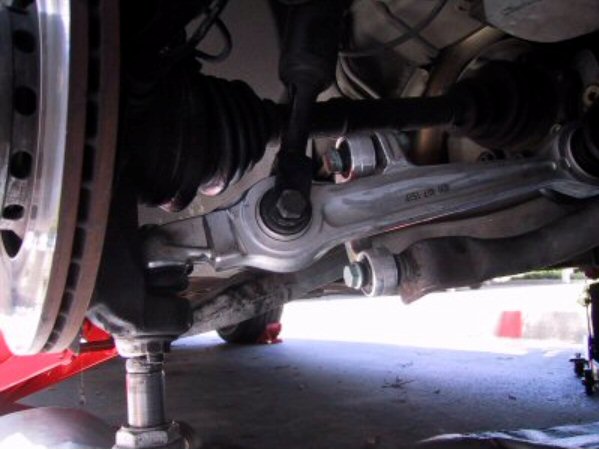
I’m replacing the right side (passenger) arm, so I jacked up the front right side enough for me to get under and loosen the stabilizer bracket bolts, the ball joint bolt, and the shock bolt.

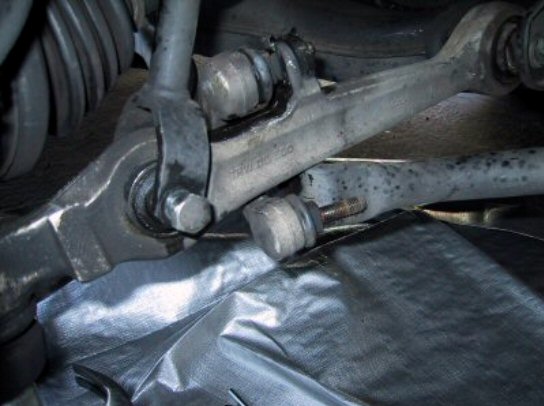
In order to remove the stabilizer link, I need to jack up the car on the other side to release the tension of the bar and jack up the ball joint at the same time.

Remove ball joint nut and use ball joint puller to remove it, I had to tighten ¼ turn and knocked on it a few times and repeat until it popped out.
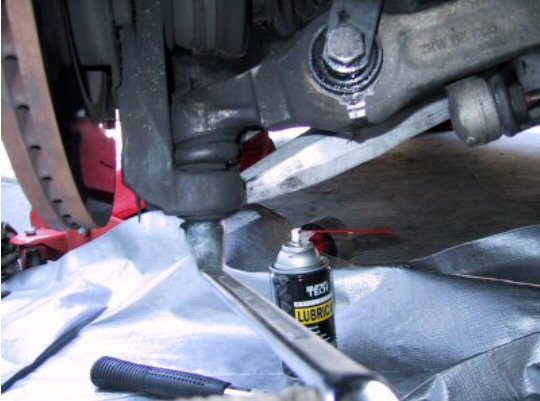
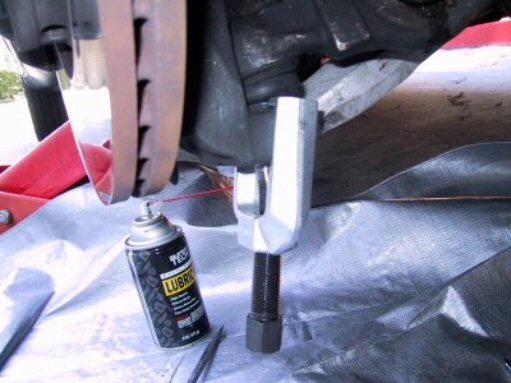
I used 27mm ball joint remover, a little small, I think 30mm will be just right. Now I can remove the
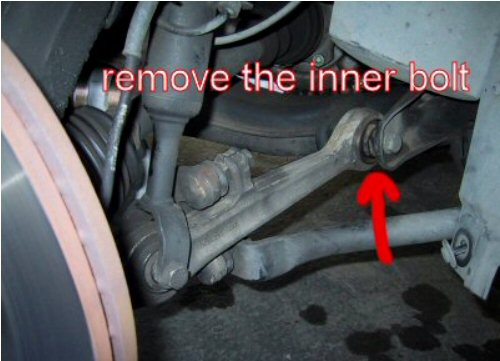
Subframe bolt and the shock bolt, then I wiggled the arm to remove the shock bolt and the arm.
PUTTING BACK THE NEW ARM:
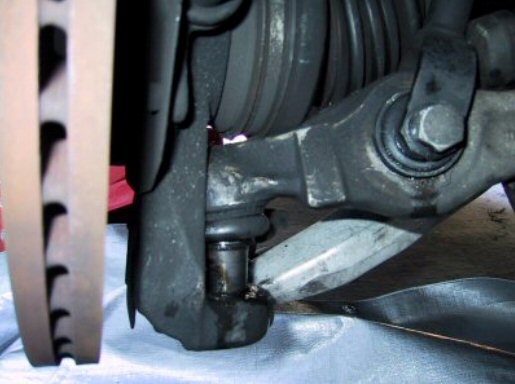
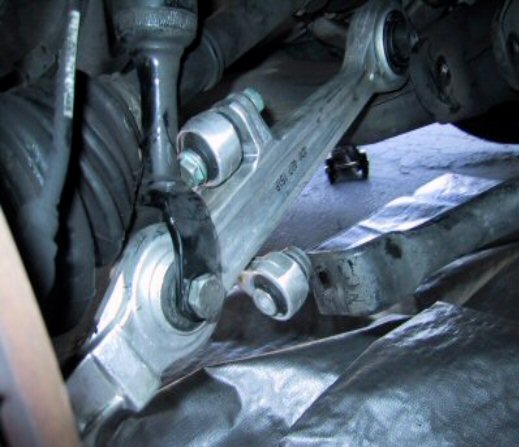
Make sure you put the stabilizer link on first, look at the picture. Positioning the new arm is more difficult than removing it, you have to make sure you get the shock bolt in first, the position I found easiest to install the shock bolt and the arm is in the pictures.
You may have to jack the arm up to align the shock bolt and the inner sub frame bolt.
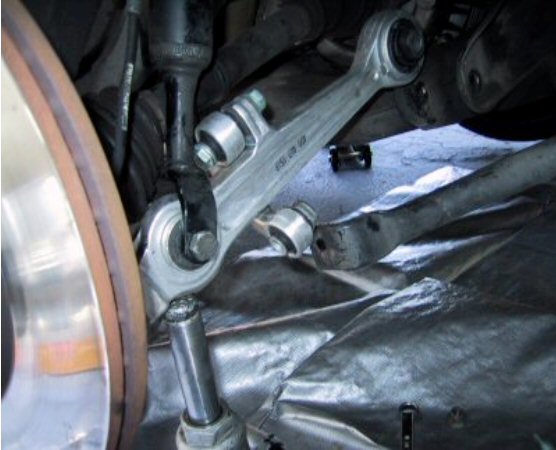
After the shock bolt and the inner bolt are in, then you can put the stabilizer link and ball joint in place to finalize everything.
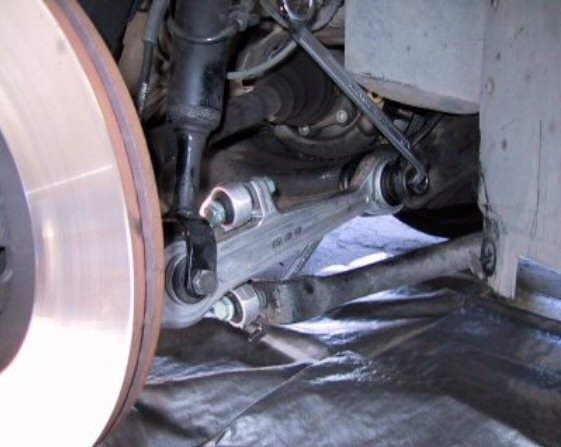
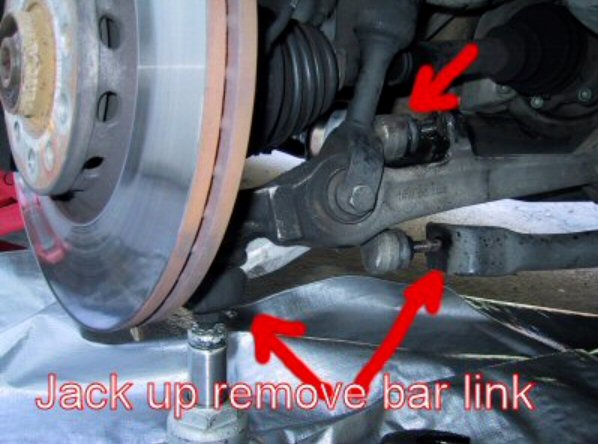
Final : Jack the car up as if the car is on the ground with load, then tighten everything using
Bentley specifications.
After I replaced new arm, the noise is gone and the car feels great. NO CLUNKING SQUEAKY NOISES!!!!